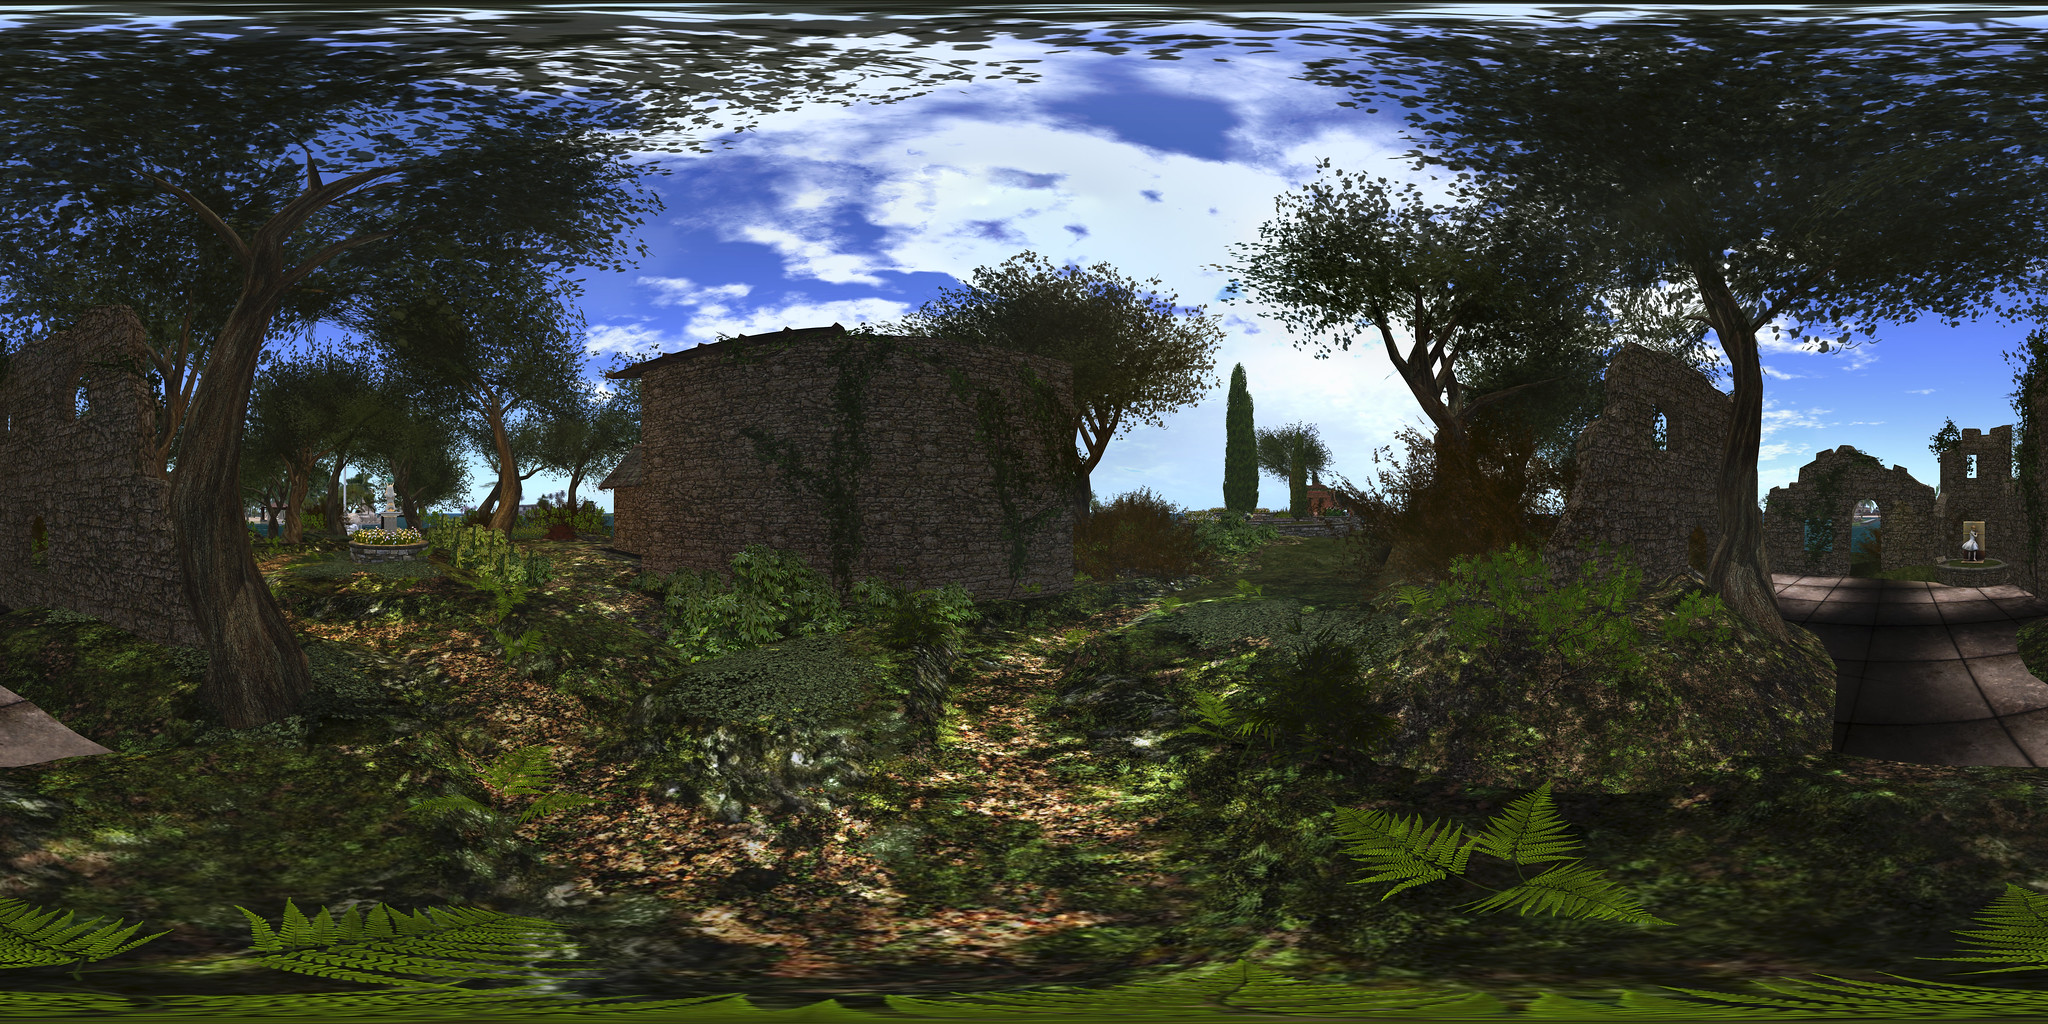
 VR Creations 360 Photosphere demonstration – click image to view in Flickr with 360o scrolling
Following my reviews of the Illiastra Panoramic HUD and the Camera Panoramic system (see links below), I was handed a further HUD system to look at.
The VR Creations 360o Photosphere HUD is a system that does exactly what it says on the packet: produces a set of images (26 in all) suitable for stitching together into a 360o spherical images suitable for uploading to the likes of Facebook, VRchive and Flickr. It falls between the Camera Panoramic and the Illiastra HUD in price, and is quite possibly the easiest of the three to use to take a set of shots.
The system comes in a basic package of the HUD, sufficient notes to get you going, and a link to a video overview.
The HUD
The VR Photosphere HUD comprises ten buttons, as shown below, with the key buttons highlighted.

The HUD cannot be minimised, but can be positioned off to one side or the other of the screen to keep it out-of-the-way.
Of particular note with the HUD is the top set of six buttons, which are related to positioning your camera to capture images. You can effectively position your camera anywhere you like using ALT-zoom or flycamming, and use the Add button to save the camera’s location as the centre of your sphere of photographs.This also allows you to take “seflies” through careful positioning of the camera close to you.
Saved camera positions can then be paged through using the left and right arrow buttons either side of the Release Camera button – so if you return to a location and wish to re-capture a set of images, you can do so easily, while the Delete button will delete the current camera position from the HUD.
Taking Your Shots
This is very much a point-and-shoot HUD system, requiring minimal set-up. However, prior to taking your shots, there are some things you need to do:
- Set your preferred windlight and daytime settings.
- Make sure you freeze the clouds – you’ll be taking up to 26 images which will need to be stitched together, and moving clouds could make that a bit of a bugger to do. Use Menu > World > Environment Editor >Sky Presets > Edit Presets or PhotoTools > Clouds and check the scroll lock check boxes
- Make sure the viewer’s camera is set to the default view angle, FOV and focal length.
Once you’ve done this:
- Position your camera at the centre point for your image capture – remember, you will be capturing 26 images in a sphere around this point, so you should have the camera view set to about a couple of metres off the ground.
- Click Add on the HUD to set the camera position.
- Press Esc on your keyboard to set your camera under HUD control.
- Click on Begin Photosphere. Your camera will move to the nadir (lowest point) of the image set (generally pointing at the ground) ready for you to start capturing frames.
- Press
CTRL-~ (tilde), the snapshot shortcut, on your keyboard. You will be prompted for a location where you wish to save your first image. Select the folder and give a file name for the image. - Click the right arrow next to Done on the HUD to advance the camera to the next frame. Press
CTRL-~ to save this shot automatically to the same location as the first. - Continue on round the photo a frame at a time using the right arrow button at the bottom of the HUD, saving each shot in turn via
CTRL-~. - When you have captured all 26 frames, the camera will once more be pointing to the nadir point (generally the ground). Click Done to return the camera to the start position.
- If you are satisfied with your frame captures, click Release Camera on the HUD to free the camera back to default control.
Producing your Image
Once you have taken your shots in-world, you need to “stitch” them together to produce your final image. There are several software tools you can use for this. My preferred choice is the Hugin Panorama Stitcher available through Sourceforge.net, as I’ve found it to be fast and efficient.
With Hugin installed and launched, proceed as follows:
- In the Assistant tab, click on Load Images… Navigate to where your images are locally saved and select all 26 in the set, then click Open.

- The Camera and Lens Data dialogue box is displayed. Enter 90 in the HFOV field and click OK. You images will load in the editing panel.
- Once your images are loaded, use the Align button to arrange them. This may take a few minutes, just keep an eye on the processing window that opens.
- When Align has completed, click on the Move/Drag tab and click Straighten. If your shots are displayed upside down, enter 180 in the Roll text box and click Apply to flick them the right way up.

- Click on the Crop tab in Hugin and adjust the values to ensure your entire images is selected – set Left and Top to 0; Right and Bottom to 9999 – note the latter two will snap to the maximum size of your image.
- Click on the Assistant tab once more and click Create Panorama. A dialogue box will open:
- Set the image format to JPG and set the quality to 100%
- Click OK to run the output process.
- You’ll be asked to give a file name for the Hugin .PTO batch process file and the rendered image file. Enter a name for both, confirming each in turn.
- Image processing will start, and could take several minutes.
Once completed, you’ll have an image ready to upload to Facebook, VRchive, Flickr, etc.
Do be aware that Hugin can be sensitive in handling images, particularly those with poor contrast / brightness, or which feature a lot of water, and this can lead to problems during the alignment process or in production of the finished image.
Continue reading “VR Photosphere: a further Second Life 360 photo HUD”
