When mesh content was being introduced to Second Life, linden Lab implemented a “gate” on people’s ability to upload mesh models to both Agni (the Main grid) and Aditi (the Beta grid).
In both cases, anyone wishing to upload mesh had to:
- Provide payment information to Linden Lab
- Complete a mesh intellectual property rights tutorial / questionnaire.
This has now been streamlined so that all someone who wishes to upload mesh needs to do is
- Provide payment information to Linden Lab
- Confirm they have read / agree to Linden Lab’s Terms of Service and Intellectual Property Policy, and acknowledge they may be subject to Linden Lab’s removal procedures should you fail to comply with these policies.
For those already “cleared” to upload mesh to Second Life, nothing changes – you remain approved.
However, if you are new to uploading mesh models to SL, you now have a far more streamlined process to complete in order to do so, as noted below.
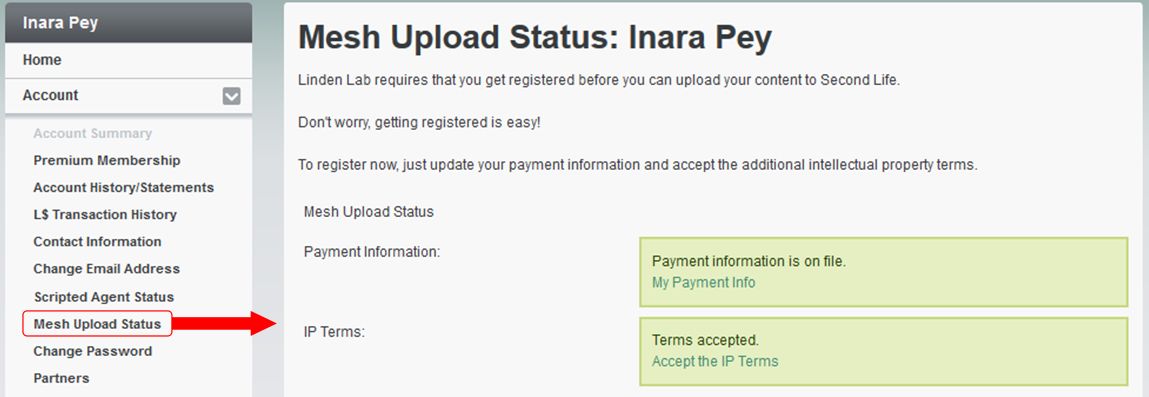
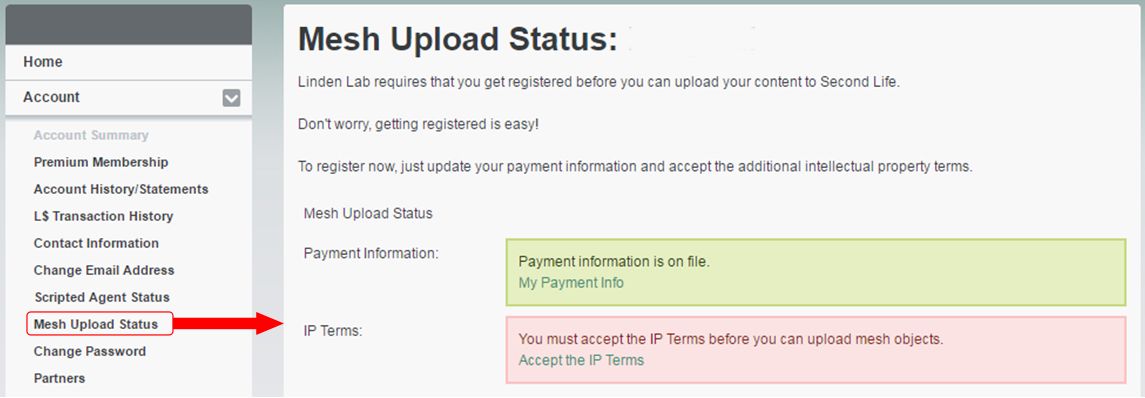
Go to your dashboard at secondlife.com, and select Mesh Upload Status from the left-hand Account menu. This will display a summary page of your current status. If you have previously provided payment information to linden Lab and previously completed the Mesh Upload Tutorial, your information will be shown in green (below).
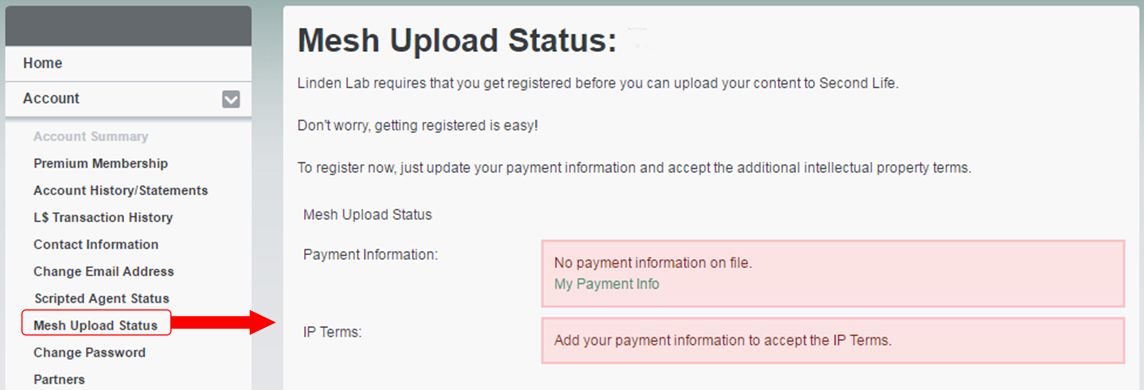
If you have not provided payment information to Linden Lab (only required for uploads to the Main grid) and / or you have not confirmed you have read the Terms of Service (ToS) / the Intellectual Property Policy, one or both of the status boxes on the page will be red.
Further, note that you cannot confirm acceptance of the ToS / the Intellectual Property Policy until you have provided payment information, as shown in the image below (note the second red box).
If payment information needs to be filed, clicking the My Payment Info will display your account’s Billing Information Page, where you can add a payment method. When you have done so, you can return to the Mesh Upload Page, which will show the payment information section in green, indicating your payment method is on file.
You can now proceed with accepting the terms and policy, by clicking on the Accept The IP Terms link.
Doing so will display the Accept IP Terms page, which has a large I Accept button, and links to the ToS and the Intellectual Property Policy. note that both of these will open in the same browser tab as used by the Accept IP Terms page, so use your browser’s Back button to return to it when you are ready to accept.
When you are ready to do so, click the I Accept button to confirm your agreement to adhere to the ToS / Intellectual Property Policy. The Mesh Upload status page will update to show the required fields are green, and you are cleared to start uploading mesh models via the viewer.
Again, if you were already able to upload mesh to Second Life, nothing has changed. You do not need to re-affirm your ability to do so. The reason for this change, so far as I can tell, is because the tutorial / questionnaire was seen as a little cumbersome and top-heavy.
With thanks to Whirly Fizzle for the nudge for me to take a look.