The Camera Panoramic: 360 photo fun in Second Life

Camera Panorama 360 demonstration via Flickr; Inara Pey, October 2016,
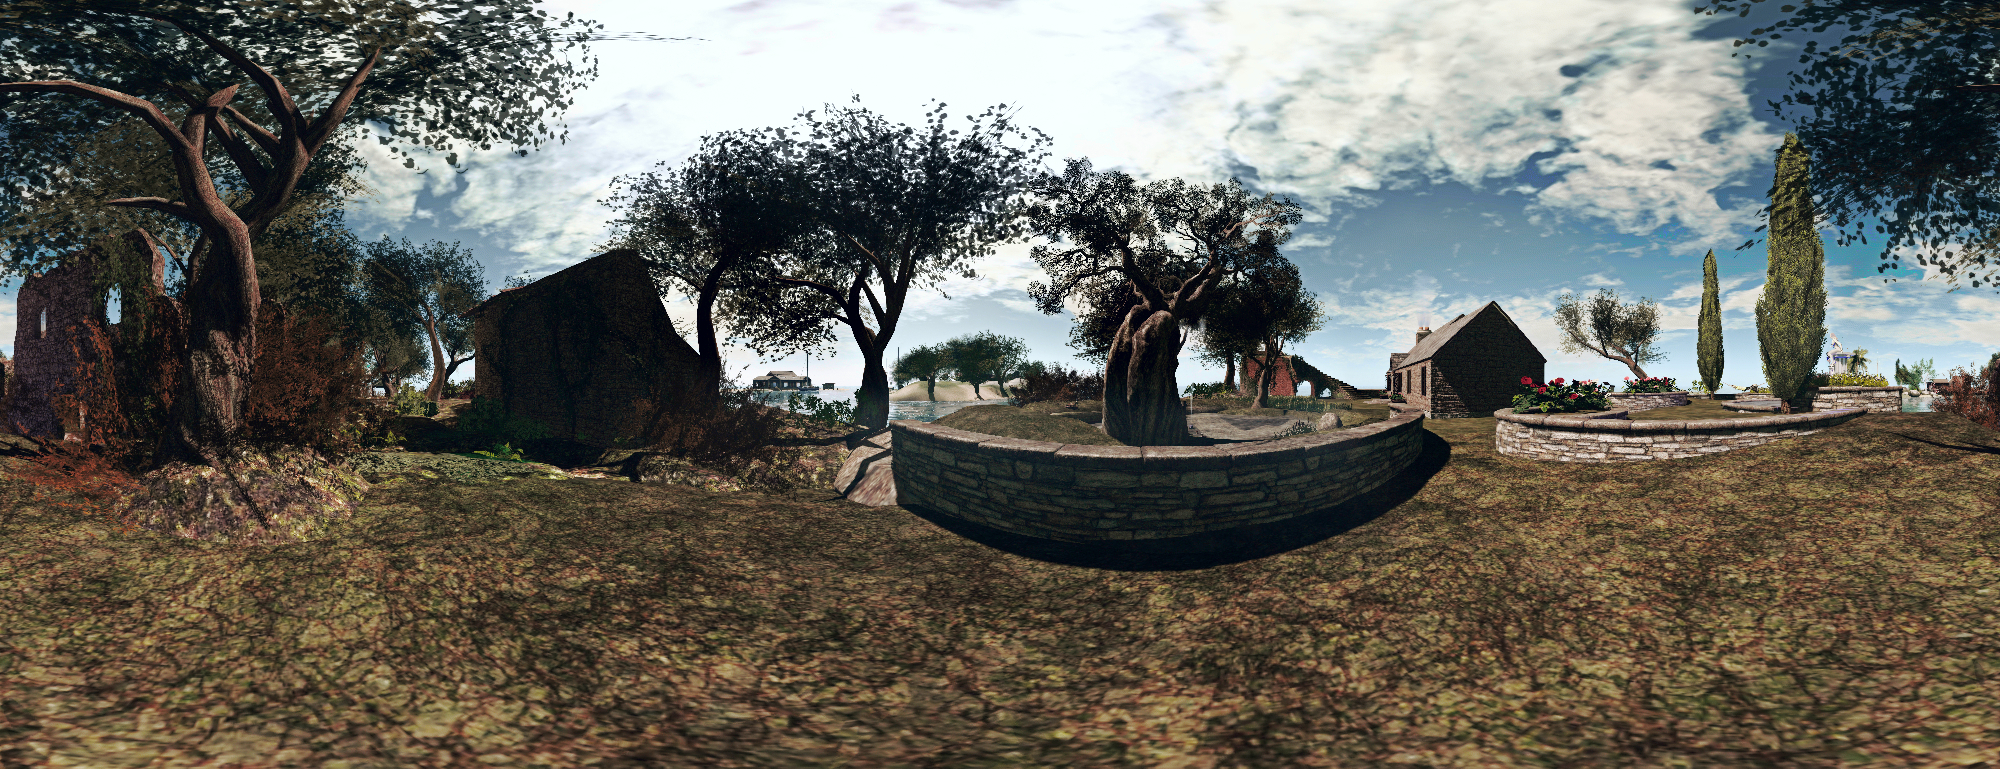
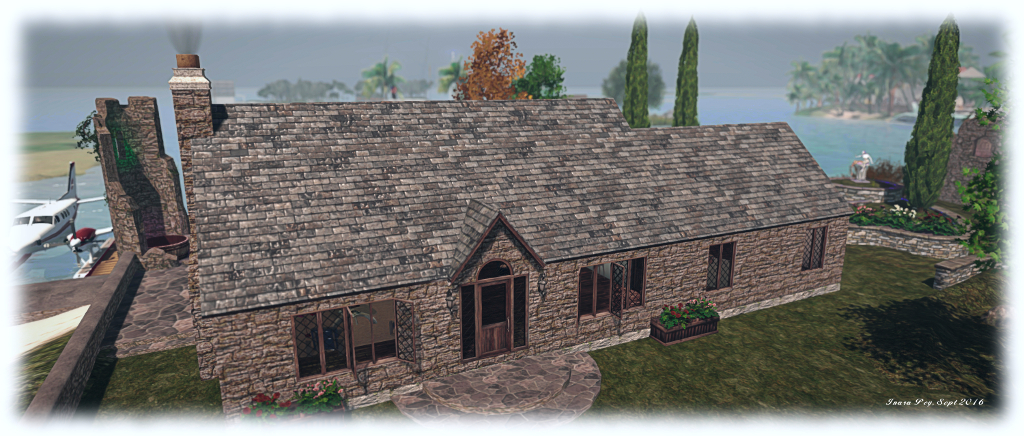
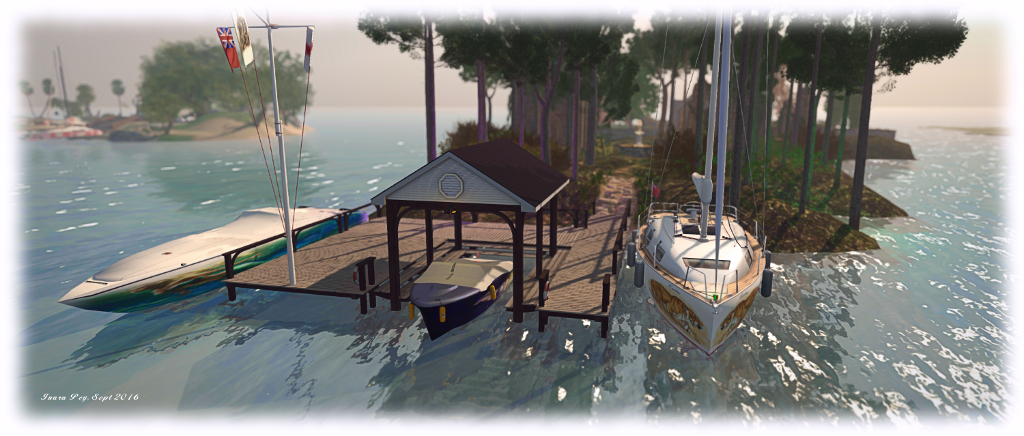
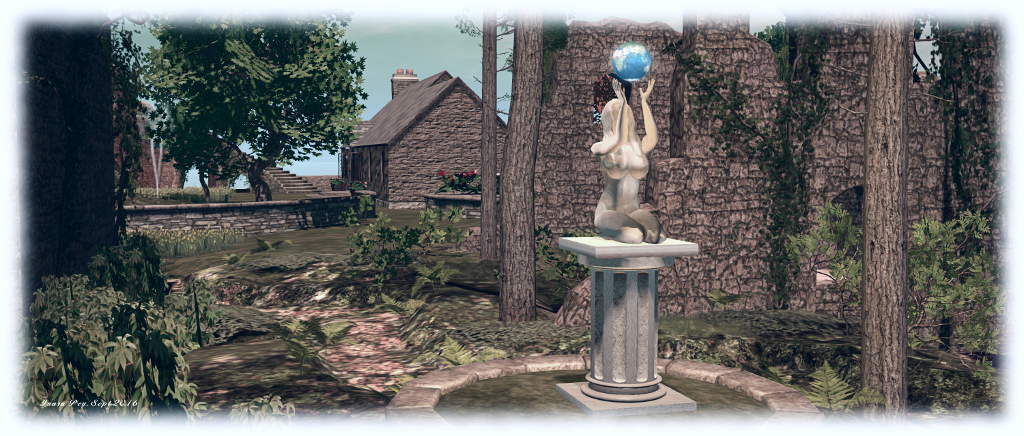
Camera Panoramic 360o spherical demonstration via Flickr – click to view with 360o scrolling

Following my look at the Illiastra Panoramic Camera HUD, Lalwende Leakey invited me to try the HUD system she has been developing for 360o cylindrical and spherical images from within Second Life.

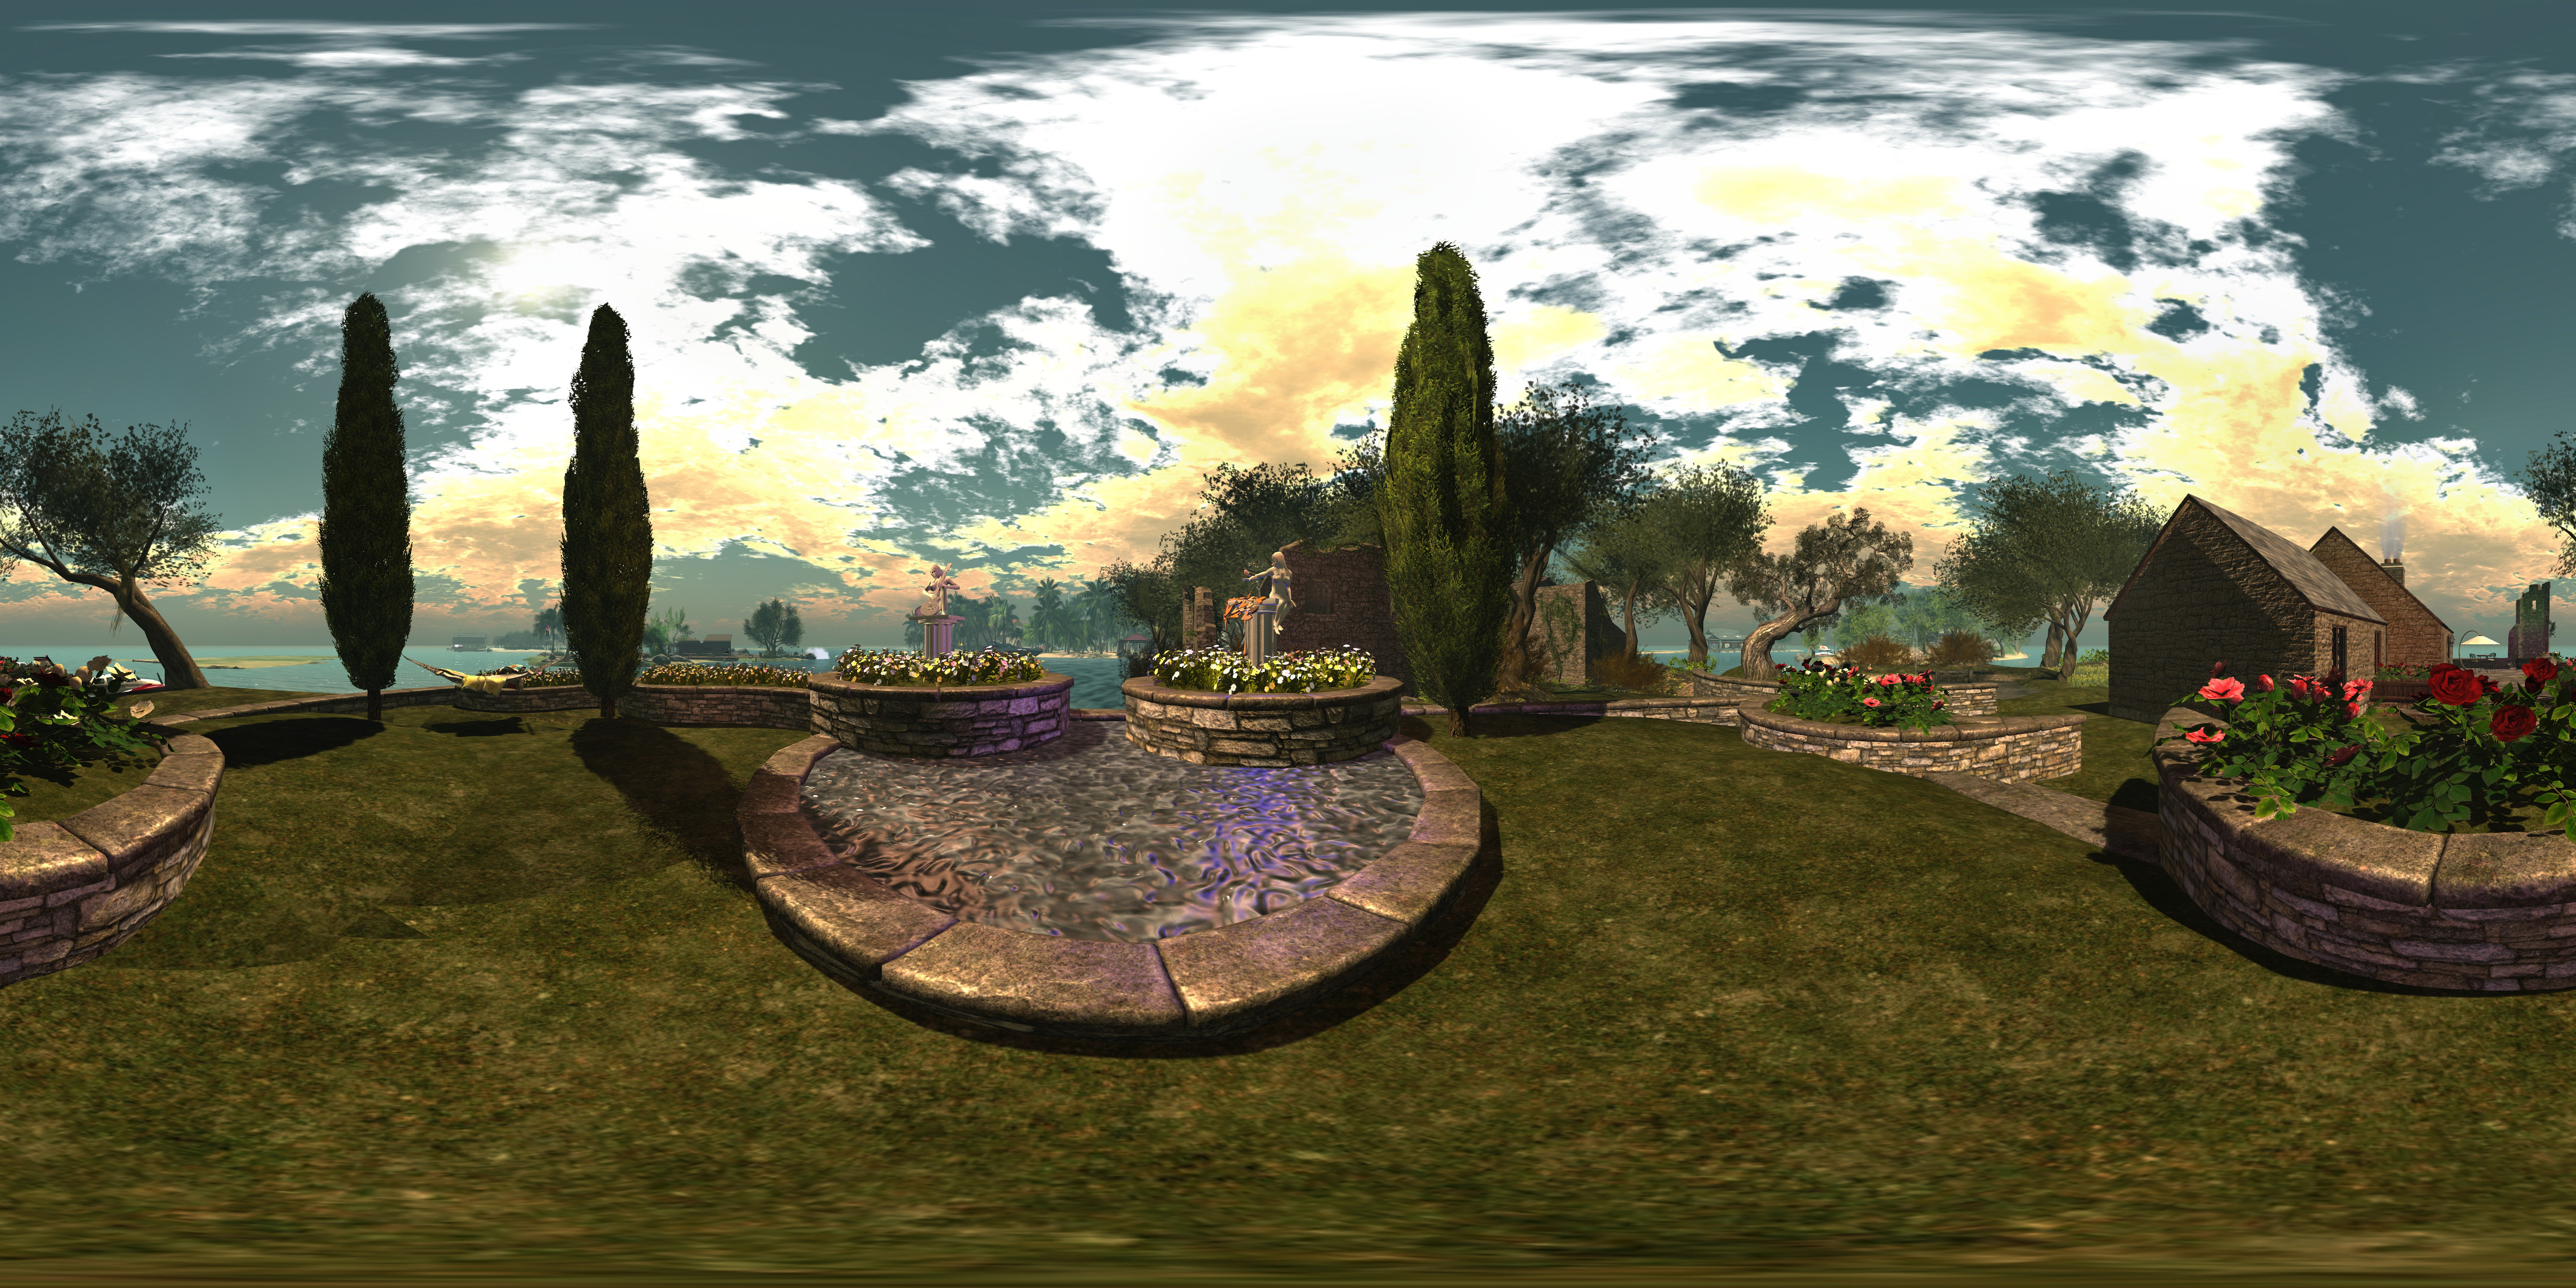
Called Camera Panoramic , the system is a comprehensive package for producing cylindrical (rectangular) images, full 360o spherical images suitable for upload to Facebook, VRchive, Flickr and other platforms or uploading as 360o videos on YouTube,  as well as planar images and 360olittle planet” images. A set of image presets are coded into the HUD to make taking shots easier – including the ability to take “selfies” of your avatar in 360o views.

Full documentation for the HUD is available on the web and via a downloadable PDF file file. In this article I’ll be looking at some of the core aspects of the system and running through how to produce a 360o image for uploading to Flickr.
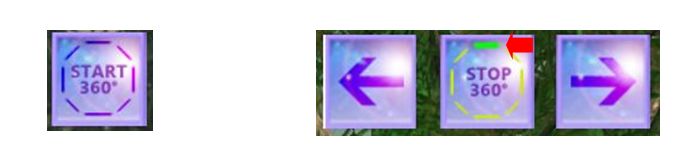
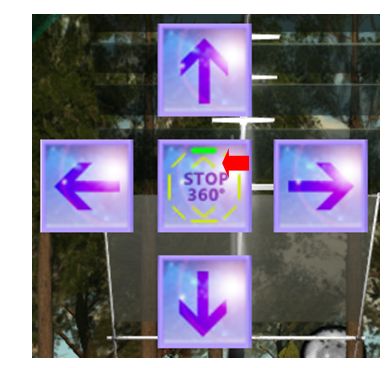
The HUD

The Camera Panoramic HUD comprises 8 buttons, summarised below and described in detail in the supporting documentation.

Camera Panoramic HUD

Note that some of the camera placement buttons may appear greyed-out; this is because they are toggle activated; clicking one shows it in blue (active), while the others turn grey – as is the case with the camera placement options in the image above. The camera image options are only available when the HUD is capturing images.

All of the options can be accessed by gesture-driven hot keys and chat commands on channel /3, as detailed in the camera documentation. I’ll be referring to the HUD buttons throughout this article.

hud-textWhen worn, the HUD also displays information in text. Again, full details on this information can be found in the camera documentation, but in brief, the information comprises: the image type you’re using (cylindrical or 360o) with the selected preset; the number of pictures to be captured: whether you are using a camera offset (X,Y,Z axis), and the required camera defaults.

Note that FOV and Focal Length are determined by the preset, but you must manually set the Camera Angle within your viewer (you may also need to remember the Focal Length value for stitching your shots together into a single image during post-processing).

To set the camera angle, use either the debug setting – use CTRL-ALT-SHIFT-S to open the debug floater and type CameraAngle – or use the Cam tab in Phototools.

Setting the camera angle via debug or Phototools (if you use a TPV other than Firestorm, you may be able to use any shortcut to camera options that viewer provides to set the required value)
Setting the camera angle via debug or Phototools

Before starting to take shots with the HUD, there are a some things you’ll need to do:

  • Set your preferred windlight and daytime settings.
  • Make sure you freeze the clouds – you’ll be taking up to 26 images which will need to be stitched together, and moving clouds could make that a bit of a bugger to do. Use Menu > World > Environment Editor >Sky Presets > Edit Presets or PhotoTools > Clouds and check the scroll lock check boxes
  • If you are using the At Avatar position, hide yourself from view  – used the supplied alpha mask after removing all attachments or use something like a Vanish gesture. Otherwise, parts of your avatar will appear in some of the shots.

Taking Your Shots

Important Notes:

If you want to upload your images to something like Flickr, VRchive or Facebook, you should use the 360o spherical image type, as this will produce an image in the required 2:1 (width:height) pixel aspect ratio (PAR).

Setting your viewer window size for 360 spherical shots

When using the 360o spherical image type, you must set your viewer’s window size to a square aspect ratio. Use Advanced > Set Window Size (click CTRL-ALT-D to display the Advanced menu option, if required) or if you have Phototools, click on Aids > Set Window Size.

Either option will display the Window Size floater (right) – type 1024×1024 in the text box and click Set. Your viewer window will resize itself.

Image Capture Basic Steps

Detailed instructions on taking shots with the HUD can be found in the documentation. The following is a summary of key steps:

  • Prepare your viewer windlight, freeze the clouds and, for 360o spherical images, set the viewer window size.
  • Wear the camera HUD and select your desired preset.
  • Make sure the preset’s Camera Angle is set for the viewer’s camera (see above)
  • Select the require camera position in the HUD (remembering to hide yourself if using At Avatar)
  • Tap ESC to free your camera, then click the Start button on the HUD to position the camera for your first shot, and pressing CTRL-‘ (tilde) to capture your first frame to disk.
    • The first time the camera is used, you’ll be asked for a file name and location for the shot & all subsequent shots will be automatically saved to this location
    • Subsequent uses of the HUD will automatically save shots to the last location you used to save snapshots to disk when using the snapshot floater.
  • Click the Right arrow on the HUD to advance the camera and use CTRL-‘ (tilde) to save all remaining shots. After saving the last shot, the camera will automatically exit the capture mode.

You should now have a set of images ready for stitching together.

Selfies / Camera Offsets

Camera Panoramic has a set of presets for “selfies”, allowing you to include your avatar in your images. The process for capturing is the same as above, and the presets are selected by clicking the Offset button on the HUD, then selecting Preset from the dialogue box. The presets are defined by starting position.

Remember, as well, the offset option also allows you to offset the camera in increments of 0.1, 1.0 or 10 metres in the X, Y and Z axis’s – refer to the camera’s documentation for more on this.

Continue reading “The Camera Panoramic: 360 photo fun in Second Life”

The Illiastra Panoramic Camera: 360-degree images of Second Life

Illiastra Camera Test; Inara Pey, October 2016, on Flickr A static panoramic view of our home island produced using the Illiastra Panoramic Camera and the Hugin Software.

I received a generous gift from Illiastra Ascendent (NVZN, aka James Reichert in the physical world) over the weekend, who sent me the Illiastra Panoramic Camera (MP link) to try-out in Second Life.

This is a HUD-based system which can be used to produce set of images of an in-world scene which can be stitched together using suitable software to create a static 360-degree view. These can in turn be uploaded to Facebook or websites such as VRchive and YouTube, as scrollable, 360-degree views of a location.

The system comprises two camera HUDs, “basic” and Pro, together with a photosphere for viewing captured images in-world. The difference between the two cameras being that the “basic” model uses 8 images to create a 360-degree panorama, while the Pro version takes a total of 26 (including directly above and below you) to produce either a panoramic view using 24 images, or a spherical view using all 26 images.

Producing your static panoramic image is a 2-step process:

  • Capturing your in-world shots using the camera
  • Stitching them into a panoramic mosaic using a suitable software application.

Once this is done, you can proceed to prepare them for 360-degree viewing on Facebook, VRchive, etc. Illiastra provides comprehensive set of videos on producing your panoramic shots, stitching them together and uploading them to Facebook, which I highly recommend.

For the rest of this article, I’ll take you through producing a panoramic shot and then uploading it to VRchive and converting it to a 360-degree video for You Tube.

Taking the Shots

There are some basic steps to follow when preparing to take shots using the system:

  • Position yourself at the centre of the location you want to capture in a 360-degree image. Be careful of where you select – too close to building or trees, etc., could have them dominating a part of the view.
  • Set your preferred windlight and daytime settings.
  • Make sure you freeze the clouds – you’ll be taking up to 26 images which will need to be stitched together, and moving clouds could make that a bit of a bugger to do. Use Menu > World > Environment Editor >Sky Presets > Edit Presets or PhotoTools > Clouds and check the scroll lock check boxes.
  • Make sure the viewer’s camera is set to the default view  angle, FOV and focal length
  • Hide yourself from view  – used the supplied alpha mask after removing all attachments or use something like a Vanish gesture. Otherwise, the top of your head will be in every shot.
  • Tap ESC on your keyboard to free your camera (and free it from any other influences acting upon it).

Once you’re set, click the camera HUD your camera will rotate and position itself for the first shot. Use the Snapshot shortcut CTRL-‘ (tilde) to save the image – you’ll be prompted for a file name and location on your computer for the very first short after the HUD is attached.

The Pro version of the camera produces 24 shots using the left / right keys (+ CTRL-' for image capture), the chevrons denoting the progress through upper / lower sets of 8 images apiece. The up and down buttons position the camera for taking sky / ground shots respectively, which can be used to create spherical views
The Pro version of the camera produces 24 shots using the left / right keys (+ CTRL-‘ for image capture), the chevrons denoting the progress through upper / lower sets of 8 images apiece. The up and down buttons position the camera for taking sky / ground shots respectively, which can be used to create spherical views

When you’ve saved the shot – which is effectively the first frame of your panoramic image – click the right arrow on the HUD to advance the camera to the next point (indicated in green on the HUD), and take another snapshot (CTRL-‘). You won’t be prompted for a file name for this and the remaining frames – simply progress on around the HUD, capturing a snapshot at each of the highlighted views in turn.

If you are using the “Basic” camera, you’ll be taking a total of 8 shots – once around the HUD. If you are using the Pro camera, you will be taking 24 shots around you – that’s 3 times around the HUD clicking the right button, giving you 8 horizontal shots, 8 angled upwards, and 8 angled downwards – just follow the prompts on the HUD. When you’ve taken all 24, click the UP arrow on the HUD to capture an overhead view, and the DOWN arrow to capture a shot of the ground under your feet. Again – remember to press CTRL-‘ to save each image.

Note that after the very first instance of asking you to select a file location / name for your shot for image ever captured using it, the HUD will automatically save any subsequent set of shots you capture to the last location on your hard drive you used to save images captured using the snapshot floater

Producing your Panoramic Image via Hugin

Once you have taken your shots, you’ll have either 8 (“basic” camera) or 26 (Pro camera) shots of your location. These now need to be stitched together. GIMP or PhotoShop can be used for this for those proficient in using them, otherwise Illiastra recommends using the Hugin Panorama Stitcher available through Sourceforge.net.  I opted to use this.

With Hugin installed and launched, proceed as follows:

  • In the Assistant tab, click on Load Images…
    • If you have been using the “Basic” camera, select all 8 of your shots
    • If you have been using the Pro camera, selected the first 24 shots  – do not include the final overhead sky shot or ground shot – these can be added later, if required.
  • A dialogue box will appear. Enter a value of 90 in the Horizontal Field of View (HFOV).
  • Click OK to load your images into Hugin – things will initially look a mess – don’t worry!
  • Click on the Align button to initially align your shots – this may take a while to process, depending on your system, the image resolution, etc., and then may end-up upside down. Again, don’t worry!
Loading and aligning your images in Hugin
  • When Align has completed, click on the Move/Drag tab and click Straighten. If your shots are upside down, enter 180 in the Roll text box and click Apply. Your images will further align and flip the right way up.
Straighten and correct inverted image, if required

Continue reading “The Illiastra Panoramic Camera: 360-degree images of Second Life”

A (Leafy Hollow) Cottage in Second Life

The Domineaux Effect Leafy Hollow Cottage, as seen for our revised garden

I recently mentioned that after spending a good few months on-and-off sorting out the island home and getting it just so, I’d started fiddling with it again.

It’s not that either of us was really dissatisfied with anything; it was simply the case that a hunt for a building which might form the basis for making a new house along the lines of Scotney Castle, started a hunt in-world and through the Marketplace, which uncovered a delightful cottage by Domineaux Prospero. It wasn’t precisely what we were looking for, but it – and Propsero’s popular Cottage Dock were enough to get me wanting to tinker and play again; and truth be told, the cottage really is a lovely unit.

The Domineaux Effect Leafy Hollow Cottage
The Domineaux Effect Leafy Hollow Cottage with modified exterior wall texture

The Leafy Hollow Cottage, to give it its full title, is a 94-LI single-piece, materials-enabled mesh build (+ extras) – no rezzer required. It’s perhaps the first dwelling to appeal to me since getting into Alex Bader’s house designs two years ago – which is saying something; it generally takes a team of wild horses and a stout harness to drag me from Alex’s work!  With a 27 x 12m footprint, this is a two room build, the larger one offering the full 12m width, the second being slightly narrower, and suited to use as a bedroom.

Core features are a working fire (with the nice touch of smoke rising from the chimney when the fire is lit), lockable front / back doors, opening / lockable windows, working exterior / interior lights (the latter provided by boards of candles suspended from the roof, complete with colour options), and control options accessible from the light switches. The main room offers room enough for a comfortable lounge and something like a kitchenette for those so inclined, but for me the main attraction of the house is the ceiling. This has beautiful exposed beams with arched bracing, giving the interior of the cottage a classic look and a feeling of age which perfectly contrasts with the plaster-like finish of the interior walls.

The cottage has a beautiful interior, ripe for furnishing and with plenty of wall space for pictures, all set off by the gorgeous ceiling detail

Being Modify, the cottage is open to a range of opportunities. For example, I’ve swapped-out the exterior wall maps for a set which match other elements on our island and re-tinted the roof tiles. LI can be reduced, if required, by removing the external uPVC style guttering. The extras included comprise planter boxes, semi-circular steps for the front / back doors, rain barrels, and plants for the planters.

The Domineaux Effect Cottage Dock is the first prefab dock facility I’ve really liked (as opposed to using pier building sets). At 54 LI, it provides room for up to three boats, one of which can be under the roof. An additional floor section allows the covered area to be used as a party deck, if preferred. Various accessories – chairs, a beer cooler, dock extensions and two versions of a little boat –  are provided, and the dock itself is provided in two finishes: weathered or “new”. Being Modify it is also open to some degree of personal tweaking.

The Domineaux Effect Cottage Dock provides moorings for up to three boats - if you don't mind jumping over the dock's handrails to get to one of them! Note the flag pole is not a part of the dock
The Domineaux Effect Cottage Dock provides moorings for up to three boats – if you don’t mind jumping over the dock’s handrails to get to one of them! Note the flag pole is not a part of the dock

So what of the rest of the island? I won’t bore you with reams of details. Suffice it to say we took the opportunity to make things look a little more natural. The southern end of the island is perfectly suited to the Cottage dock, and so behind this, I put Alex Bader’s landscaping kits to work, using his Scots Pine, Rocky Trail and Enchanted Wood (minus the trees, which I swapped for his Scots Pines) to offer a more natural feel to the island as things gently slope upwards trough a wooded area in which sit some of the old ruins.

Kris Lehmann’s Botanical forest Ruins Tower –  which really started the whole “house among the ruins” thing for me – now sits at the north end of the island, giving arched access to a new, broad ribbon of beach looking out over totally open water. We’ve also retained the little “formal” garden, built using Alex Bader’s Tiered Garden Wall Set – fast becoming a feature in many public regions, which offers a natural break between the more “natural” end of the island and the house with its lawns and terrace.

Some of the castle ruins are retained, but relocated. Sculptures by CioTToLiNa Xue and Silas Merlin remain features across the island

For those looking for a small, comfortable house offering a fair degree of flexibility with the internal space without running to multiple rooms, the Domineaux Effect Leafy Hollow Cottage could be just the ticket. The Cottage Dock is similarly a great addition to land which features water, whether or not you have boats to dock. My only quibbles with them are really, really minor: the Cottage Dock could perhaps benefit from a gap in the handrails on the left side for boarding craft moored there, while the default texture and materials maps on the exterior of the cottage can require flipping in order to make the mortar between the stones look recessed, rather than raised – but this is easily done. Certainly and obviously, neither of these factors prevented an investment in both cottage and dock.

To see the Leafy Hollow Cottage and the Cottage Dock in-world, hop over to The Domineaux Effect at Musing Meadows. I doubt you’ll be disappointed.

A slight pause in Second Life

Island building ... again ...
Island building … again …

I’ve been a little quiet blogging-wise these last couple of days because I’m at it again: re-building the island home. It’s Caitlyn’s fault (or at least that’s my excuse … until she says otherwise 🙂 ); she showed me some photos of Scotney Castle, which sent us on a hunt for something that could be converted into a similar-looking place.

Nothing we found really appealed, but in mooching around The Domineaux Effect  by Domineaux Prospero, I came across a cosy little two room cottage. And of course, Domineaux also makes a great boat dock (imaged above, now at the southern end of the island). And, well, once discovered things have to be purchased, don’t they?

Anyway, the work is almost done in getting things ship-shape, so normal service will be resumed very shortly! 🙂 .

Holly Kai Park makes a Second Life Editor’s Pick!

Yay! Holly Kai Park in Editor's Picks
Yay! Holly Kai Park in Editor’s Picks

Holly Kai Park made it into the Destination Guide on Friday, September 23rd – and was selected as an Editor’s Pick (see above)!

The Park’s entry (shown at the foot of this article), can be found in the Nature and Parks section of the Destination guide, with the usual teleport links.

We’re pleased to have the park featured, as this weekend see the opening of our new Art at the Park Exhibition, which will run from Saturday 24th September through to Sunday 23rd October, 2016.  The artists featured in this exhibition are:

  • Anibrm Jung – award-winning photographer
  • John Brianna – physical world and virtual world photographer and artist
  • Giovanna Cerise – renowned physical world and virtual world artist
  • Wildstar Beaumont – popular and well-regarded Second Life photographer
  • Inara Pey – (who she?)

The exhibition opens at 2:00pm on Saturday, September 24th at our new hill-top art display area, with Erin68 Frog and Satin providing the music at our new art events area on by the art displays.

Holly Kai Park - now in the Destination Guide
Holly Kai Park – now in the Destination Guide

I’ll have more on the exhibition in a post here shortly – but you can get the low-down through the Holly Kai blog.

We hope you can join us for the opening – but if you can’t, do please drop into the park and have a wander around. It’s there for everyone to enjoy.


Holly Kai Park: ready for a new season in Second Life

Holly Kai Park: the artists are preparing for the next exhibition

We’re ramping up for a new season of events at Holly Kai Park – there will be an announcement on the next Art at the Park exhibition, opening on the weekend of the 24th / 25th Sept, via the Hollykai blog very shortly – and there will be new events to follow it. In preparation, the last few days have been spent in making some final adjustments to the park’s layout, to ready it for everything we hope to be supporting.

Most notably for regulars to the USS regions by boat, and who may sail past Holly Kai, the Pavilion, our live events venue, has been relocated to the west side of the region, replacing the under-used beach front there. It now has dedicated moorings for boats, which include a 2-hour loiter time, and re-rezzing spots for boats if people sty longer.

Holly Kai Park: The Pavilion - relocated and ready for live events
Holly Kai Park: The Pavilion – relocated and ready for live events

Remember, the Pavilion is available for live music, charity and private events. We do not charge for using it, but simply request a donation to our adopted charity, Stand Up to Cancer. For information on booking, please see the Hollykai website, and the Pavilion booking form.

Moving the Pavilion has allowed us to introduce a new area to the Park: the Storyteller’s Circle. Located in the south-eat corner of the Park, Storyteller’s circle offers a circular path beneath fir trees, with places to sit and  a place to picnic. It is also a place which will offer special events in voice – story telling, workshops and more, when the central grassy circle will be converted for presentations and activities. We hope to kick things off at the circle with a special Halloween event!

Holly Kai Park: Storyteller's Circle
Holly Kai Park: Storyteller’s Circle

As a part of the changes, the rocky area and waterfalls have been removed so that there is even move of a natural flow across the park from one side to the other. New trails and tracks have been added, together with a few more secluded cuddle spots 🙂 .

If you’ve not visited Holly Kai Park recently (or at all) I hope that you’ll find time to do so. We’ve had a lot of fun revising things, and in adding bits here and there, and we’re looking forward to kicking-off an expanded series of events, with the weekly music at Caitinara Bar, the monthly Art at the Park events, complete with Stories at the Park, and the upcoming Voice events at the Storyteller’s circle!

SLurls to the major locations are below. Do please say hello if you happen to see one of us there when visiting – and please consider making a donation to Stand Up To Cancer via the donation boards located at key points in the Park.

Holly Kai Park: new trails

Holly Kai Park SLurls

All rated Moderate