May 5th through May 26th will see the annual Raglan Shire Artwalk take place across the regions of the Shire, allowing visitors to wander along leafy roads and paths, taking-in the builds and in particular discovering and admiring the pictures, painting, sculptures and models on display.
Every year, around 100 exhibitors participate in the Artwalk, and the organisers hope that this year will be no different.
Applications for participation as an artist opened on April 8th, and will remain open through until April 28th, at 21:00 SLT. Artists of all shapes and sizes are warmly invited to participate, and submission of reproductions of RL artwork (painting, drawing, digital fine art, printmaking that can be imported and put on a prim) are welcomed, along with SL photography, manipulated photography and sculpture.
Artists can display more than one piece if they wish
2D (“flat” art pieces will be awarded a maximum of 15 prims, and individual pictures should be 1 prim, including the frame
3D art (sculptures, etc.), will be awarded a maximum of 500 prims for up to three pieces of work. Artists are requested to state the number of prims per piece in their application
All the above art forms are welcome, but should be rated PG / G – so no nudity, please!
Sales of works are allowed
Group membership will be required in order to display work
Questions should be addressed to Teal Freenote or Liandras Jameson in-world.
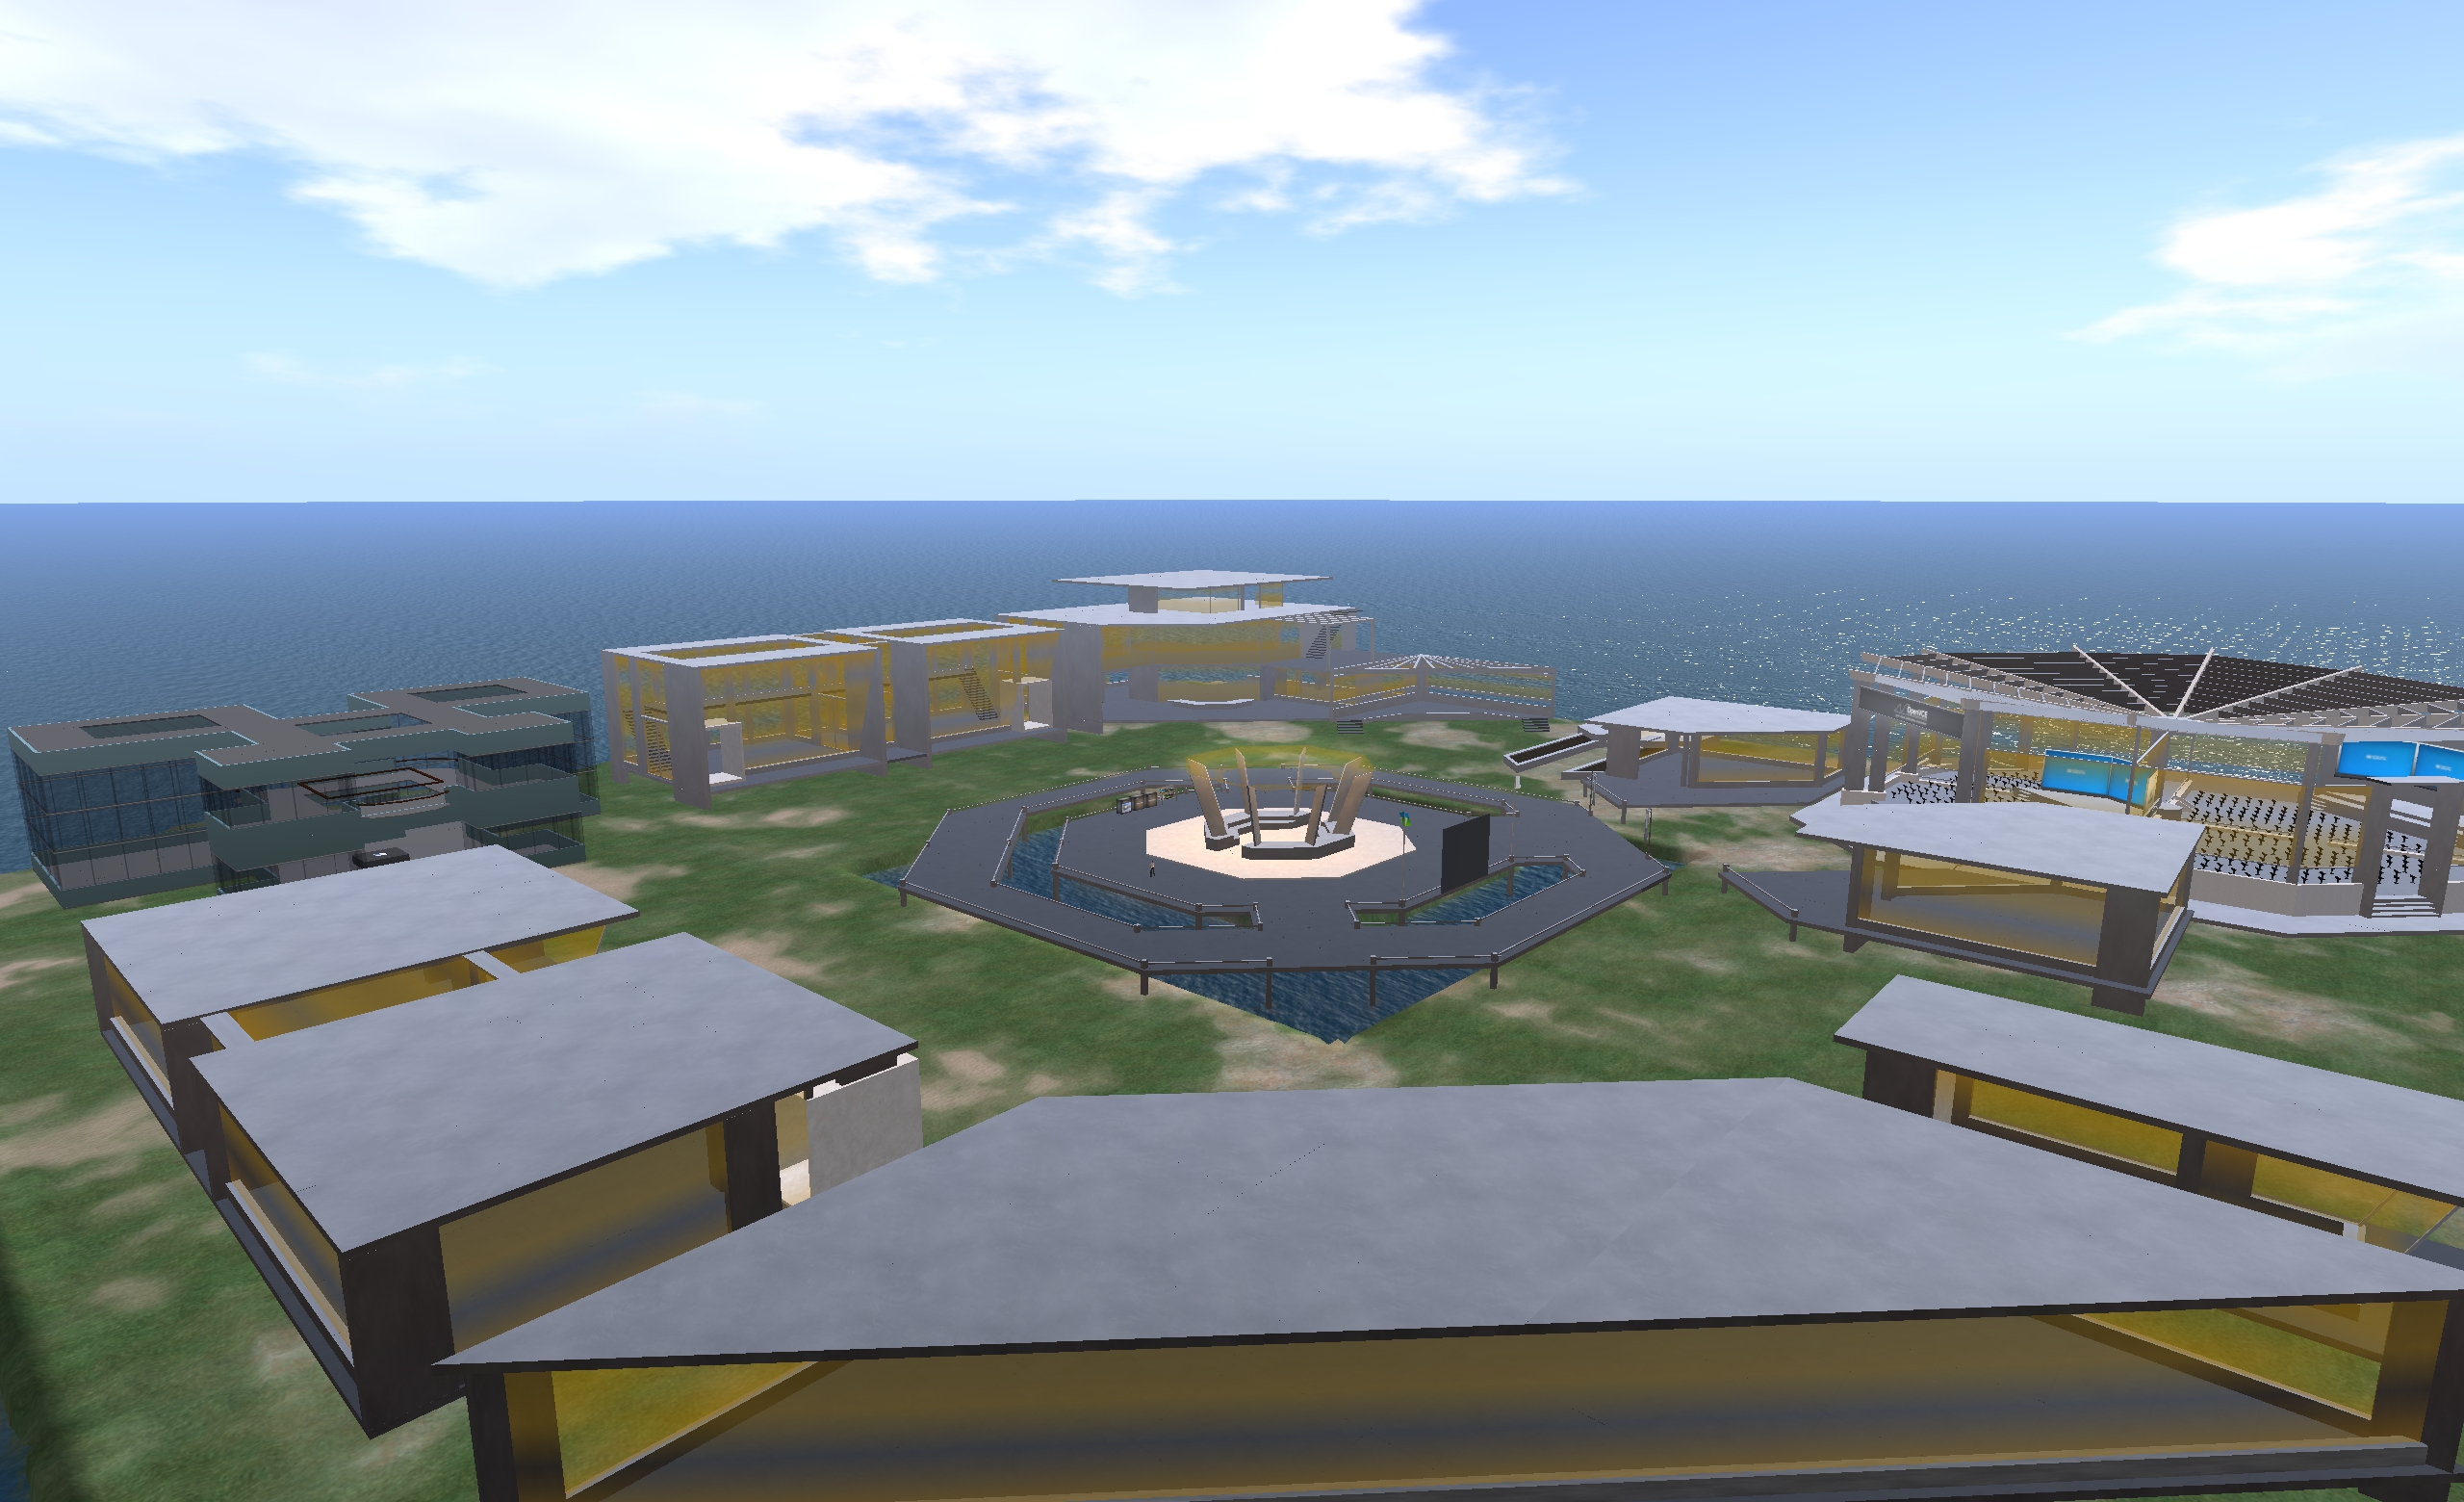
The arrival point for Artwalk 2012
Key Dates
Sunday April 28th: Applications close at 21:00 SLT
Thursday, May 2nd: Notification of exhibit space location issued to artists
Friday, May 3rd / Saturday May 4th: Artist set-up days
Sunday, May 5th: ARTWALK OPENS
Sunday, May 26th: Artwalk closes
Sunday, May 26th (after 18:00 slt) / Monday, May 27th: Takedown of works.
In June 2012, Linden Lab announced the Shining Project, aimed at implementing a range of improvements over time designed to improve Second Life’s overall improvements. Part of this work was defined as “Object Caching and Interest Lists”, which the blog post described as “Intending to provide faster drawing of objects that are most likely to be redrawn later in a resident’s session or in the next session.”
Andrew Linden has been developing this project over the last several months, as reported in an ongoing basis in this blog. So far his work has primarily been focused on one side of the equation – the interest list code itself, which has been primarily server-side work.
However, with the most recent updates, Andrew has started looking at the “object caching” side of the equation, with changes made to how the server defines “cacheable objects” held by the viewer. With the next set of upcoming updates, this work is set to expand – and, for the first time within the project – see changes made to the viewer as well.
Current Issues
Before examining the forthcoming updates Andrew has been working on, a quick update on issues people have noticed in relation to interest lists changes.
“Missing” prims – not caused by the interest list work, but possibly exacerbated by it
“Missing” Prims: There has been a marked increase in prims in linksets failing to render, requiring a right-click (as one solution) to make them visible. As already reported in my week 15 project updates, this is not an interest list problem per se, although Andrew views the increase in occurrences of the problem as possibly being related to his changes in how the server defines “cacheable objects”. His investigations are continuing.
Objects out-of-view failing to produce sounds: If an object is initially out of your field-of-view, it is not sent to the viewer until such time as it does enter your field of view, and so sounds from it are not played. Andrew has not had time to look into this, but notes that it is “on his radar”
Finally, and while not a technical issue per se, Andrew reports that some users are still unhappy with the way the server sends updates from objects – particularly those close to your camera – when they pass out of your field-of-view. While not entirely sure how this can be addressed, Andrew is considering what he calls a “keyhole idea”, wherein instead of just sending updates for objects in the camera’s current field of view – the camera frustrum – the server might send updates for all objects within a sphere of a set radius around the camera, as well is its frustrum. However, the problem with this idea is how big a radius should the sphere be? As Andrew notes, “Whatever it is set to probably wouldn’t work for everyone,” so he is still considering options.
Forthcoming Updates
Speaking at the Simulator User Group Meeting on Tuesday April 9th, Andrew revealed that the next Release Candidate submission of his interest list work is now ready. This comprises three elements:
Optimisations to reduce CPU cost of sending interest list-related data
Improved streaming through re-balancing the bandwidth used by the various UDP message categories
New “hints” the server will accept from the viewer to help it build the interest list for the viewer.
This work is aimed in part at making more intelligent use of the information on a region the viewer may already have locally cached from a previous visit, and it relies on both the initial information the viewer sends to the server on connecting to it, and what Andrew Linden calls “cache probes” sent by the server to the viewer. The approach, as explained by Andrew, basically works like this:
On connecting to a region for the first time (or after cache has been cleared), the viewer can “tell” the server it doesn’t have any information on the region, resulting in the server sending the viewer all the data it needs
If the viewer already has data relating to the region, the server send out a series of “cache probes” (lists of object identifiers – known as their local_id – and their versions), which the viewer then checks against its list of cached identifiers (local_id) and their versions
If the cached version number of an object’s local_id matches that sent by the server, the viewer doesn’t send any reply to the server, and the object is rendered directly from cache
If the cached version number does not match that sent by the server for a given local_id, it indicates the object has changed since the last time it was cached by the viewer, and a “cache miss” message is sent to the server in reply, which prompts the server to send the updated data, which the viewer then uses when rendering.
Upate April 10th: The BlueSteel / LeTigre package did not deploy as planned due to problems getting the updates completed in time. The Magnum package therefore deployed to all three RC channels.
Server Deployments Week 15
Second Life Server (Main) Channel
There was no planned deployment to the Main channel on Tuesday April 9th. The next scheduled deployment will be in week 16 (week commencing Monday April 15th). This was because there were bugs found in both of the RC releases from week 14 which the Lab wanted to resolve rather than having them propagate across the grid.
Release Candidate Channels
All three Release Candidate channels remain on the same releases as week 14, the only updates to be deployed on Wednesday April 10th being:
BlueSteel and LeTigre (currently running the new server-side AO capabilities) – should receive a design change to improve compatibility between the new animation override system and other scripted objects that animate avatars (such as poseballs). This may be in response to a JIRA – BUG-2164 – being raised in relation to conflicts between the new AO capabilities and poseball systems
Magnum (currently running Monty Linden’s HTTP updates) – should receive a fix to correct a crash mode.
As always, there is a forum discussion thread for the week’s deployments.
SL Viewer Updates
CHUI – Communications Hub User Interface – Flickering Issue
The CHUI merge with the SL release viewer has brought with it an increase in the ATI/AMD issue of clickable links in the viewer’s UI flickering when anti-aliasing is enabled (BUG-1560, relating specifically to cards running the 12.10 (or later) Catalyst). This tends to happen with links in the chat window, but may also affect the selection box surrounding items in the inventory floater.
Those encountering the problem should consider raising a bug report.
Materials Processing – Land Impact
The most notable update to the SL viewer has been the release of a project viewer for materials processing. The viewer is available on the SL wiki Alternate Viewer page, and the code is available on Bitbucket. However, due to the work still going into the project, both come with caveats:
It is still very fragile
It is still subject to change in various ways
It should not be used on content you care about – particularly if said content is MODIFY / NO COPY
It is not recommended that TPVs integrate the code into their release viewer at the moment due to the fact the code will be changing (and there is not SSB merge as yet).
The release of the viewer has also brought with it something of a concern.
Qie Niangao has been carrying out further tests with the Materials Processing project viewer, and has come up with evidence that aspects of the material system can result in objects experiencing sudden (and potentially large) Land Impact value changes. Specifically use of the Alpha Masking and Emissive Mask options when working with alphas can have unexpected results – which is not to say that the result are not unexpected behaviour from LL’s perspective.
Qie describes his discovery in MATBUG-13, is which he offers the following exercise:
Create a sphere. Hollow it 95%. Add a simple rotation script.
Set the Alpha Mode to Alpha masking. Note that the land impact is now 43. “More info” shows the extra weight attributed to Physics.
Using the Alpha Masking and Emissive Mask Alpha Mode options with tortured prims (in this case a hollow sphere) can lead to a inflation of LI for an object
Qie goes on to note that cutting or squashing such an object can have an even more dramatic impact (path cutting the sphere in half, for example, can push LI to 1348, while squashing it almost flat can lead to an LI of 154).
Commenting on the JIRA, Maestro Linden notes:
This is expected behavior. When a material is added to an object, it is enrolled in new prim accounting. A 50cm, 95% hollow sphere has 43.5 physics cost when using a ‘prim’ physics representation. This high cost is caused by the high complexity physics shape. See https://wiki.secondlife.com/wiki/Physics_Optimization for a guide about how to reduce physics cost.
It is interesting to note, however that the same prim using Alpha Blending retains the same physic cost, but only generates a LI of 1. As Alpha Blending is essentially the way alpha layers are currently handled by the system at the moment, Qie’s theory – which I agree with – is that the existing system as been somehow “grandfathered-in” to the LI accounting system.
New World Studio, which is currently in beta testing, is designed as a quick-and-easy means of setting-up an OpenSim environment on any Windows, Mac or Linux computer.
The brainchild of Olivier Battini, New World Studio (NWS) is designed to provide home users, educational organisations and businesses a “one stop” means of establishing a self-hosted OpenSim environment, complete with a choice of region designs and with licence options (starting for 30 Euros / $40 – and subject to a 50% discount at the time of writing), which include automated network / firewall / access configurations.
NWS supports all current OpenSim commands, and can be quickly and easily configured to run as a single region or as an estate of multiple regions or megaregion, accessed by either the supplied viewer (Imprudence) or an OpenSim-compatible viewer of your choice. While the free version currently only supports a standalone capability, Olivier is re-working things so that installations can be opened-up for public access when online. Even so, and as a standalone option, NWS already offers home users a quick and easy way of establishing a private sandbox environment which content can be created and / or tested ready for export to other OpenSim environments and – to a degree at least – to Second Life.
To say NWS is exceptionally easy to set-up is an understatement. From download to running in its default mode takes less than five minutes. I had it downloaded, installed and customised to suit my requirements (avatar, my own OAR region file & choice of viewer) in under ten.
Installation
Installation is a matter of downloading the required ZIP archive (obtained directly from Olivier at the time of writing) and extracting it to a nominated location / folder. Linux and Mac users will also need to install Mono, otherwise everything is ready to run NWS in a default configuration.
However – if you want to customise the installation in any way (use your own region OAR or preferred viewer, for example), you will need to do so before you run NWS for the first time.
Custom Configuration
Configuring NWS requires editing the NewWorldStudio.INI (contained in the application folder) file using a suitable plain text editor (such as Notepad). Generally speaking, the [World], [Owner] and [Software] sections of the file will need to be updated.
[World]
Sets your region details and type.
Name: the name of your region (Default “New World Studio”) – can be anything you want
Initial Region: the region loaded on start-up. This can be one of the five supplied regions, or your own OAR file. The supplied regions are:
OpenVCE – a conferencing region with open and enclosed meeting spaces
Flat 21 – a complete flat grassland region 1 metre above sea level
Business District – a built-up region with roads, high-rises, a plaza, etc., supplied by Linda Kellie.com
Mountain Retreat – a mountain / snow region with house, chair lift and various activities, again supplied by Linda Kellie.com
Undersea Observatory supplied by Justin Reeves.
To use any of the supplied regions, replace the existing region name “OpenVCE” with the name of the region you wish to use exactly as it is listed in the REGIONS folder in your New World Studio installation (e.g. “Business District (LindaKellie.com)”).
If you want to use your own OAR file with NWS:
Create a folder in the REGION folder of your NWS installation & give it a suitable name
Copy the required OAR file to the folder you just created and rename it “region.oar”
Replace “OpenVCE” in Initial Region with the name of the folder containing your OAR file.
The default OpenVCE region supplied with New World Studio under a Creative Commons licence
SizeX and SizeY: define your region size. The default is a single 256m x 256m region. However, you can create multiple regions by entering suitable values here (3 and 3 will create a block with 3 regions on a side, for example).
IsMegaregion: If you create multiple regions, determines whether they should be treated as individual 256mx256m regions (FALSE) or whether they should be treated as a single megaregion (TRUE).
PosX and PosY: Define the global starting co-ordinates for your world. The default is 7000 for each, which is fine if you’re intending to have your world purely as a private environment. However, if you want your world open to the public, you should consider changing the co-ordinates to something more unique – the hypergrid system doesn’t allow moving directly between destinations with the same co-ordinates.
ShowOsWindow: Determines whether the system console is displayed when starting-up NWS. TRUE (default) = console will be displayed; FALSE = console is not displayed. Allowing the console window to open means you have access to OpenSim’s server-side commands, such as saving any region you build as an OAR file, etc.
[Owner]
This section defines your user name, password and default avatar.
Change FirstName and LastName and Password to suit your requirements
InitialAppearance: enter the name of your preferred default avatar here (Benjiro, Benjiro2, Cara, Cara2)
The four default avatar styles: Benjiro, Benjiro2, Cara and Cara2
Update, April 10th: Use of some of the mateirals processing capabilities – notably Alpha Masking and Emissive Masks – can have a significant affect on Land Impact valuse – see my week 14 SL projects update for details.
On Monday April 8th, Linden Lab released the first public cut of the Materials Processing project viewer. As the server-side of the materials processing support was deployed to the main grid earlier in the year, this release means that materials processing – with some caveats – can be experimented with by all.
These caveats are that the viewer is still very much an alpha release, and as such is both subject to change and should not be relied upon as a primary viewer for everyday use in SL. Also, as elements of the viewer may change before it reaches a release status, it is viewed as advisable by LL that people do not use the materials capabilities on MOD / NO COPY items.
So how does it all work? I provided an introduction to materials processing as it applies to Second Life back in 2012. However, the following will hopefully provide a summary for those who haven’t kept up with the news as well as providing a look at the viewer itself.
What is Materials Processing?
Materials processing is the combining of various computer graphics “maps” to significantly increase the level of detail that appears on any object or surface within a computer game. Within Second Life, textures (themselves a form of computer graphics map called a “diffuse map”) are used to add detail to in-world objects and surfaces. The new materials processing capability will introduce two further kinds of computer graphics map – normal and specular – to Second Life which can be used alongside textures to dramatically increase the detail and realism of objects and surfaces.
Normal maps are a means of faking high levels of detail on an otherwise bland surface by means of simulating the bumps and dips that create the detail. Normal maps can be created in several ways – such as from a texture (diffuse) map using a suitable graphics application (and plugin, if required), or by producing a high-quality model (mesh) and using an overlay process to generate a normal map which can then be applied to a lower-quality model of the same object (i.e. one with a lower triangle count) to simulate the same level of detail as the high quality model, as shown below.
Using a normal map to enhance the detail on a low-polygon model. The image on the left shows a model of some 4 million triangles. The centre image shows a model with just 500 triangles. The image on the right shows the 500-triangle model with a normal map taken from the model on the left applied to it (credit: Wikipedia)
In the real world, every highlight we see in an object is actually the reflection of a light source. Surfaces reflect light differently to one another, depending on a range of factors (material, lighting source point(s), etc.). Specular maps simulate this by allowing individual pixels in an object to have different levels of brightness applied to them, giving the appearance of different levels of light being reflected by different points on the object. Like normal maps, specular maps can be produced in a number of ways, both within 3D graphics modelling programs and in tools like PhotoShop.
A rendering of a lemon using diffuse, normal and specular maps to create a life-like look and feel
The new capabilities in Second Life allow diffuse (texture), normal and / or specular maps to be applied to in-world objects (prims, meshes), to achieve a much greater level of realism in their appearance.
First, Create Your Maps
In order to use the new capabilities, you must obviously have the required maps. These ca be created in numerous ways, and I’m certainly not qualified enough to give a hands-on demonstration myself. As such the following are intended merely as possible pointers.
Normal maps can be readily produced directly from an associated diffuse (texture map), which may be the most common way to do so. Both Photoshop and Gimp, for example, support normal map creation in this way, each using a suitable plugin. Photoshop uses the nVidia normal map filter for example, while Gimp uses a plugin of its own. There are numerous tutorials available on YouTube explaining how to create normal maps using either Gimp or Photoshop and these plugins.
Left: A diffuse map (texture); right: a normal map created directly from the texture
As a user of Gimp, I found the following tutorial by vscorpianc provides a sold look at getting going with normal map creation, as it covers installing the required Gimp plug-in and also offers-up various resources for image files to play with, if you don’t have anything suitable yourself.
For those working with mesh, there are also various ways in which to produce a suitable normal map – including, as mentioned above, using an overlay from a high-quality model on an identical model of lower quality. Again, as I don’t use the likes of Blender, Maya, et al, You Tube offers what appears to be some easy-to follow tutorials for those who need them.
This summary is published every Monday and is a list of SL viewer / client releases (official and TPV) made during the previous week. When reading it, please note:
It is based on my Viewer Round-up Page, a list of all Second Life viewers and clients that are in popular use (and of which I am aware) and which are recognised as adhering to the TPV Policy
By its nature, this summary will always be in arrears
The Viewer Round-up Page is updated as soon as I’m aware of any releases / changes to viewers & clients, and should be referred to for more up-to-date information as the week progresses
The Viewer Round-up Page also includes comprehensive links to download pages, blog notes, release notes, etc., as well as links to any / all reviews of specific viewers / clients made within this blog.
 May 5th through May 26th will see the annual Raglan Shire Artwalk take place across the regions of the Shire, allowing visitors to wander along leafy roads and paths, taking-in the builds and in particular discovering and admiring the pictures, painting, sculptures and models on display.