New World Studio: self-hosting a region made easy

Note: New World Studio is no longer functional.

New World Studio, which is currently in beta testing, is designed as a quick-and-easy means of setting-up an OpenSim environment on any Windows, Mac or Linux computer.

The brainchild of Olivier Battini, New World Studio (NWS) is designed to provide home users, educational organisations and businesses a “one stop” means of establishing a self-hosted OpenSim environment, complete with a choice of region designs and with licence options (starting for 30 Euros / $40  – and subject to a 50% discount at the time of writing), which include automated network / firewall / access configurations.

NWS supports all current OpenSim commands, and can be quickly and easily configured to run as a single region or as an estate of multiple regions or megaregion, accessed by either the supplied viewer (Imprudence) or an OpenSim-compatible viewer of your choice. While the free version currently only supports a standalone capability, Olivier is re-working things so that installations can be opened-up for public access when online. Even so, and as a standalone option, NWS already offers home users a quick and easy way of establishing a private sandbox environment which content can be created and / or tested ready for export to other OpenSim environments and – to a degree at least – to Second Life.

To say NWS is exceptionally easy to set-up is an understatement. From download to running in its default mode takes less than five minutes. I had it downloaded, installed and customised to suit my requirements (avatar, my own OAR region file & choice of viewer) in under ten.

Installation

Installation is a matter of downloading the required ZIP archive (obtained directly from Olivier at the time of writing) and extracting it to a nominated location / folder. Linux and Mac users will also need to install Mono, otherwise everything is ready to run NWS in a default configuration.

However – if you want to customise the installation in any way (use your own region OAR or preferred viewer, for example), you will need to do so before you run NWS for the first time.

Custom Configuration

Configuring NWS requires editing the NewWorldStudio.INI (contained in the application folder) file using a suitable plain text editor (such as Notepad). Generally speaking, the [World], [Owner] and [Software] sections of the file will need to be updated.

[World]

Sets your region details and type.

Name: the name of your region (Default “New World Studio”) – can be anything you want

Initial Region: the region loaded on start-up. This can be one of the five supplied regions, or your own OAR file. The supplied regions are:

    • OpenVCE – a conferencing region with open and enclosed meeting spaces
    • Flat 21 – a complete flat grassland region 1 metre above sea level
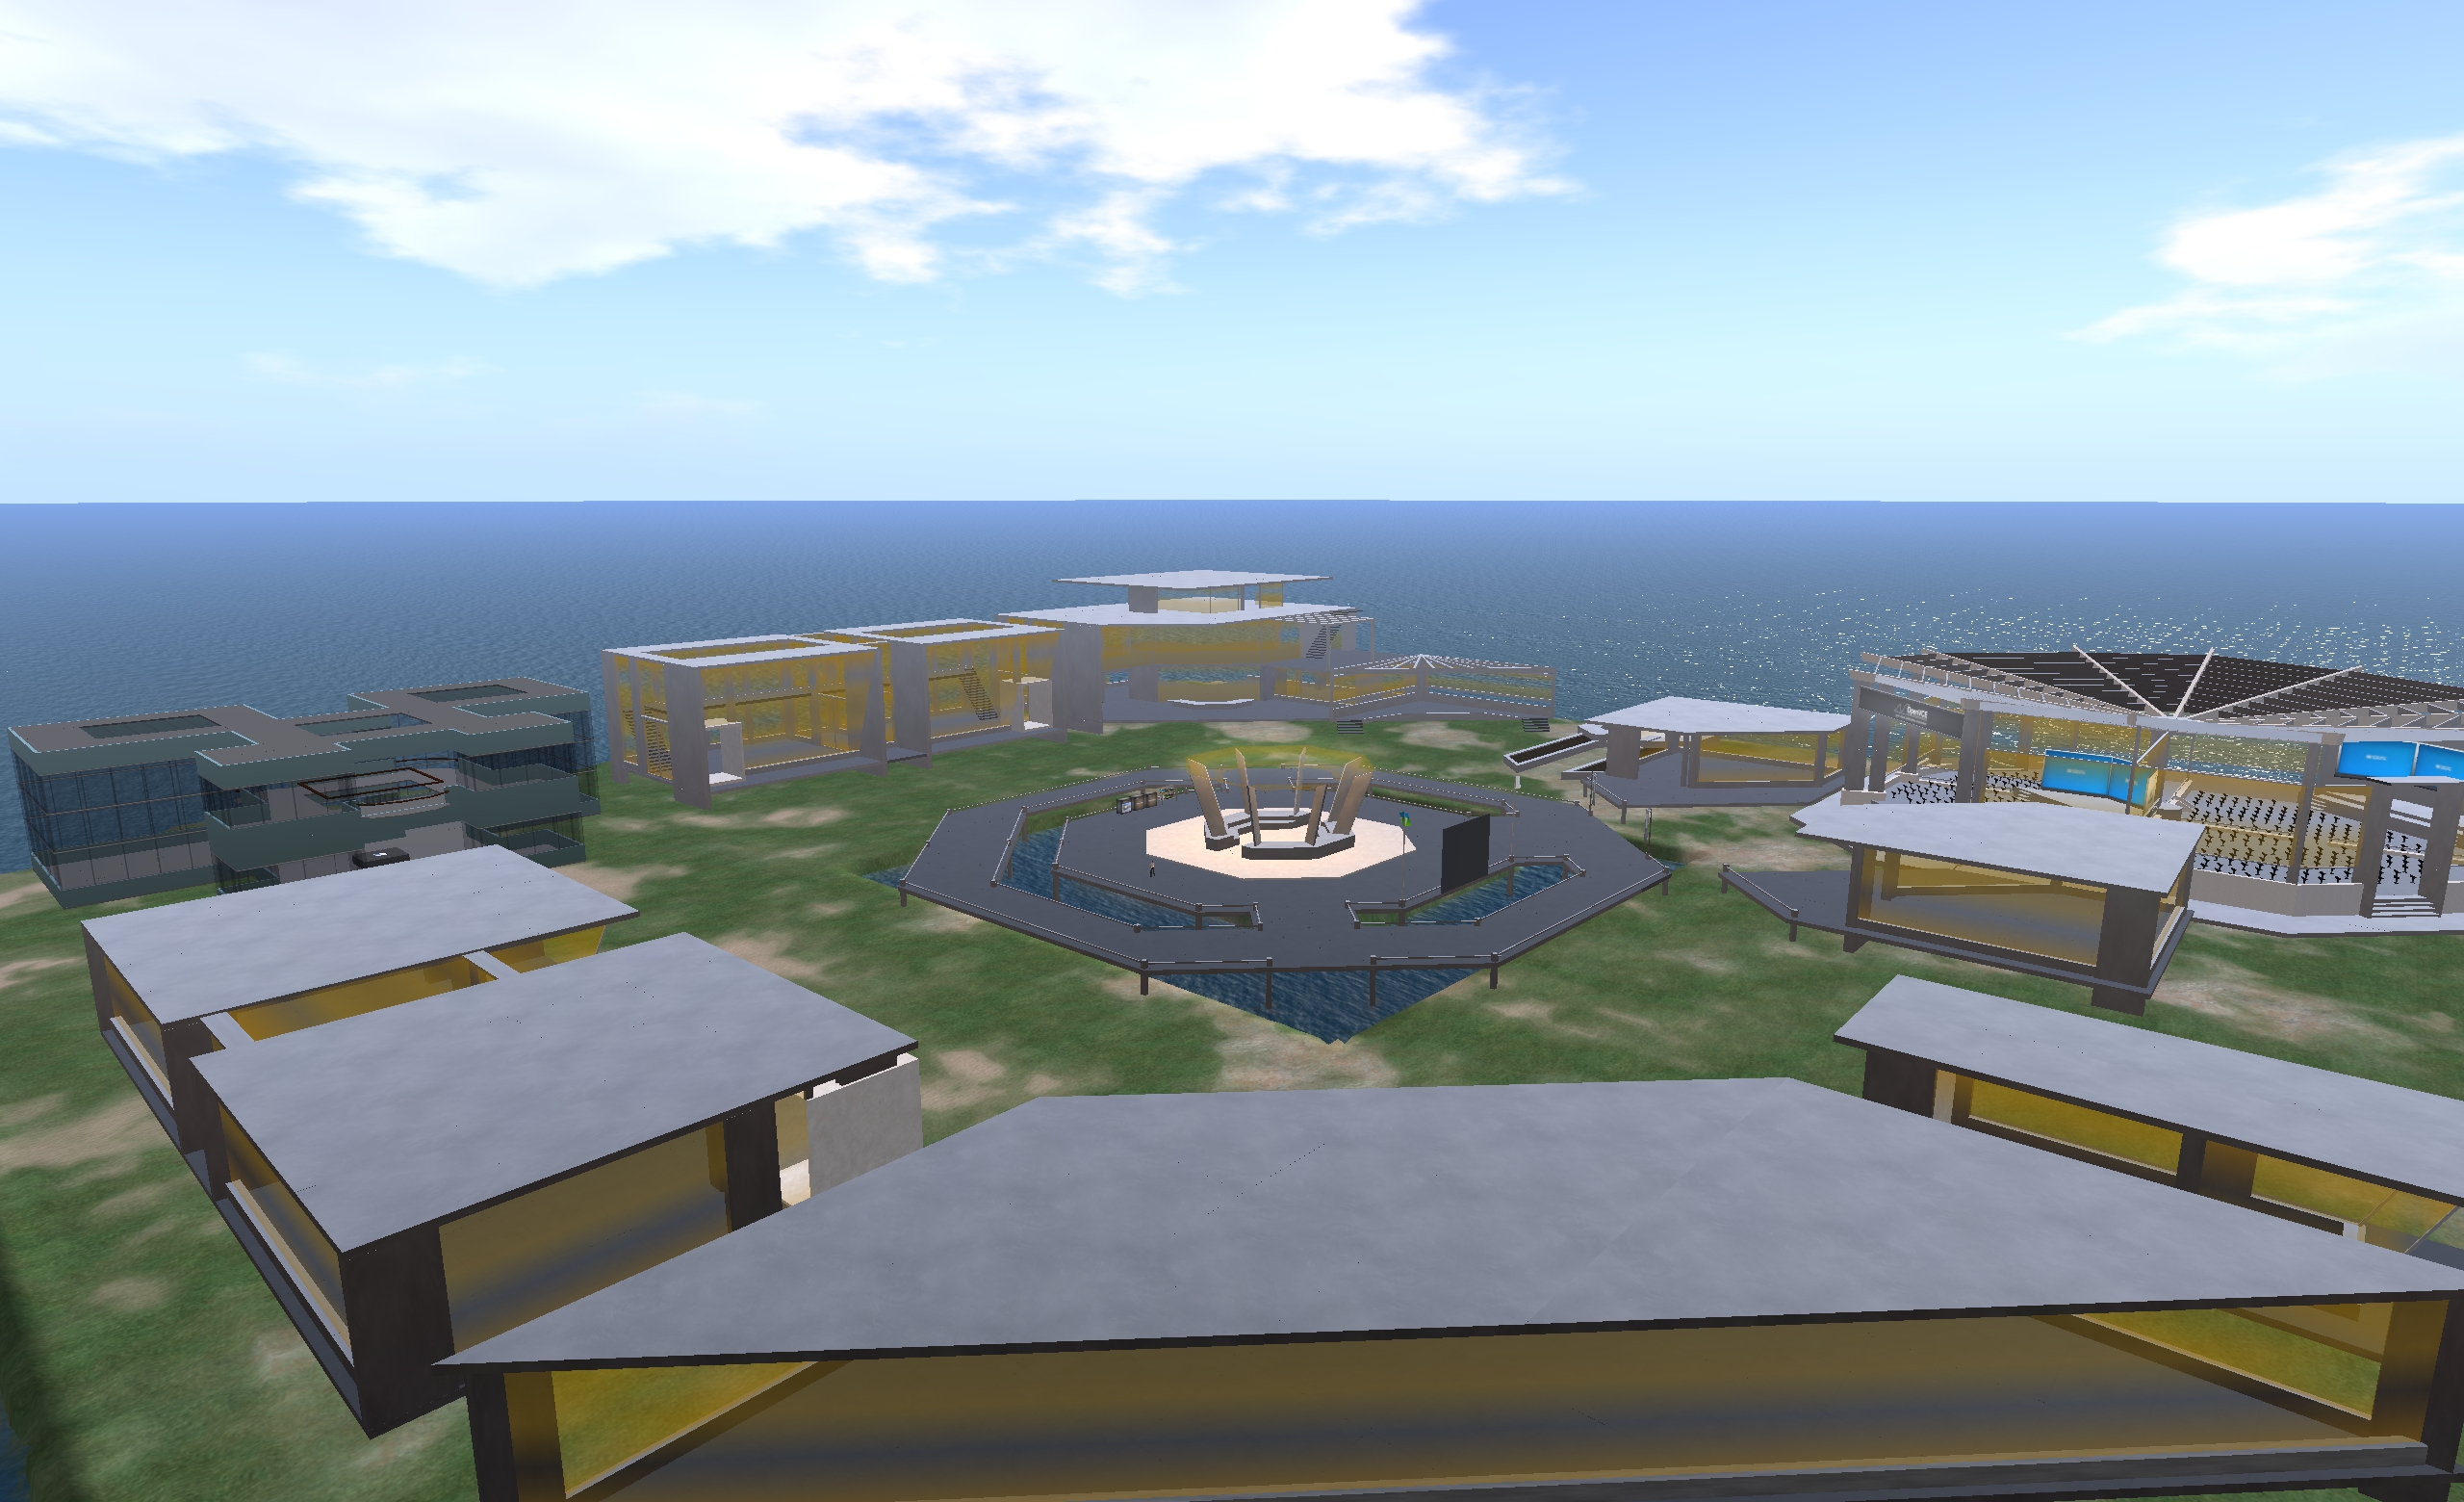
    • Business District – a built-up region with roads, high-rises, a plaza, etc., supplied by Linda Kellie.com
  • Mountain Retreat – a mountain / snow region with house, chair lift and various activities, again supplied by Linda Kellie.com
  • Undersea Observatory supplied by Justin Reeves.

To use any of the supplied regions, replace the existing region name “OpenVCE” with the name of the region you wish to use exactly as it is listed in the REGIONS folder in your New World Studio installation (e.g. “Business District (LindaKellie.com)”).

If you want to use your own OAR file with NWS:

  • Create a folder in the REGION folder of your NWS installation & give it a suitable name
  • Copy the required OAR file to the folder you just created and rename it “region.oar”
  • Replace “OpenVCE” in Initial Region with the name of the folder containing your OAR file.
The deafult region with New World Studio and the (just visible) default male avatar
The default OpenVCE region supplied with New World Studio under a Creative Commons licence

SizeX and SizeY: define your region size. The default is a single 256m x 256m region. However, you can create multiple regions by entering suitable values here (3 and 3 will create a block with 3 regions on a side, for example).

IsMegaregion: If you create multiple regions, determines whether they should be treated as individual 256mx256m regions (FALSE) or whether they should be treated as a single megaregion (TRUE).

PosX and PosY: Define the global starting co-ordinates for your world. The default is 7000 for each, which is fine if you’re intending to have your world purely as a private environment. However, if you want your world open to the public, you should consider changing the co-ordinates to something more unique – the hypergrid system doesn’t allow moving directly between destinations with the same co-ordinates.

ShowOsWindow: Determines whether the system console is displayed when starting-up NWS. TRUE (default) = console will be displayed; FALSE = console is not displayed. Allowing the console window to open means you have access to OpenSim’s server-side commands, such as saving any region you build as an OAR file, etc.

[Owner]

This section defines your user name, password and default avatar.

  • Change FirstName and LastName  and Password to suit your requirements
  • InitialAppearance: enter the name of your preferred default avatar here (Benjiro, Benjiro2, Cara, Cara2)
The four avatar styles
The four default avatar styles: Benjiro, Benjiro2, Cara and Cara2

Continue reading “New World Studio: self-hosting a region made easy”

Playing with materials processing in SL

Update, April 10th: Use of some of the mateirals processing capabilities – notably Alpha Masking and Emissive Masks – can have a significant affect on Land Impact valuse – see my week 14 SL projects update for details.

On Monday April 8th, Linden Lab released the first public cut of the Materials Processing project viewer. As the server-side of the materials processing support was deployed to the main grid earlier in the year, this release means that materials processing – with some caveats – can be experimented with by all.

These caveats are that the viewer is still very much an alpha release, and as such is both subject to change and should not be relied upon as a primary viewer for everyday use in SL. Also, as elements of the viewer may change before it reaches a release status, it is viewed as advisable by LL that people do not use the materials capabilities on MOD / NO COPY items.

So how does it all work? I provided an introduction to materials processing as it applies to Second Life back in 2012. However, the following will hopefully provide a summary for those who haven’t kept up with the news as well as providing a look at the viewer itself.

What is Materials Processing?

Materials processing is the combining of various computer graphics “maps” to significantly increase the level of detail that appears on any object or surface within a computer game. Within Second Life, textures (themselves a form of computer graphics map called a “diffuse map”) are used to add detail to in-world objects and surfaces. The new materials processing capability will introduce two further kinds of computer graphics map – normal and specular –  to Second Life which can be used alongside textures to dramatically increase the detail and realism of objects and surfaces.

  • Normal maps are a means of faking high levels of detail on an otherwise bland surface by means of simulating the bumps and dips that create the detail. Normal maps can be created in several ways – such as from a texture (diffuse) map using a suitable graphics application (and plugin, if required), or by producing a high-quality model (mesh) and using an overlay process to generate a normal map which can then be applied to a lower-quality model of the same object (i.e. one with a lower triangle count) to simulate the same level of detail as the high quality model, as shown below.
Using a normal map to enhance the detail on a low-polygon model
Using a normal map to enhance the detail on a low-polygon model. The image on the left shows a model of some 4 million triangles. The centre image shows a model with just 500 triangles. The image on the right shows the 500-triangle model with a normal map taken from the model on the left applied to it (credit: Wikipedia)
  • In the real world, every highlight we see in an object is actually the reflection of a light source. Surfaces reflect light differently to one another, depending on a range of factors (material, lighting source point(s),  etc.). Specular maps simulate this by allowing individual pixels in an object to have different levels of brightness applied to them, giving the appearance of different levels of light being reflected by different points on the object. Like normal maps, specular maps can be produced in a number of ways, both within 3D graphics modelling programs and in tools like PhotoShop.
A rendering of a lemon using diffuse, normal and specular maprs to create a life-like look and feel
A rendering of a lemon using diffuse, normal and specular maps to create a life-like look and feel

The new capabilities in Second Life allow diffuse (texture), normal and  / or specular maps to be applied to in-world objects (prims, meshes), to achieve a much greater level of realism in their appearance.

First, Create Your Maps

In order to use the new capabilities, you must obviously have the required maps. These ca be created in numerous ways,  and I’m certainly not qualified enough to give a hands-on demonstration myself. As such the following are intended merely as possible pointers.

Normal maps can be readily produced directly from an associated diffuse (texture map), which may be the most common way to do so. Both Photoshop and Gimp, for example, support normal map creation in this way, each using a suitable plugin. Photoshop uses the nVidia normal map filter for example, while Gimp uses a plugin of its own. There are numerous tutorials available on YouTube explaining how to create normal maps using either Gimp or Photoshop and these plugins.

Left: A diffuse map (texture); right: a normal map created directly from the texture

As a user of Gimp, I found the following tutorial by vscorpianc  provides a sold look at getting going with normal map creation, as it covers installing the required Gimp plug-in and also offers-up various resources for image files to play with, if you don’t have anything suitable yourself.

For those working with mesh, there are also various ways in which to produce a suitable normal map – including, as mentioned above, using an overlay from a high-quality model on an identical model of lower quality. Again, as I don’t use the likes of Blender, Maya, et al, You Tube offers what appears to be some easy-to follow tutorials for those who need them.

The same is true for producing specular maps within various graphics applications as well – such as bond1TGC’s tutorial on Specular Map Creation Tutorial or Aleks Markelj’s detailed tutorial Using Photoshop to create Diffuse/Specular Maps.

Continue reading “Playing with materials processing in SL”