Still messing about in (house)boats in Second Life

Yes, I’m playing with my Linden Home houseboat again. Note the “extra door” on the side of the Windlass design, about which more below

A lot has been written about the “new” Linden Homes and their continent, Bellisseria – I know, because I’m one of those doing a lot of the writing 🙂 . However, the truth is that with four styles of house or houseboat to play with (and the promise of new types of both on the horizon), it’s really hard to stop playing with them and trying different interior layouts – as can be seen in the ever-growing forum thread on interior designs.

I started with the Windless, which has the largest interior floor space of the four houseboats initially offered by the Lab, using a simple open-plan design. From that I moved on to the Barnacle, playing with various designs, one of which I inflicted on you in a blog post. More recently, I’ve played with the Wallower – but I’ll spare you that! – before returning to the Windlass once more.

The Windlass actually has a high-ceilinged element which can, with care, be turned into an additional room

My reasons for going back to the Windlass rather than playing with the Evening Star – the forth design in the current houseboat styles – come down to the facts that, a) I’m actually not that keen on the Evening Star; b) I really wanted to see if I could come up with a Windlass design that’s a little more “cosy” thsn my original open-plan design; and c), I’ve been intrigued by the way people have added an “upper floor” to the Windlass.

For those unfamiliar with the design, the Windlass offers a split level layout, with one end having a raised ceiling so that it is possible to access the open-air roof deck via an internal staircase.

On the one hand, making this raised space into a room of its own is a simple matter of slapping in a new ceiling / floor. On the other, it’s a bit of a pain, because the newly-created space cannot be directly accessed from the existing staircase. This means either installing a teleport between the two floors, or giving up some of the available floor space “upstairs” in order to add a second staircase. But, teleports are terribly passé, and even allowing for losing some floor space, having two stairways relatively close together in a living space can look … odd.

I opted to solve this by minimising the impact of a second stairway through the use of a spiral staircase from VL Designs by Veronica Lockwell. I’ve used her Mesh Spiral Staircase – Walnut kit in the past and find it highly adaptable. It’s also well made, with low LI, good LOD, and a small overall footprint, allowing me to minimise the amount to floor I has to “lose” in the new bedroom.

The spiral stairway leading up to the new bedroom space, together with the walls separating the Windlass interior stairs from the rest of the design, and which create a space for the kitchen.

To overcome the issue of have two open-plan stairways in the houseboat, I installed a couple of new walls to separate the “built-in” stairs. Doing this had the additional positive of allowing me to create space for a gallery-style kitchen, as shown in the image above. In addition, dropping in a simple prim block (partially obscured by the spiral staircase in the image above) and false door allowed me to create a faux bathroom.

However, this left me with another issue. What’s the point of having an “upstairs” room adjacent to the huge roof deck on the Windlass if you can’t easily get from the bedroom to the roof?  You can’t easily use the houseboat’s own roof door due to the intervening banister wall.

The new bedroom, reached via the spiral staircase in the left corner

I solved this through the use of the Curio Obscura Anywhere Door by Pandora Wrigglesworth. Sure, it’s a teleport system, but it gives the illusion of “walking” through a doorway rather than just being teleported, and can be modified with ease.

A pair of these mounted on the side wall of the new bedroom (one inside, one out), complete with a set of images added to suggesting showing the “indoors” or “outdoors” views when open, and presto! instant bedroom access to the roof deck!

Using an Anywhere Door to add roof deck access from my Windlass bedroom

The Anywhere Door system also solved another annoyance I have with the Windlass: it only has one “ground level” door. If you have a parcel like mine that places your houseboat “beam on” to the shore, this can make getting to the waterside mooring a nuisance. Either use the front door and walk around, or drop in additional piers and steps from the small lower deck balcony on the Windlass. I find neither approach particularly attractive.

So, with the simple expedient of two more Anywhere Doors (again with suitable images to added to suggest the interior and exterior views when the doors are open), I created a way to get from inside the Windlass to the moorings and my boats / planes with relative ease, with one of the Anywhere Doors forming a “back door” between kitchen and “bathroom”.

Borrowing a section of Blush Bravin’s Party Add-on for the Barnacle Houseboat and combining them with prims, allowed me to neatly section-off the raised part of the Windlass floor space to create a cosy lounge area, complete with a little entrance are fr the front door. To further add warmth to this space, I also blanked of a couple of the large windows at that end of the boat to create additional “solid” walls, providing space for a fireplace on one side and a little corner for my piano on the other.

Looking across the lounge area towards the front door from the fireplace, and peeking over the top of the carriage clock on the fireplace mantle

I’m still not 100% sure about using my Linden Home as a “full-time” living space, but as it is I think I now had enough variations of designs for three of the houseboat types to keep living there interesting, should I end up going in that direction! 🙂 .

Saving your Bellisseria house designs for re-use with a rezzing system

A rezzing system / scene rezzer can allow you to save all the décor designs you create for your Linden Home / Houseboat and have them available each time you opt to re-use a particular style of house.

As we’re all now aware, the new Linden Homes are provided via a rezzing system, allowing their owners to live in any one of four styles of home for each type – and to freely swap between house styles whenever they want. This makes the new Linden Homes both flexible and user-friendly: tired of the house you currently have? Then simply clear it out and replace it with another from your parcel’s mailbox or lifebuoy (or swap the house / houseboat style and re-orient your furnishing to suit).

However, if you do like swapping between house / houseboat styles, manually re-doing things each time can be something of a pain. The most obvious way to avoid this is to use a rezzing system or a scene rezzer. Both sound the same – and some systems may well offer both functions, but for the purposes of this article, I’m going to differentiate them as follows:

  • A rezzing system allows you save the furniture and décor (and things like your garden furnishings, any add-ons you’ve purchased / made) for a house / houseboat as a single package, which you can pull from inventory and use to re-rez that particular design / layout whenever you opt to re-use the style of house / houseboat for which it was created. My personal preferences for tools of this type are:
    • Builder’s Buddy, a free system. You can get the raw scripts from the Second Life wiki (just copy / paste the two scripts from the wiki pages into appropriately-named new scripts in your inventory), or via the SL Marketplace.
    • The Rez Faux system by Lex Neva. Primarily intended for creating packages of goods you’ve created and wish to sell, this costs L$600, is available in-world, and works perfectly well with “personal” projects.
    • Note that I am not endorsing these options over other rezzer system products, they are simply the two I personally use.
  • A scene rezzer can allow you to save multiple design / décor layouts for multiple homes, and have them all available through a single in-world device.

Which approach you take is down to you:

  • Use of individual rezzers tends to be quicker and easier than using a scene rezzer, and offers greater flexibility when adding or changing things within an individual design.
  • Using a scene rezzer means you can quickly access all your layouts at the cost of only 1 or 2 LI without having to fiddle around with the correct placement of the individual rezzer. However, updating a saved design is a lot harder, as it can require re-saving the entire design, rather than just adding / swapping individual items.

However, the most important thing to remember is that, in order to work, the items placed within any rezzing system must be both Modify and Copy. You also need to have a basic understanding of editing objects in Second Life. Also note that due to the way the majority of these systems work, if you opt to physically relocate to another parcel in Bellisseria, you will most likely have to create new rezzers for that parcel. Also, note that I’m not referring to “temp rezzers”; these are both against the Bellisseria covenant, and should in general be avoided as they are horrible resource hogs.

The following notes have been written to help you use the above-named systems.

Builder’s Buddy and Rez Faux – Individual Rezzers for House layouts

Creating the Rezzer and Adding Contents

  • Builder’s Buddy: Create a default cube. Drop the Builder’s Buddy Base Script into it. This is now your Base Prim – the rezzer.
  • Rez Faux: rez a copy of the Create A New Package object – this is your rezzer for Rez Faux.
  • Both:
    • Rename your new rezzer according to your needs (e.g. “Winchester House With Party Add-on” or “Barnacle Houseboat Mango Interior” or some such).
    • Position the rezzer object you’re just created towards the centre of your parcel, then copy the X, Y, Z position coordinates from its Object tab and paste them into the Description field of the General tab.
When you use something like Builder’s Buddy or Rez Faux that uses positioning relative to the rezzing item, it is essential the X, Y, Z coordinates of the rezzer are saved (e.g. by using the General tab’s Description field). Note that two Edit floaters are shown in this image for the purposes of illustration only

Continue reading “Saving your Bellisseria house designs for re-use with a rezzing system” →

I’ve been Eclipsed!

Eclipse Magazine May 2019 cover

In April 2019, I was approached by Trouble Dethly, the owner / publisher of Eclipse magazine with a request that caught me off-guard: would I like to be the cover feature in the May 2019 issue of the magazine.

I say “taken aback” because the request came out of the blue and also because the cover features in Eclipse are intended to “showcase … a group or resident that has taken the Second Life concept of “‘your world, your imagination’ to such extraordinary heights that it has greatly impacted the culture and lifestyle of this virtual community.” Leaving both false modesty and ego firmly locked in a biscuit tin hidden under the floorboards of my mind, I really don’t see myself fitting this description.

However, after discussing things with Trouble a little more, I opted to go ahead, and the May issue came out (for me, being in the UK) in the “wee  small hours of the morning” (so to speak) of Thursday, May 23rd, 2019.

Within it is a celebratory article on the team behind FaMESHed, as they mark their seventh anniversary – a piece that makes superb reading; a tour of featured Linden Homes in Bellisseria; a perspective on Moki Yuitza’s Into The Net (which I also examined at the start of the month) and a host of regular columns covering home and garden décor, photography, fiction, places in SL to visit and readers’ own stories. All of which adds up to a cornucopia of interest quite outside of yours truly.

In closing, I’d like to offer my thanks to Trouble for both the invitation to be featured in the magazine and for encouraging me to do so, to Cajsa Lilliehook for the interview and turning a veritable wall of textual ramblings from me into something coherent, and especially to Lessthen Zero for the time she took in photographing me – I genuinely loathe having my photo (real or virtual) being taken, and Lez did so much to put me at ease and produced some truly amazing (and flattering!) shots, and the unnamed photographer who toured some of my favourite SL locations to take additional photos for inclusion in the piece.

You can catch all issues of Eclipse on-line, with the May edition available directly here: https://issuu.com/eclipsemagazinesl/docs/eclipse_magazine_may_2019.


More houseboat decorating in Second Life

Trying on the Barnacle houseboat for size…

It’s now just over a month since I snagged my Linden Home houseboat shortly after the new Linden Homes continent was officially launched (see: Lab launches new Linden Homes). I initially settled on the Windlass houseboat design to turn into a second home (see Making a (Linden) houseboat a home), but this week, because I like fiddling with things, I decided to try out some of the other designs, starting with the Barnacle.

This is the only design in the initial batch of houseboats that has an actually room upstairs, giving it an interesting differentiator to the other three designs, and gives it a little extra floor space. This makes it an excellent choice for developing a cosy home design, hence my interest in it.

An element from Blush Bravin’s Party Pack for the Barnacle makes a great wall divider when creating a cosy lounge area, thw warmth increased by the Lab’s sunflower interior wall colour.

Another aspect in my decision to play the the Barnacle was Blush Bravin’s Party Boat add-on. This is one of a number of kits Blush has produced specifically for the new Linden Homes, all of which are available via her SL Marketplace store, and on the strength of the Barnacle kit, I’d say they are well worth the minimal investment of L$250.

For the Barnacle, the kit includes a range of items: internal room dividers, décor highlights, and external elements, such as a trellis for the upper deck and a porch for the front door, and a small room (bathroom?) that tucks into one side of the main floor. Everything is supplied in a rezzing system (which admittedly can require careful placement to avoid fiddling with bits post-deploy).

A snug living room

A HUD is also supplied for applying textures, although this didn’t want to work for me, so I relied on manual texturing. This wasn’t a problem as for my purposes, I only really required the room dividers and the brick wall panel from the main deck interior. One of these, with ceiling-height wooden slats, I combined with a humble prim to make a room divider to split the lower deck in two, giving me a lounge area and kitchen / dining space. The brick panel and smaller divider, became a breakfast bar for the kitchen.

I don’t usually go in for kitchens in SL houses (we don’t actually eat in SL after all), but there are some nice low LI mesh kitchen sets available, and I wanted to give the houseboat a homely feel so I picked up a nice kitchen and additional elements from [DDD] ~ Dysfunctionality: the Cozy County Kitchen wine rack, Christine fireplace, Heph’s Kitchen Counter, and Captain’s Lanterns, which together with my existing items from Cory Edo’s Trompe Loeil and a few other pieces from assorted sources allowed me to create the kind of look I wanted.

I don’t usually go in for kitchens and bit, but these houseboats call for them at times

Given there are four variations available with each house type which can be swapped with a simple set of clicks, swapping between them has already proven popular. Providing the fixtures and fittings used are both Copy and Modify, a rezzing tool such as Builder’s Buddy or those available on the Marketplace, makes the storing and placement of interiors for each style of house an additional breeze when swapping back and forth.

Just set your décor and layout items (piers, garden furnishings, etc.), use the rezzing system to record and store the pieces, make sure you also record the position of the rezzer (I use the Description field in the Edit floater), and – providing you don’t move to another parcel – you can swap between house styles and interiors in less than 5 minutes.

There’s even room for one of my beloved pianos – my Culprit Sonata Baby Grand. The small step between the two living spaces is to help break things up a little

The above is probably a case of preaching to the converted for some, but is does make swapping between house designs and layouts and lot more fun – and obviously, there’s no reason why you can’t have multiple layouts for any given house / houseboat type.

Now, if you’ll excuse me, I might go and have a play with the Wallower houseboat 🙂 .

Finding rez zones in Bellisseria – Yasmin’s free HUD

Out and about in Bellisseria on my Piaggio SG33E Roadrunner scooter (reviewed here), thanks to the rez zones and Yasmin’s HUD

On April 24th, I blogged about the arrival of the Coral Waters airstrip off the west coast of Bellisseria, the Linden Homes continent (see Bellisseria gains a coastal airstrip in Second Life), which was also marked by the arrival of official rezzing zones both on land and around the coast of the continent.

Yasmin’s Bellisseria rez zone HUD

However, with reference to the offical rez points, being aware they are around is one thing, trying to find the nearest to you can be another – a list of regions is great, if you happen to know where each region is in the overall map. Of course, if you bookmark the list (or maintain your own list of rez point URLs on a web page), you can always use your browser to find one and hop to it.  However, Having them available on a HUD would make things so much easier.

Well, that’s exactly what friend and fellow aviator  / sailor Yasmin (YouAintSeenMe) has done: created a map HUD of clickable rez points across Bellisseria, including those at the Coral Waters airstrip.

Displayed on the Centre HUD attach point by default (obviously, it can be repositioned), the HUD displays a map of Bellisseria with all of the current rez zones (as of April 29th, 2019) displayed as blue dots on it. Clicking on any of the dots will open the World map focused on the coordinates of the rez zone, allowing you to easily teleport to it.

Its simple but effective, I’m looking forward to having to update it with new map 🙂 . Wear as a HUD, or can be rezzed in-world for use on a signpost (or whatever).

– Yasmin, discussing her Bellisseria rez zone HUD

Available free of charge through Yasmin’s Marketplace store, I can vouch for the HUD, which is now a part of my inventory – although I have made one small change.

In order to be legible, the HUD does take up a fair amount of screen real estate – which isn’t a problem, if you’re using it as a quick on / off reference (as intended by Yasmin). But, me being awkward, decided having it always available while wandering Bellisseria would be easier.

So, as the HUD is modify, it was simple enough to add a scripted root tab prim to it, then drop in a script. When the tab is clicked, the HUD now slides “on” and “off” my screen from the right side. It’s not a vital requirement, but it makes for a quick way to pull out the map (when attached) whilst exploring Bellisseria should I need a rez point 🙂 .

While the HUD can be easily attached / detached when needed, I opted to mod it to have it slide on / off-screen from the right when needed

The map is simple and elegant. Whether worn as a HUD or placed on your land as a signpost for people to use, it is a definite boon to those who like exploring new locations – or who may lose a vehicle whilst motoring / sailing / flying around the new continent – so a big thank you to Yasmin for producing it.

Marketplace Link

The Teegle Animesh horse

Teegle Animesh horse

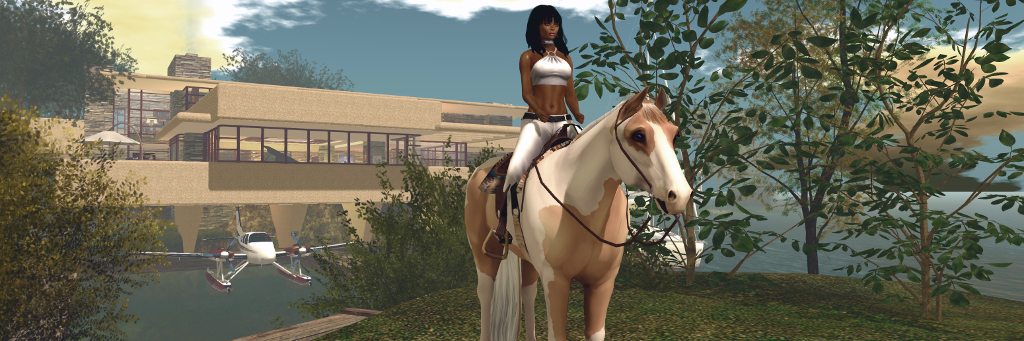
At the start of April 2019 I reviewed the Water Horse Animesh horse – a horse that, unlike Bento horses, is not limited to having to be worn in order to be ridden – as it has its own skeleton, completely independent of an avatar, an Animesh horse can also be rezzed in-world, where it can wander, or ridden in the style of a vehicle, making it perfect for use both when riding, or as region décor.

However, the Water Horse model isn’t the only Animesh horse. Teegle, for example, are currently developing their own horse, which is currently in public beta – and in the interests of comparing the two, I recently picked one up and took it for a test drive. Err, ride.

Currently, the Teegle horse comes in two styles: a paint and a Hanoverian. The former might be seen as more suited to an American style of riding, and the later leaning towards more European riding, but the fact is that as both horses are supplied sans tack, you’re free to decide which you’d like, and then choose your preferred style of tack, or even swap riding tack depending on your mood.

The horse is supplied at two price points, which at the time of writing were: L$1,500 for the No Copy version, and L$6,000 for the copy version (allowing you to rez as many as you like). Again, note that these prices are purely for the horse, no riding tack is included; you can however ride them bareback. Tack will cost an additional L$750 from Teegle, although there are other suppliers. Other points worthy of note with the horses at both price points are functionally identical, and:

  • You can set them to be ridden by yourself or, when rezzed in-world, by others.
  • When rezzed in-world each horse can carry a rider and up to two passengers.
  • The basic LI for a Teegle horse is 28LI. With riding tackle attached, this rises to 35 LI.
  • The no Copy version come with a guarantee of automatic replacement if lost as a result of a bad region crossing, or broken as a result of incorrect editing. Replacements are delivered via the horse management HUD.
  • Horses can be individually renamed.
  • Retexturing is possible, but requires the purchase of texture packs at L$450, which include skin, mane and eye colour options.
  • The wander option when horse is rezzed in-world, does not require Pathfinding to be enabled within a region.

The HUDs

Two HUDs – both of which are still under development at the time of writing – are supplied with each Teegle Animesh horse.

  • A Management HUD, which:
    • Allows the horse’s gender to be set.
    • Includes a button that provides a chat link to a dedicated web page listing all Teegle pets you may have purchased. The last grind location the animal was recorded as being at, together with the date and time, is listed, allowing you to relocate a “lost” horse. A redeliver option is also provided here as well.
  • A riding HUD, which provides:
    • 4 different click-selectable riding speeds: walk, trot, canter, gallop. Riders can also move between these by tapping the UP arrow key (or W if WASD is set for avatar motion and the horse is being worn).
    • 4 horse animations: spook, (horse jumps sideways nervously and looks around); buck, rear, and reward (rider leans forward and pats the horse).
    • An autowalk function: set the horse walking in a straight line. The rider can look around, take snapshots, etc., or simply steer.
    • Follow (rezzed horse only): the horse will automatically follow the named avatar.
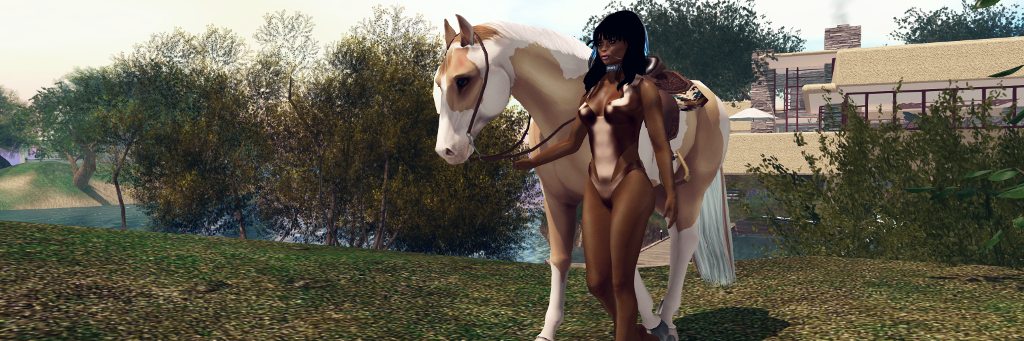
    • Lead (rezzed horse only): lead the horse via the halter when walking.
The Teegle riding HUD. Note the Lead / Follow options are only available when the horse is rezzed in-world

Riding the Horse

Before riding the horse, make sure any AO you have (scripted or client) is turned off to avoid any conflicts. Then either:

  • Add it to your avatar from inventory as a worn attachment.
  • Mouseover the horse in-world, right-click and select Ride.

The first option will add the horse to you, with you in the saddle (if attached to the horse); the second will place you in the saddle (if attached) of a rezzed horse. Note that if worn, you’ll need to the manually attach the riding HUD; if the horse is mounted while rezzed in-world, you’ll be asked if you’d like to accept the HUD, which then attaches automatically (note this is a slightly different HUD to the one in your inventory, as it includes the Lead and Follow options for the rezzed horse).

Movement is via the usual WASD / Arrow keys, with W / Up for forward motion, with double-taps advancing through the four speed options. Tapping the Down keys while moving forward will step back down through the riding speeds. When riding the horse from rezzed, the Down arrow will play a nice backwards walking animation.

Camera-wise, riding the horse from rezzed fixes the camera in a good position above and behind the horse, regardless of any camera offsets you may have set (not something seen with the Water Horse Animesh horse). Riding the horse from worn may leave the camera awkwardly positioned if you use custom camera offsets, the mousewheel and CTRL-Mousewheel generally fix this.

You can lead a Teegle Animesh horse to water…

Passenger Riding

Passengers can ride with you simply by clicking the horse. The rider can then select who “drives” the horse via a left-click to display the menu, and then the Driver option (rider 1= the avatar in the saddle; rider 2 = the passenger directly behind the rider; rider 3 = rearmost passenger). Who has the reins is indicated via local chat. The same menu option is used to take back control.

Riding Permissions

Who can directly ride a Teegle Animesh horse when rezzed in-world is also set via the menu: left-click the horse, then Settings > Driver Perm. At the time of writing, the options were limited to Private (owner only) and Public (anyone), but I understand more granular options will be added.

Other Capabilities  / Options

… and you can have it swim!

As the Teegle Animesh horse is still in development, it is hard to say what else might be included. However, some of the current additional capabilities include:

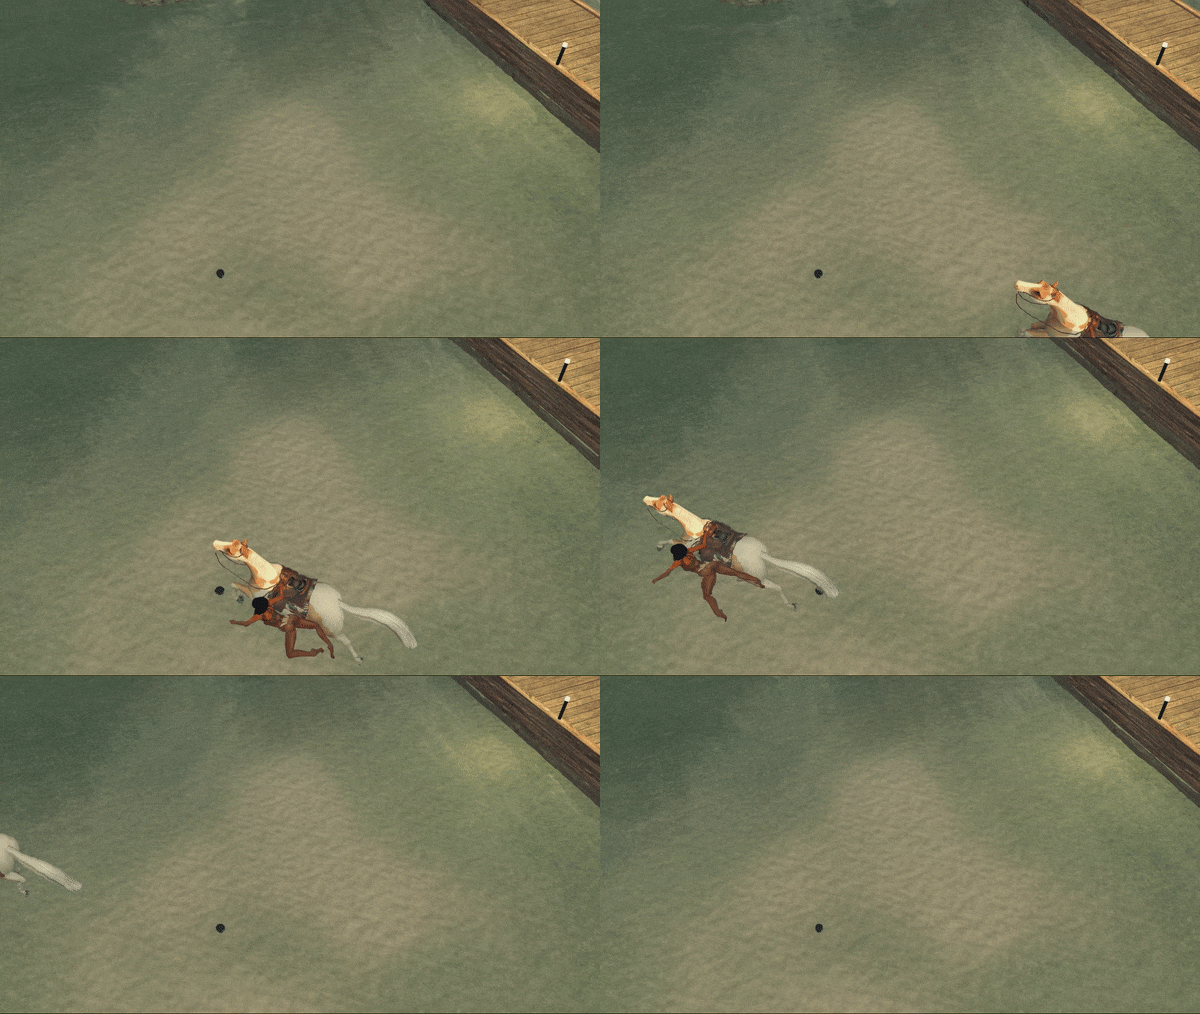
  • Linden Water swim option: the left-click menu offers a Settings option to have the horse swim in deep enough Linden water, complete with a companion swimming animation for the rider (but not passengers).
  • Flying option: you can set the horse to fly or disable flying (so no accidents when trying to jump an obstacle).
  • Motion function: set the horse to physical (default), so it will respond to objects around it (useful for racing, when wandering in  paddock, etc), or non-physical (useful for things like dressage).
  • Set wander distance via chat.
  • Rename function: Teegle horses can all be given their own name.

Adding Tack and Other Options

Riding tack by Teegle is easy to attach to the horse:

  • Rez both horse and tack in world.
  • With neither selected, right-click on the tack and selected edit.
  • Press and hold the SHIFT key and then left-click on the horse to additionally select it.
  • Click the Link button in the edit floater (arrowed, below).
  • The tack will correctly orient itself and attach to the horse, as seen in the inset image, below.
Adding options such as riding tack – use the Link option in the Edit menu (arrowed)

To remove an attached item (e.g the saddle or entire riding tack):

  • Rez your horse in-world.
  • Left-click the horse for the menu.
  • Click Unlink to display the Unlink menu.
  • Use the numbered buttons to unlink the required items.
  • Move your horse away from the unlinked objects and then delete them.
Removing items – use the Unlink option in the horse’s menu

Continue reading “The Teegle Animesh horse” →