Back into the Labyrinths of Sansar

Horizon Maze – that’s me, bottom centre, for a sense of scale

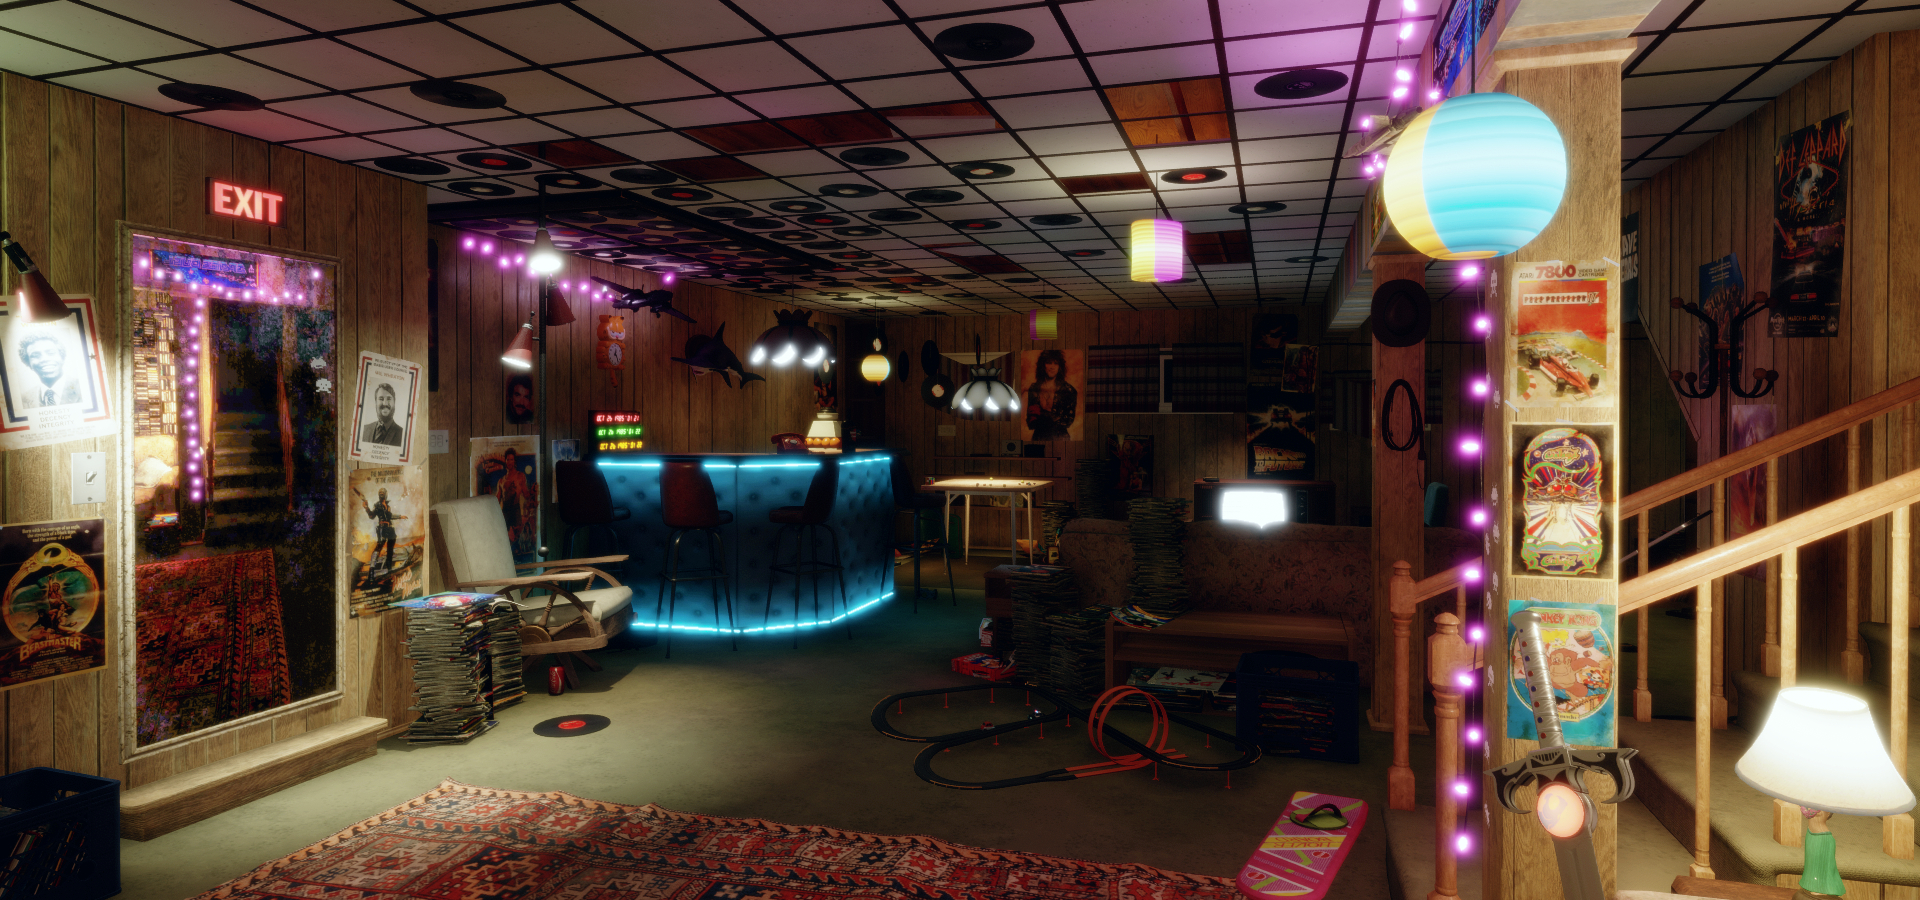
I recently wrote about my visit to the first prize winner in The Sansar Labyrinth Contest, which actually saw prizes awarded to a total of three among the various entries. Given that I did write about Abramelin Wolfe’s grand prize-winning entry The Secret of Mount Shasta, it seemed only fair I jumped back to Sansar and took a look at the second and third prize winners as well.

Horizon Maze

Horizon Maze is the third place entry, designed by Ecne. It’s an ingenious piece that, while lacking the direct challenges present in The Secret of Mount Shasta, makes up for it in presentation and design.

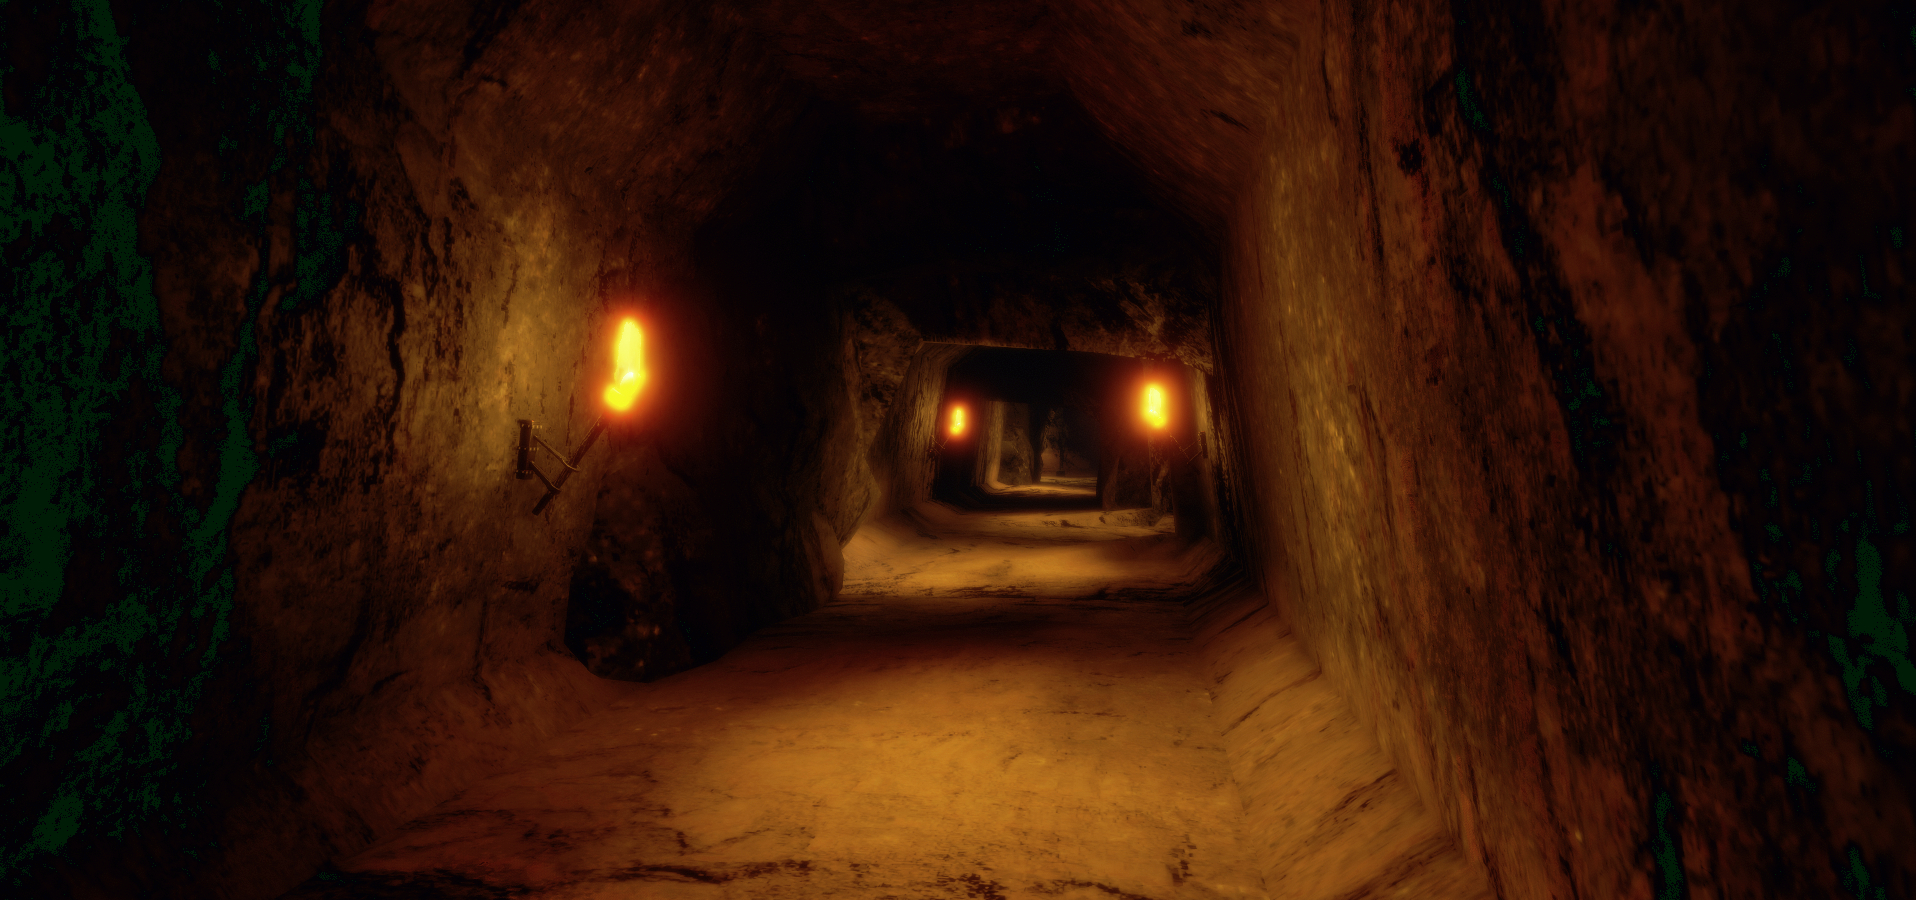
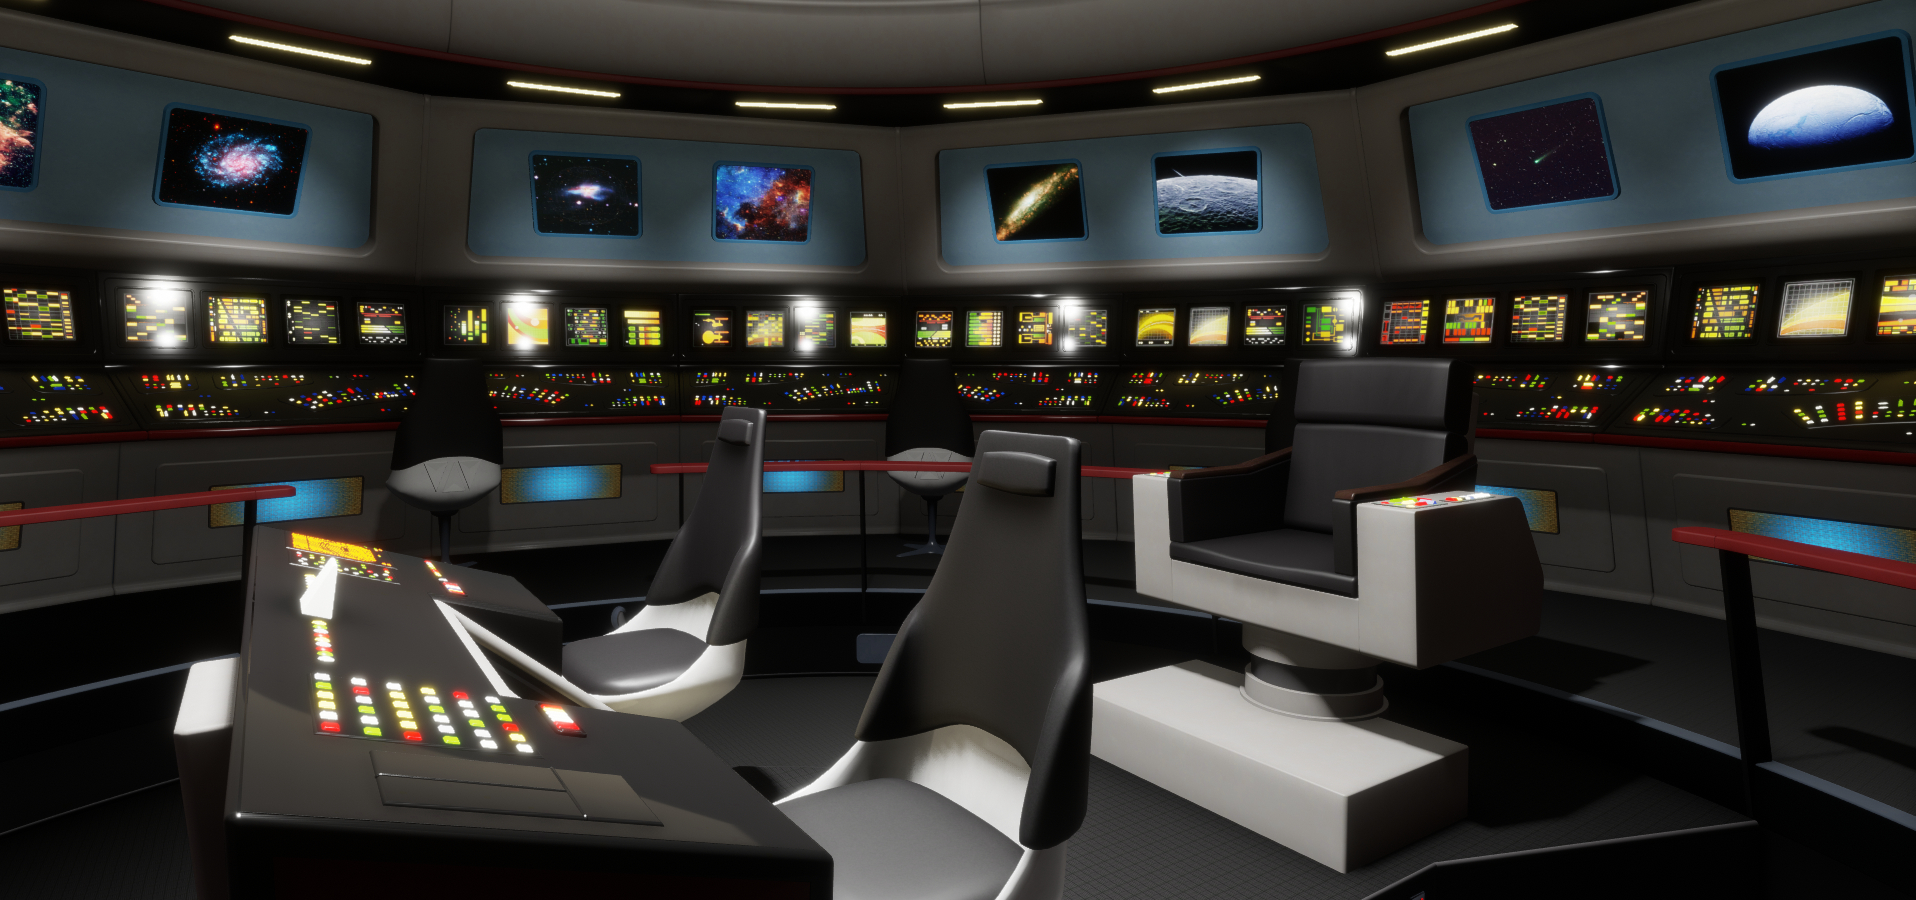
This is a compact, circular maze which may at first appear to be built along traditional lines. The aim is to get from the outer edge to the central ring, where a golden cup awaits. You can even freecam over the maze to get a feel for it before entering. It all sounds simple, except for two things.

Horizon Maze: the golden cup is your goal – if you can find your way to it and through the wall!

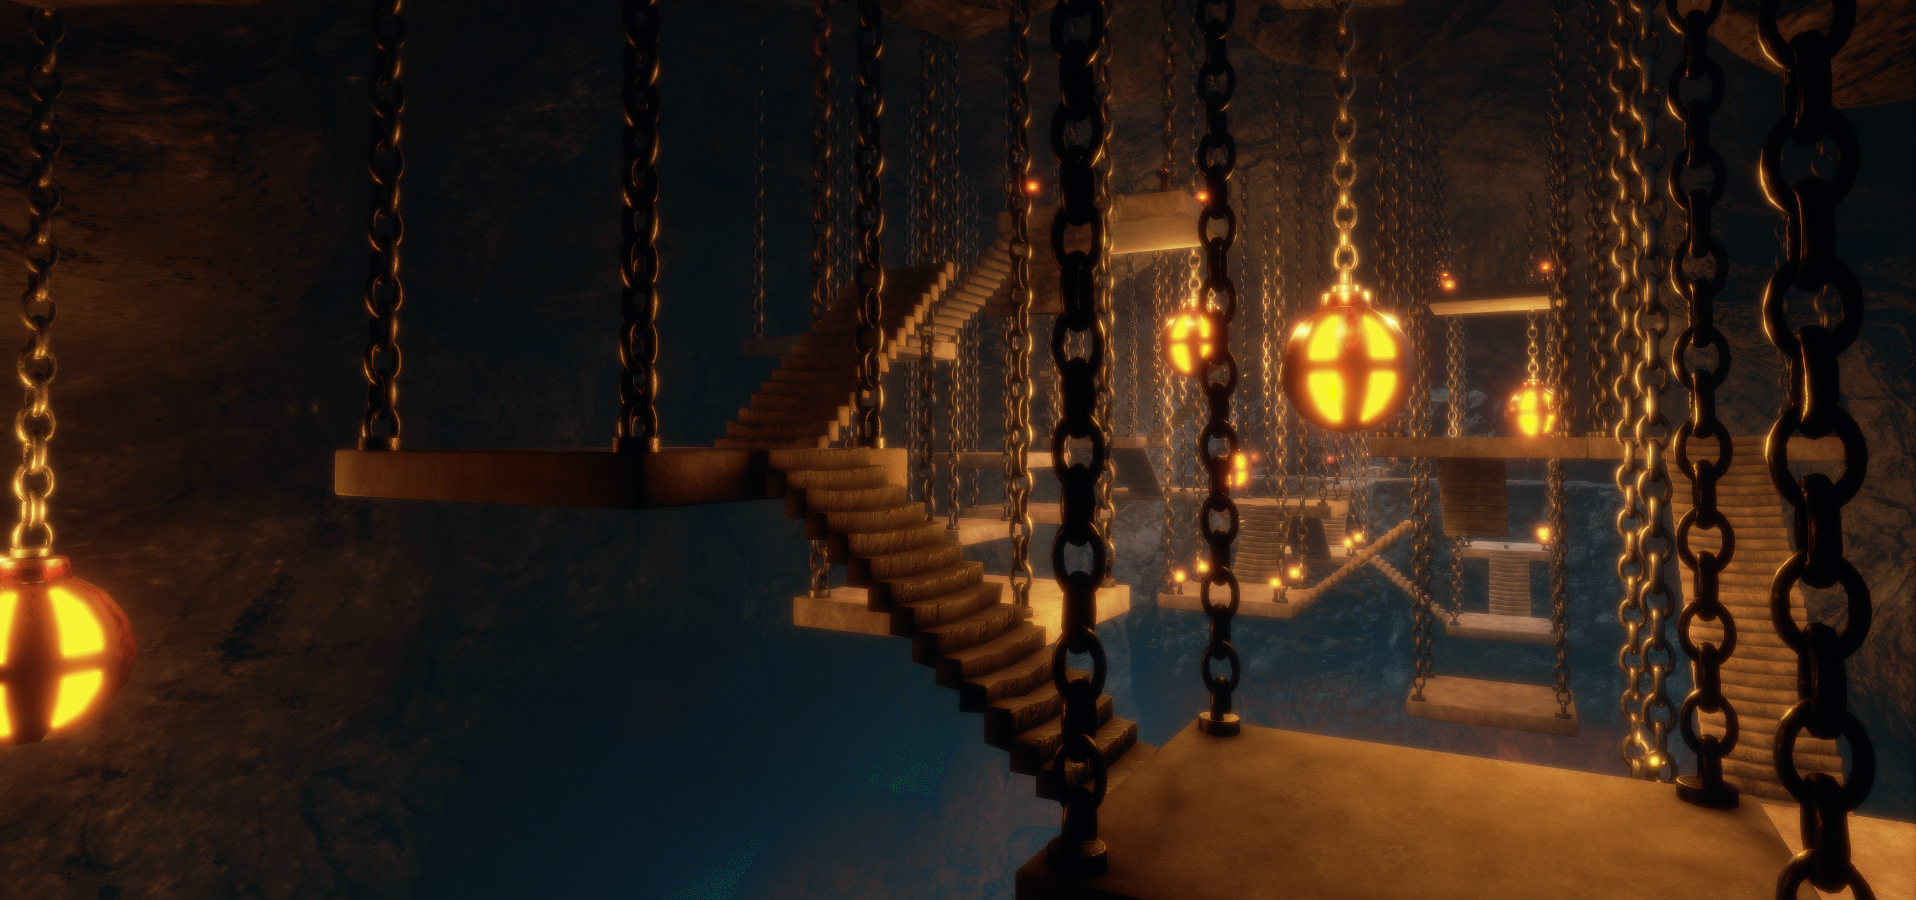
The first is that the maze comprises three concentric rings, revolving around a central axis. Moving between them requires finding one of several gateways in the ring you are in, then waiting for a gateway in the next ring to align with it, so you can step across.

The second is that the maze is on two levels – you must periodically take the stairs to the lower level and find your way around it. This may involve finding stairs back to the upper level, or it may mean finding another gate on the lower level where you can cross between rings. Nor is it all one-way; you may well have to move back out between ring in order to find the way back towards the waiting cup.

Horizon Maze: the lower tunnels

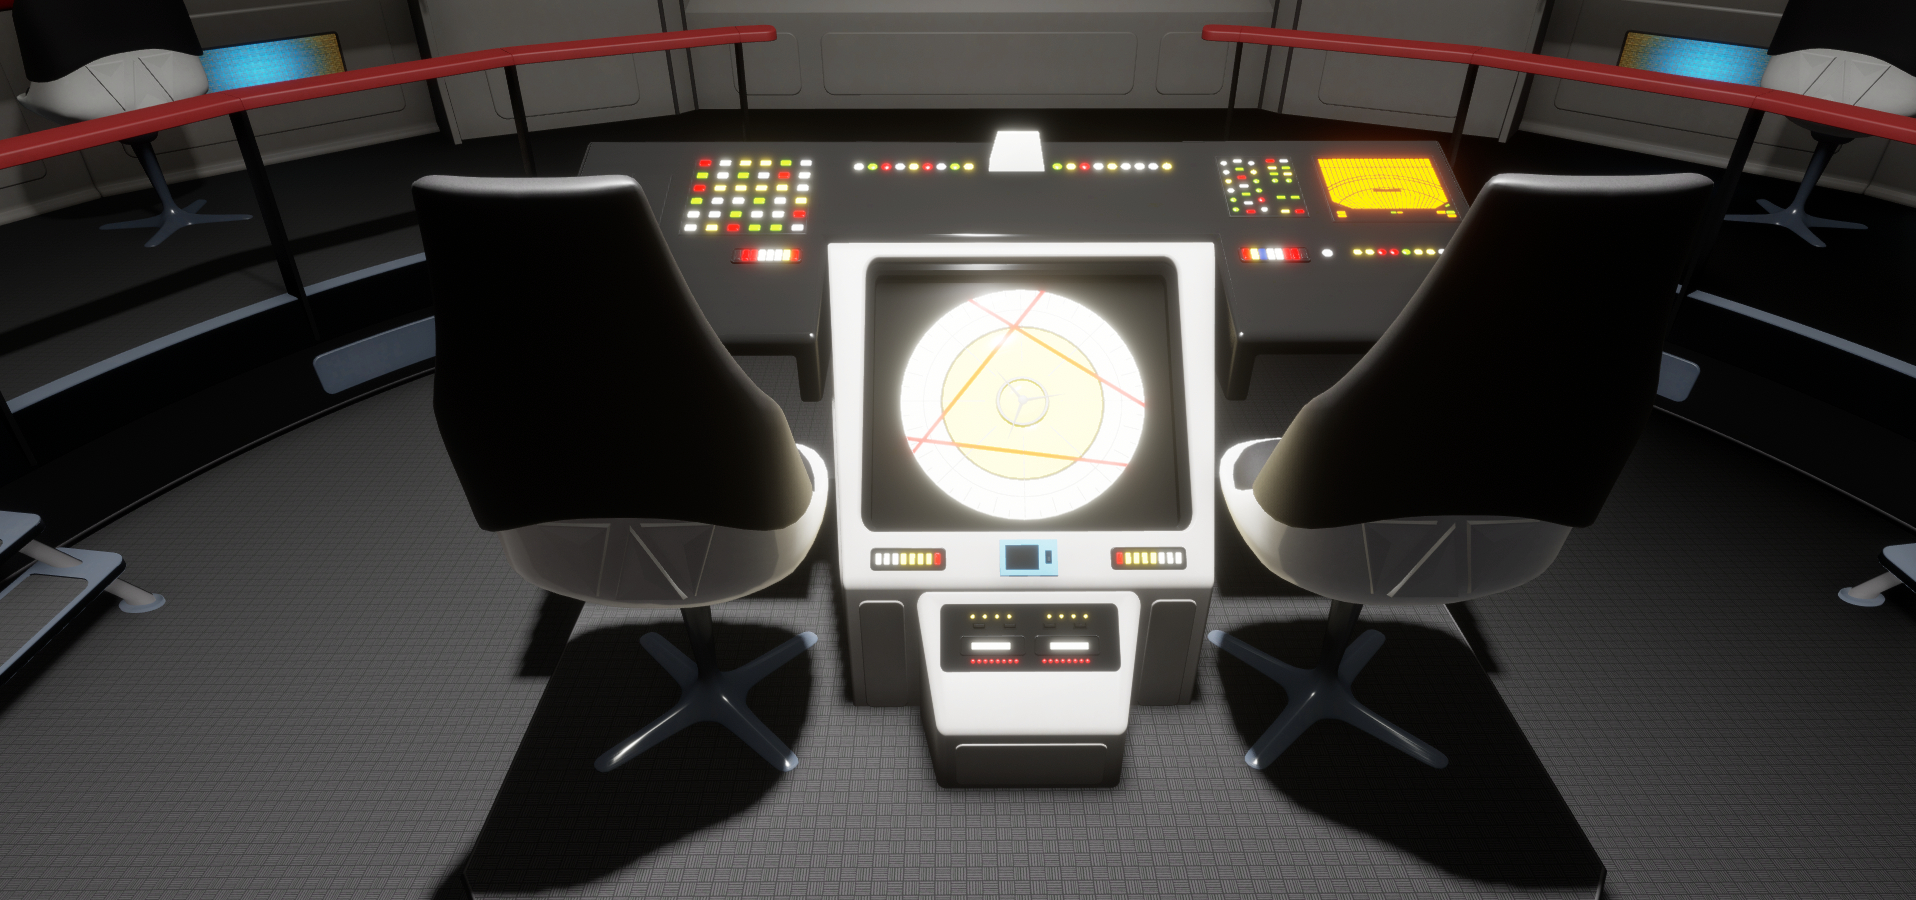
This all makes Horizon Maze a lot more complex a puzzle than first appears, so much so, that it can get a little confusing. To help people out, Ecne provides a number of maps inset into the floors of the rings at various points. These show both levels and mimic their rotation and also show where you are within the maze, allowing you to attempt to chart a course.

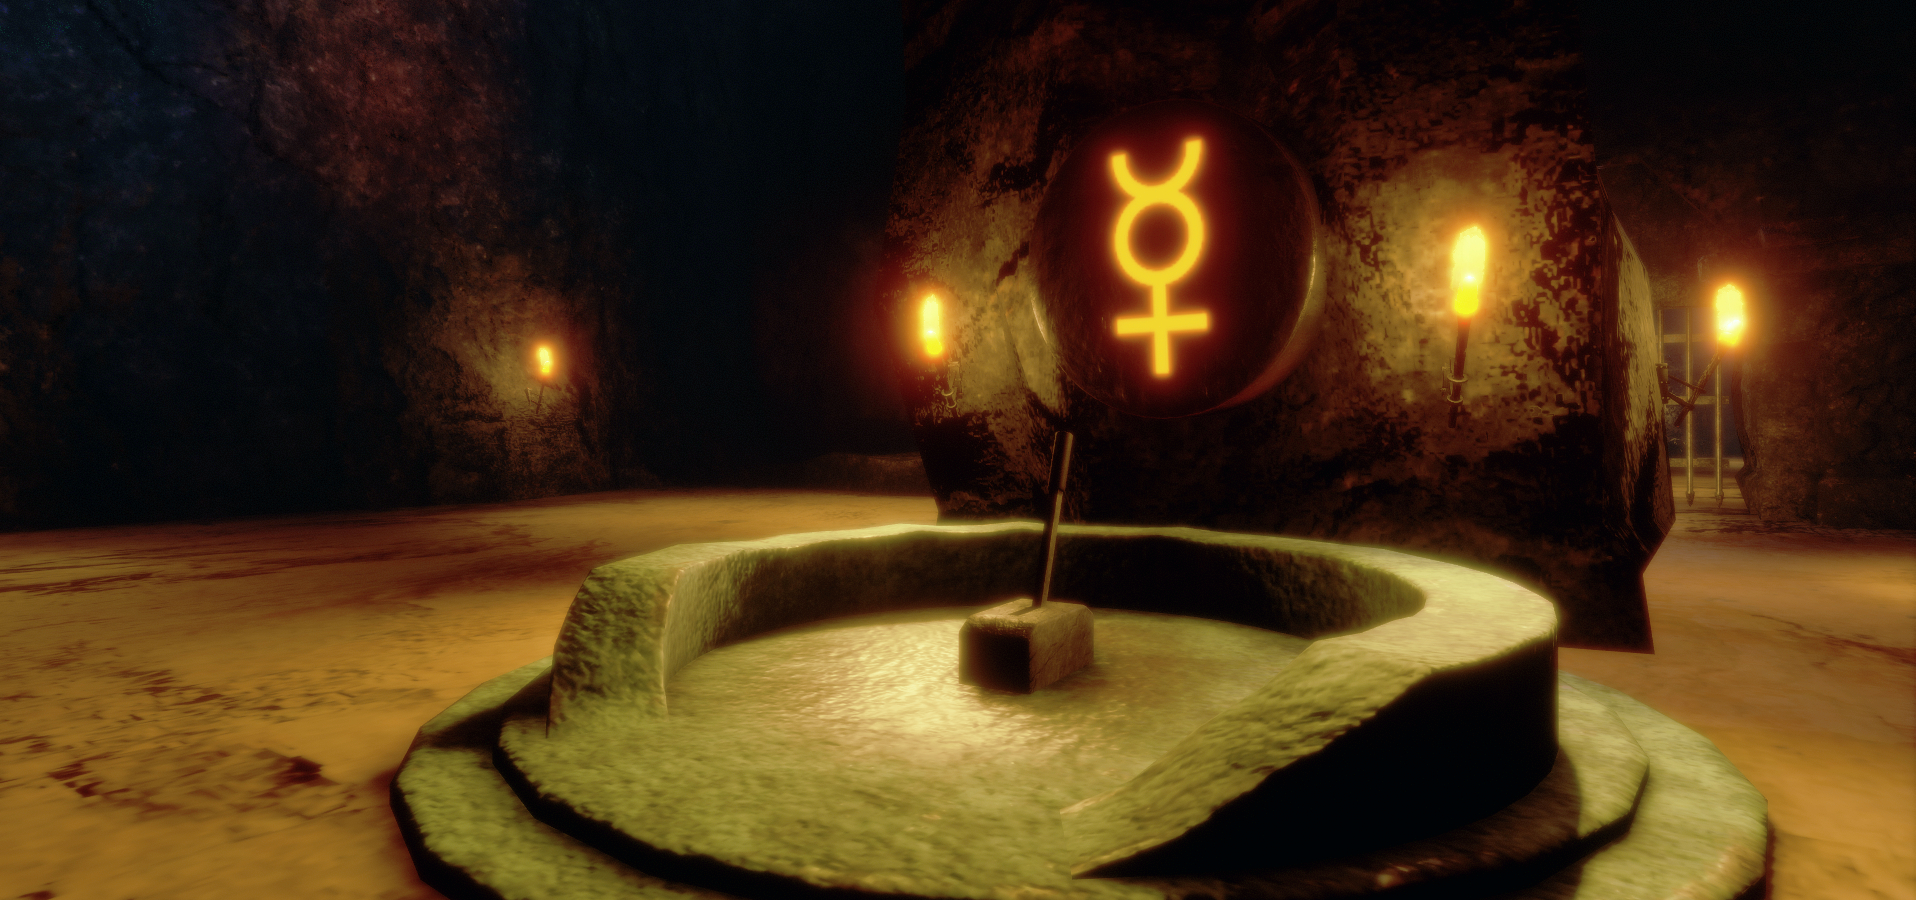
When you do get to the centre of the maze, there is one final challenge: getting past the wall separating you from the golden cup. The secret to doing this can b found both in the wall and on the floor of the path around it – but I’ll let you figure that out!

Ebucezam

Read the name of this entry by Tron backwards – maze cube – and you get pretty much was it is summed up in the title: a maze forming a roughly cube-like shape. The second prize winner in the competition is, like Horizon Maze, a compact design, but one which uses more of a vertical approach to its design.

Ebucezam

In parts uniformly monochrome in styling, Ebucezam is a series of box tunnels and shafts laid out within the volume of a cubic shape. The aim is to get from the single entrance on the ground level to the single large room on the far side of the maze. All of which again sounds simple enough, so where’s the catch?

The catch is that to get from front to back across the maze, you also have to go up and down. This requires using the elevators scattered around the various tunnels, as well as jumping back down shafts. The elevators are colour-coded. White elevators are open to use from the start, but any other coloured elevator – denoted by the colour of the activation switch on the wall and the glow surrounding it – requires you first obtain the corresponding colour energy node.

Ebucezam

These nodes are scattered throughout the maze, so in order to get to the far size, you must first locate the power nodes so you can activate the various elevators.  You only need to find a colour node the once, though. As you approach it, a pop-up notification will inform you have obtained it, and it will then unlock any elevator of the same colour at any time. However, it does mean a lot of moving forward, searching, then potentially backtracking to find the right elevator, making this maze harder to complete than might first appear to be the case.

Thoughts

Both Ebucezam and Horizon Maze are interesting designs; however, I admit to fining Horizon Maze the more engaging of the two. While Ebucezam is a clever design, I found the constant back and forth to find energy nodes and then unlocking elevators came a tad repetitive – it would have been nice to have a little more variation in things. That said, Horizon Maze wasn’t without a slight fault of its own; a could of times when first stating into it, I slightly mistimed my moved between rings and ended up caught in the walls and forced to try walking between them until I eventually fell and was respawned at the start point. The lesson here: time you moves carefully and double-tap run to move between rings!

Ebucezam

Nevertheless, for those looking for something a little different to do in Sansar, Horizon Maze and Ebucezam are worth dropping into and trying out. Congratulations to both Ecne and Tron on their designs and prizes.

Experience URLS and Links


The Secret of Mount Shasta in Sansar

The Secret Of Mount Shasta; Inara Pey, July 2018, on FlickrThe Secret Of Mount Shasta – click any image for full size

In June, Linden Lab announced another in their series of contests for Sansar experience creators. The Labyrinth Contest challenged entrants to design and build an engaging labyrinth / maze that has at least one challenge those exploring it must solve, whilst making their way from a defined start point to a defined end point.

On offer was a first prize of US $5,000 cash, with a choice of a one year subscription to Maya or Zbrush for second place and third prize of an Oculus Rift headset and hand controllers. Following the close of the competition towards the end of the month, The Secret Of Mount Shasta was judged to be the first prize winner.

The Secret Of Mount Shasta; Inara Pey, July 2018, on FlickrThe Secret Of Mount Shasta – the tunnels await …

This is the second Sansar contest entry by Abramelin Wolfe of SL Abranimations fame to win a prize. In November 2017, he was runner-up in the Halloween themed Sansar’s Scariest competition, producing Paranormal Investigation (which I reviewed here).

Quite a lot has happened in Sansar since then in terms of feature and capabilities, with more scope for content creators to script and present interactive experiences; and while things still might fall short of Second Life, the improvements can still show that Sansar is more than just a place to visit and look at; and The Secret of Mount Shasta proves this in spades.

Set as an adventure mystery, the experience presents a considered use of Sansar capabilities to provide a game-like environment winding its way through the caverns and tunnels of a high mountain and filled with traps. Filled with  challenges and traps, it sets out a single goal for visitors to achieve, as the introduction lays out.

The Secret Of Mount Shasta; Inara Pey, July 2018, on FlickrThe Secret Of Mount Shasta – the way is barred – or is it?

Search for the Lemurian Ascended Masters that live deep inside Mount Shasta. Navigate the caverns, avoid the booby traps and solve the various puzzles. Discover the secret of Mount Shasta!

– From the introduction to The Secret of Mount Shasta.

Visitors commence their adventure at a small tented camp sitting alongside the entrance to the caverns. This is guarded by imposing hooded figures carved from the living rock, oblivious to the wind and snow around them. Between their mysterious figures, light flickers from naked torches within the tunnel entrance, enticing people inside.

The torches are periodically placed along the bare stone walls, providing sufficient illumination to see the way forward – but be sure to keep an eye on either side, as further tunnels do open off the first, and can be easily missed if you’re only focused on what lies ahead. Some of these tunnels are gated, the way forward apparently blocked. Some can be opened – rising like portcullises – by pulling a nearby lever. Others may require other means of opening them (I’m not about to give away all of the secrets here!).

The Secret Of Mount Shasta; Inara Pey, July 2018, on FlickrThe Secret Of Mount Shasta – symbols will help you on your way – but only in the right order

Opened gates initially provides access to further tunnels – just beware of the booby traps, such as the arrows launched across a passageway at certain intervals. Such traps might be individually place, or come in pairs or groups – so keep your eyes peeled and time your moves accordingly. Should you be struck by an arrow, you will be transported via a chamber back to the experience spawn point at the base camp.

The further into the labyrinth you get, the more complex and engaging things get. Tunnels open out into caverns, again either individually placed or in close-knit groups, some even linked, although the way between them may be initially barred. Puzzles are to be found within these caverns, and you’ll need to look for the in-scene clues to correctly solve one of them. There are even skeleton guards to fight – yes, fight; again look for the clues on the walls / ground for how to do this, and remember, you can pick things up in Sansar and throw them.

The Secret Of Mount Shasta; Inara Pey, July 2018, on FlickrThe Secret Of Mount Shasta – you must be prepared to defend yourself. And to move stairs

All of this makes for an engaging – and actually quite addictive – challenge which combines elements of Tomb Raider with platform games and even a touch of Harry Potter as you work your way through things – complete with a ratcheting up of both frustration at each re-spawn and determination to end to the end of the challenge and find what awaits. For those with a sci-fi leaning, there might even be an echo of the Stargate franchise (ascended Lemurians  / ascended Lanteans?); ideal for those who prefer Daniel Jackson over Laura Croft or Indiana Jones!

There is a marvellous sense of an unfolding story within The Secret of Mount Shasta – and the way in which clues are provided in-game to solve one of the puzzles along the way is adds to this sense of story. Visually impressive with a superb and subtle audioscape to add further depth to the adventure, this is a worthy winner of the Labyrinth Contest and a thoroughly enjoyable experience.

Experience SLurl and Links

Captain’s Log: on the bridge of the USS Enterprise in Sansar

The Bridge of the USS Enterprise; Inara Pey, May 2018, on FlickrThe Bridge of the USS Enterprise, NCC-1701 in Sansar

Tuesday, May 22nd saw the launch of a new  enterprise for Sansar, with the public opening of a model of one of the icons of the original Star Trek TV series: the Bridge of the USS Enterprise, NCC-1701.

The experience has been developed as a joint venture between Roddenberry Entertainment, run by Eugene “Rod” Roddenberry Jr, the son of Star Trek creator Gene Roddenberry, and Linden Lab through Sansar Studios.  It has been designed as a tie-in with the Mission Log Live podcasts / live streams hosted every Tuesday by Ken Ray and or John Champion, which cover all things Star Trek (and often beyond), with news, discussions, Q&A sessions, guests, and  so on.

The core rendering for the experience has been produced by OTOY, the creator of the OctaneRenderer. Some might be familiar with OTOY’s work on the opening title sequence of HBO’s stunning TV series Westworld. Given this pedigree, and having seen some of the publicity shot (as I covered here), I admit  – as a long-term Star Trek fan – to looking forward to seeing the experience first-hand.

The Bridge of the USS Enterprise – a Sansar social space where people can watch weekly broadcasts of the Mission Log Live series, hosted by Ken Ray (seen on the viewscreen) and John Champion

Sadly, the official opening of the experience between 03:00 and 06:00 BST on the morning of Wednesday, May 23rd – FAR too late (or early!) for me. So it wasn’t until well after the event had finished that I was able to jump into the experience and have a look around.

The Bridge of the USS Enterprise is, first and foremost, visually stunning. It is beautifully rendered, with almost everything a Trek fan would expect to see there and (for the most part) in the correct colours. Visitors arrive close to the turbo elevator doors at the back the the bridge; to the left is the Engineering station, Montgomery Scott’s usual station when on the bridge, and to the right, Uhura’s Communications with Spock’s science station just beyond it.

Of course, the Captain’s chair is there, sitting in the central well behind the helm / navigation console and facing the main viewscreen. A point of note here is that the show isn’t actually recorded  in the experience, but is intended as a place where fans of Star Trek and science fiction can drop into and watch the live stream broadcasts – or catch up with them after the fact – and enjoy the ambience of the Bridge. I understand that for the opening, around 25-30 people gathered in the experience – which must have been cosy, and Ken and John, the hosts of the show, dropped in after the fact.

The Bridge of the USS Enterprise; Inara Pey, May 2018, on FlickrThe Bridge of the USS Enterprise – “The engines cannae take it, Cap’n!” – Scotty’s bridge station

All of the detailing ia for the most part exquisite, although it is – aside from the viewscreen – a static rendering (at least in Desktop Mode with Sansar – I cannot speak to VR mode).

For the hardcore Trek fan there are perhaps one or two missing elements: the commissioning plaque is absent from the wall next to the turbo elevator doors; Spock’s station is lacking his “I see all through this box with a glowing slit” dohicky, for example. Also, the helm and navigation console also appears to have been taken from the game Star Trek: Bridge Crew, rather than conforming to the original TV series design and colours. On the flip side, it’s interesting to see the upper sensor dome that sits above the bridge deck shown as a skylight with stars zipping by – something of a nod of the head towards the original Trek pilot episode The Cage, perhaps?

The Bridge of the USS Enterprise; Inara Pey, May 2018, on FlickrThe Bridge of the USS Enterprise -“Take us out of orbit, Mr. Sulu. Ahead, warp factor one…”

It would be nice to see some interactive elements in the design – being able to touch Sulu’s console and see his weapons target / sensor relay unfold itself, or to be able to “flick” switches on the ring consoles and see the images on the screen above them change – just to give visitors more of a sense of presence (not to mention the hoary old ability to sit on the chairs). However, these little niggles aside, for those who like / love / appreciate the original Star Trek TV series, the experience is a wonderfully nostalgic homage.

It’s a little disappointing that the first Mission Log to be broadcast with the opening of the experience didn’t show more in the way of images of the space to encourage interest among Trek fans watching the show – although it certainly was mentioned several times. However, this was somewhat made up for the broadcast including an interview with one of the incarnations of James T. Kirk himself, Vic Mignogna, the man behind the engaging web series Star Trek Continues, which picks up right where the original series left off at the end of its third season, and includes some unique follow-ups to some of the episodes from that series and well as featuring several special guest stars from the worlds of Star Trek.

The Bridge of the USS Enterprise; Inara Pey, May 2018, on FlickrThe Bridge of the USS Enterprise – “The engines cannae take it, Cap’n!” – Scotty’s bridge station

While Sansar and the Enterprise bridge aren’t visually featured in the show, it is interesting to hear some of the comments Ken and John make in passing about Sansar – particularly where their avatars are concerned. While casual in nature, they do perhaps reflect one of the more noticeable “limitations” with the platform that even casual users are noting: the “sameness” evident in Sansar avatars at the moment, born out of a current lack of broad customisation capabilities.

Overall, Bridge of the USS Enterprise is an interesting experiment on the idea of offering social environments in virtual spaces that are specific to audiences who might not otherwise have an interest in such environments. With the planned tie-in with the Overwatch League now apparently on hold (assuming it still goes ahead), Bridge of the USS Enterprise is Sansar’s sole “partnership” social space of this kind right now, so it’ll be interesting to see how it continues to be used.

The next Mission Long Live event will be on Tuesday, June 5th, as John and Ken will be taking a break on Tuesday, May 29th.

Additional Information

Aech’s Basement: a new Sansar RPO experience

Aech's Basement, Sansar; Inara Pey, March 2018, on FlickrSansar: Aech’s Basement – click on any image for full size

Thursday, March 29th marked the US opening of Steven Spielberg’s Ready Player One, the film based on Ernest Cline’s 2011 novel of the same name. Few can fail to have heard of either film or book – which features a VR “metaverse” made up of thousands of worlds, called OASIS. To mark the opening of the film, but with much less fanfare, Sansar Studios, the 3D / VR modelling and experience design team at Linden Lab, recently opened Aech’s Basement in Sansar.

Described as being “interpreted from the original ILM design for Ready Player One, from Warner Bros. Pictures, Amblin Entertainment and Village Roadshow Pictures.” Aech’s Basement is the second Ready Player One experience to be presented by Sansar Studios, the first being Aech’s Garage (read here for more).

Aech's Basement, Sansar; Inara Pey, March 2018, on FlickrSansar: Aech’s Basement

I can’t speak for the movie as I’ve not seen it yet, but in terms of the book, and with one or two liberties taken to ease avatar movement, the experience hits pretty close to home. And like Aech’s Garage before it, there is a wealth of detail and subtle touches packed into it which are – for those with a keen eye and love of sci-fi and films or the 1980s – a treat to find.

Aech had named his chat room the Basement. He’d programmed it to look like a large suburban rec room, circa the late 1980s. Old movie and comic book poster covered the wood-panelled walls. A vintage RCA television stood in the centre of the room. hooked up to a Betamax VCR, a LaserDisc player and several vintage video game consoles. Bookshelves lined the far wall, filled with role-playing game supplements and back issues of Dragon magazine.

Ernest Cline, Ready Player One, Chapter 3

Aech's Basement, Sansar; Inara Pey, March 2018, on FlickrSansar: Aech’s Basement

Unlike the book, where avatars visiting Aech spawn at the top of the stairs leading down to the Basement, visitors to Aech’s Basement in Sansar spawn in the basement itself.  Walls panelled in wood, as per the book, it is literally chock-a-bloc with 80’s references. The RCA TV is there, although it has been moved against a wall, rather than occupying the centre of the room, its place taken instead by a sofa. However, the consoles are there on the floor in front of it – two Segas and what looks like (from a very quick Internet search, I confess to being no expert), a Mattel Intellivision. The 80’s posters are on the wall celebrating films of the era, and albums by popular 80’s musical artists are scattered around.

A little liberty has been taken with the video tapes, as they are VHS rather than Betamax, while against a wall near the spawn point sit racks of audio cassettes. The rest of the space – in suitably 80’s style lighting – is furnished as one would expect a den to be – large, plump sofas, armchairs past their prime, a games table and – against one wall, a bar.

Aech's Basement, Sansar; Inara Pey, March 2018, on FlickrSansar: Aech’s Basement

The Easter eggs are to be found all over – from the posters , albums and VHS films, through to models from Buck Rogers in the 25th Century and Battlestar Galactica, to space invaders climbing down a ceiling support – and more (I’m just not going to spoil the fun of finding them for yourself). I particularly like the election poster for Wil Wheaton (he of Star Trek the Next Generation fame, as well as a respected blogger, narrator of the Ready Player One audiobook and – in the novel – the vice-president of the OASIS User Council).

Connected to Aech’s Garage by a door at one end of the room, the Basement is a lot smaller than that experience, and can great a little crowded with more than half-a-dozen avatars in it; however, it is as visually rich. Sansar’s quirky interactive capabilities do mean things can get thrown around, but hopefully, this will improve as those interactive capabilities are refined.

Aech's Basement, Sansar; Inara Pey, March 2018, on FlickrSansar: Aech’s Basement

Sponsored by Intel, and licensed by Warner Brothers Entertainment, Aech’s Basement and Aech’s Garage make for an ideal joint visit to the world of Ready Player One, whether or not you’ve seen the film and – in the case of the Basement – especially if you’ve read the book.

Experience SLurl

Visiting the Drew Struzan Gallery and Studio in Sansar

The Art of Drew Struzan: The Studio Experience

On Friday, March 23rd, the The Art of Drew Struzan: The Studio Experience opened in Sansar. As the name suggests, it is a celebration of the art of celebrated illustrator, Drew Struzan – and it is perhaps one of the most visually superb and compelling experiences yet to surface on the platform, particularly for anyone (like me) with a love of films and all that goes with them (I love both film art and film soundtracks).

Drew Struzan

The Art of Drew Struzan: The Studio Experience is part of the The Hollywood Art Museum (HWAM) project, established by Greg Aronowitz with the aim of encouraging artists in the digital medium to find fresh inspiration in the traditional arts of Hollywood’s past, through the preservation and education of art used in entertainment.

I provided something of a “preview” of the opening, including a (very) brief look at Drew Struzan’s career here – which I hope you’ll read alongside this article.  For this piece, I’m focusing purely on the presentation of Drew Struzan’s work as it appear sin Sansar. But first, some preliminary notes:

The experience is in two parts: a gallery of Drew’s work, and a reproduction of his physical world private studio.  Access is via the gallery experience, which can be reached in one of two ways – via a direct URL, or via the Hollywood Art Museum experience – just walk to the entrance of Sound Stage 6, which advertises the exhibition, and you’ll be transferred to the gallery experience.

Both experiences can be enjoyed in VR mode or Desktop mode. However, if you’re visiting in Desktop mode, I suggest using first person view (toggled via F3) to get the best view of the art.

Also note that some of the pieces displayed in the “cinema” part of the gallery have associated audio recordings of Drew talking about them, indicated by a set of push buttons beside the art. These buttons work in both VR and Desktop mode. Instructions are provided on a board by the entrance to the “cinema”, but in brief:

  • Walk up to a button to trigger the audio track (only audible to you). Once playing, you can move away from the button so others can also trigger the audio. Slowly moving away from a button will stop the audio playback before the end, if needed. VR, users can additionally use their controller’s trigger button to start / stop the audio.
  • Note that if you step up to another button while audio from one is already playing, the current track will stop and be replaced by the audio for the button you are next to.
Name those films; the 20th Century Fox 50th Anniversary art produced by Drew Struzan in 1984, now part of The Art of Drew Struzan: The Studio Experience

Taking the Tour

The gallery space is divided into a number of distinct areas. The “lobby” area features some of Drew’s fine art, with portraits of Abraham Lincoln and Bob Dylan together with a self-portrait, as well as a more classic piece of art (Autumn) and more. A hallway leads off this, displaying more of his fine art, including a fabulous self-portrait in pencil and a phenomenal study of Albert Einstein, before reaching the “film” element of the exhibition, which starts with some magnificent pieces celebrating George Lucas, 20th Century Fox together with the art used for the cover of Spielberg / Williams collaboration soundtrack album. There’s also a collection of truly amazing portraits of some of Hollywood’s greats, which Drew produced for US postage stamps and for Franklin Mint.

Sinatra (l, for Franklin Mint), and John Wayne, Edward G. Robinson, Jimmy Stewart, Johnny Carson, Lucille Ball and Henry Fonda (all produced for US postage stamps), and Cary Grant (r)

Beyond this is the “cinema” exhibition space, and the collection of Drew’s film-related art, and the point where the audio options are available.

This features individual film posters (including the 1977 Star Wars “Circus” poster Drew produced with Charles White III, complete with the story of the poster’s unique look related by Drew), placed along the main corridors.  In the centre of the gallery is a walk-through of “comprehensives” – drawings showing the initial layout and composition of a proposed artwork for the client to approve before going to the final illustration –  Drew has produced over the years. There is also a section featuring a Hellboy poster and a Star Wars poster showing the creative process in stages from initial drawing through to final poster; and a special display dedicated to the Back to the Future trilogy.

The Art of Drew Struzan: The Studio Experience

This entire environment is visually stunning. The set is that of an old-style movie theatre with Deco lighting, red carpets and ornately-panelled ceilings, completed by excellent lighting. There is a richness to it that really give the environment a sense of place; exploring it in first-person genuinely gave me the sensation of being there – no headset required (although I imagine I’ll be totally blown out of my chair when I do get to see this experience in VR). As to the art – it has to be seen to be appreciated; it is just astounding, and the images here do not do it justice.

Beyond the “cinema” gallery is the entrance to Drew’s private studio – just walk up to the door marked Enter Here to be transferred to it.This is again stunning: a complete and accurate reproduction of Drew’s physical world studio. Just how accurate? Well, it has been produced by the Sansar Studios team working in collaboration with Insight Digital, a company specialising in photogrammetry and laser scanning to recreate sites of antiquity in digital format for detailed examination. some of their work has already been imported to Sansar at the Voyage Live: Egypt experience, and you can read about that work here.

Drew’s studio – reached via The Art of Drew Struzan: The Studio Experience

For Drew’s studio, Insight took over 4,000 photographs of his workspace and laser scanned the objects and items inside it. “They went front, back, side, top, bottom, behind. Everything!” Drew says of the work. The result is – if I might use that word again – stunning.  literally everything from the original studio space is here, beautifully reproduced.

The wealth of detail is extraordinary, and I strongly recommend careful exploration and viewing, simply because there is so much to see (watch out for the drawer with the stash of paints…). While touring, a couple of people did comment that things seemed a little big, but I assume the space was slightly scaled up to reduce issues of avatars colliding with one another when looking around in groups. And when you have (eventually) done, use the door beneath the deer head to return to the gallery.

Drew’s studio – reached via The Art of Drew Struzan: The Studio Experience

A truly marvellous and visually impression pair of experiences, and kudos to Greg Aronowitz, Insight Digital and the Sansar Studios team under Jason Gholston for bringing it all together, and very special thanks to Drew Struzan for sharing both his art and his personal space with us in this way.

Experience URLs

Eternity in Sansar

Sansar: Eternity

Eternity is the name of the fifth experience by C3rb3rus that I’ve visited in Sansar. I’ve previously blogged three of the others – 2077 and Darkwood Forest in-depth and The Diner as a part of my coverage of the Sansar’s Scariest competition – I have yet to write about Floating Temple, as I’m waiting to see if it develops further!).

Eternity is on a much smaller scale than the previous designs by C3rb3rus – but it is intricately and beautifully detailed and animated, making a visit a must. It’s a single scene environment, presenting an enormous structure in two parts, standing atop an island of floating rock, serenely suspended in the air.

Sansar: Eternity

The first part of this structure is open to the sky above, its high walls an intricate lattice of wood (or copper?) supported by beautifully embossed metal ribs. In general design, it appears church-like: a long, narrow nave leading to a short transept / choir / apse. The aisles either side of the nave are represented by two intricately patterned ramps which gently slope up along the line of the structure to follow the outward curve of the walls. Directly in front of the landing area, almost blocking the way forward, is a great mechanical horse running at the gallop without ever-moving.

To call this a work of art would be an understatement; it is quite simply magnificent. held above a platform on which gears turn and roll by a single supporting pole, this horse is a masterpiece of construction. Burnished in bronze, its legs are fully and naturally articulated, moving with the fluid grace of a horse, head and neck moving in unison with its strides. Partially covered by engraved plates and partially open to the world, the beast has a mechanised interior which rocks and moves in response to its gallop, almost as if driving it, even though none of the gear wheels (understandably) are turning.

Sansar: Eternity

Beyond the horse – which can be viewed from the rough floor of the structure or the ramps on either side – visitors can make their way to the “transept” where more mechanical wonders await. The “floor” here resembles the partially exposed inner workings of a clock or pocket watch with gears meshing and turning and flywheels rocking. A raised dais continues this theme, stretching back towards a single opening. Overhead, an orrery turns embossed metal worlds in orbits around a central point. While one of these worlds is ringed like our Saturn, they do not otherwise appear to be representative of our own solar system.

It’s a stunning, magical setting – but again, the orrery and floor workings can easily be overlooked as eyes are drawn to the far wall of their structure. Solid in nature, all of its entire face is a fabulous tribute to the elegance of clockwork mechanisms, complete with a great brass-like device standing in the middle, above that open doorway mentioned above.

Sansar: Eternity

Surrounded by the copper / bronze gears and flywheels, this round face has the look of both a clock – albeit it one telling time in a way foreign to the human mind – and the great circular window of a church or cathedral.  Indeed, the vertical face on which it is mounted – part of the second, fully enclosed structure in the scene – does through its very shape, heighten the feeling of this being a church, a place raised to the glory of Time.

Eternity is a marvellous portrayal of both our relationship with, and insignificance before, Time itself.  The horse running at the gallop is the very embodiment of tempus fugit, the orrery a reminder that some things endure within the passage of time for far longer than we do, while the great engraved heart suspended by chains above it perhaps stands testament to our own fleeting mortality.

A marvellous, richly detailed and evocative installation.

Experience URL