A vehicle transportation system in Second Life

Using the Piaggio Transportation System with my MD-900 helicopter and Piaggio RoadRunner scooter: note the scooter sitting under the helicopter’s tail boom

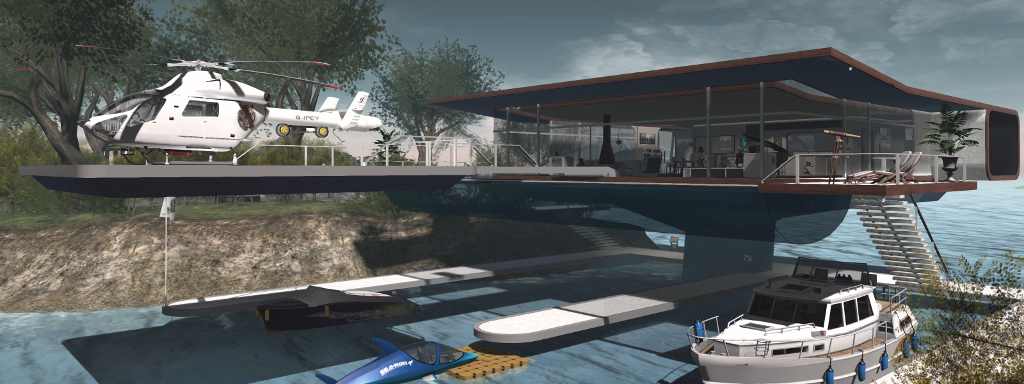
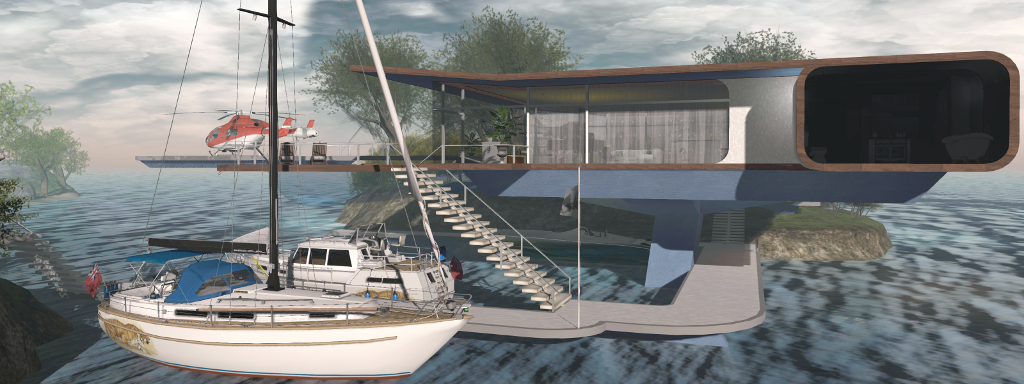
So you have a luxury yacht with a helipad and been annoyed that you can’t sail it with your favourite helicopter rezzed on the deck? Or you have a landing craft and would like to be able to have a driveable vehicle it can carry and you can drive straight off? Or a cargo plane you’d like to fly around with your favourite car inside ready to drive? Well, Ape Piaggio might have the answer.

While working to complete the SeaRoo aquatic vehicle (formerly the WaveHopper – see: Previewing a little wave hopping in Second Life – and still very much “coming soon” as the final bugs are ironed out), she’s developed a neat little script set called the Vehicle Transportation System that allows two Modify / Copy vehicles to be combined so that one can be carried by the other, so that the “one” can be used when desired / as the local region settings allow.

As usual, I’ve been able to take the system for a test-run and thought I’d offer a piece on it for those who might be interested.

The Piaggio Vehicle Transportation system classifies the vehicle to be carried (in my case, the Piaggio RoadRunner, foreground and shown with handlebars folded) as the “secondary vehicle”, while the carrier (in this case, my MD-900 helicopter) as the “primary vehicle”

The system does require a careful amount of setting-up. In particular, it requires the unlinking and re-linking of one vehicle. This is something that can create issues, because vehicles often use a defined linkset numbering system which, if altered, can stop the vehicle function correctly. For this reason, there are scripted tools available to manage linksets. It’s also why Ape provides two versions of the Vehicle Transportation System:

  • The Vehicle Transportation System, containing only the scripts needed to allow one vehicle carry another, and suitable for those already have a re-link / unlink tool, or are confident in their own ability to edit linksets.
  • A Combo pack, offering both the Vehicle Transportation System and Ape’s own Relinker Kit, suitable for those who are not confident in editing linksets or who do not have a suitable script set for linkset editing.

Both kits are available on the Marketplace and will deliver the scripts to your inventory in two different folders.

In addition, the following points should be noted:

  • Both vehicles must be Copy / Modify.
  • The system uses a pair of defined terms:
    • Primary vehicle – refers to the vehicle that will transport another vehicle (e.g. a yacht you want to carry a helicopter or jet ski or something; or an aircraft carrying a car or tank or other vehicle, etc.).
    • Secondary vehicle – refers to the vehicle that is being transported.
  • A primary vehicle can only carry one other secondary vehicle.
  • When in use, the system will only work in regions / parcels where rezzing is enabled.
  • If you are the only person on your primary vehicle, note that it may be auto-returned if you swap to your secondary vehicle and are away from the primary longer than the local auto-return time.

Setting The System Up

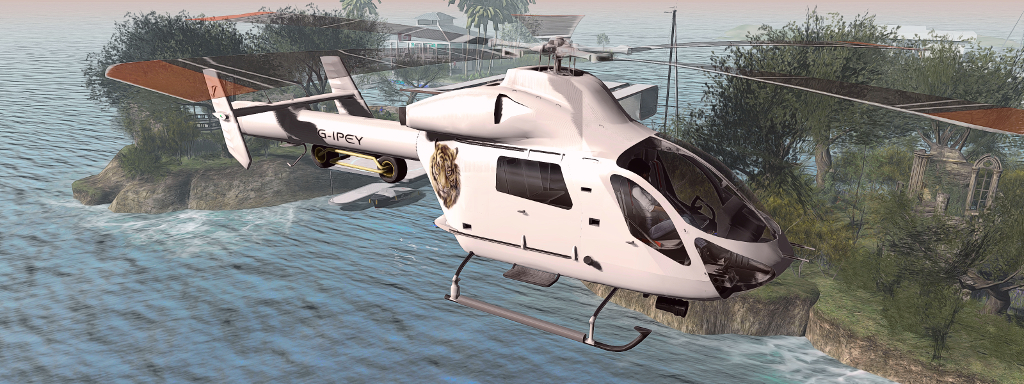
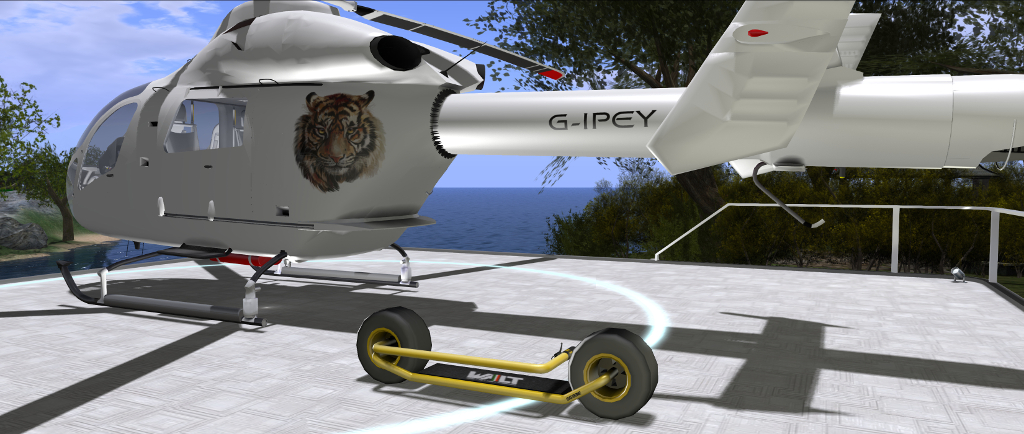
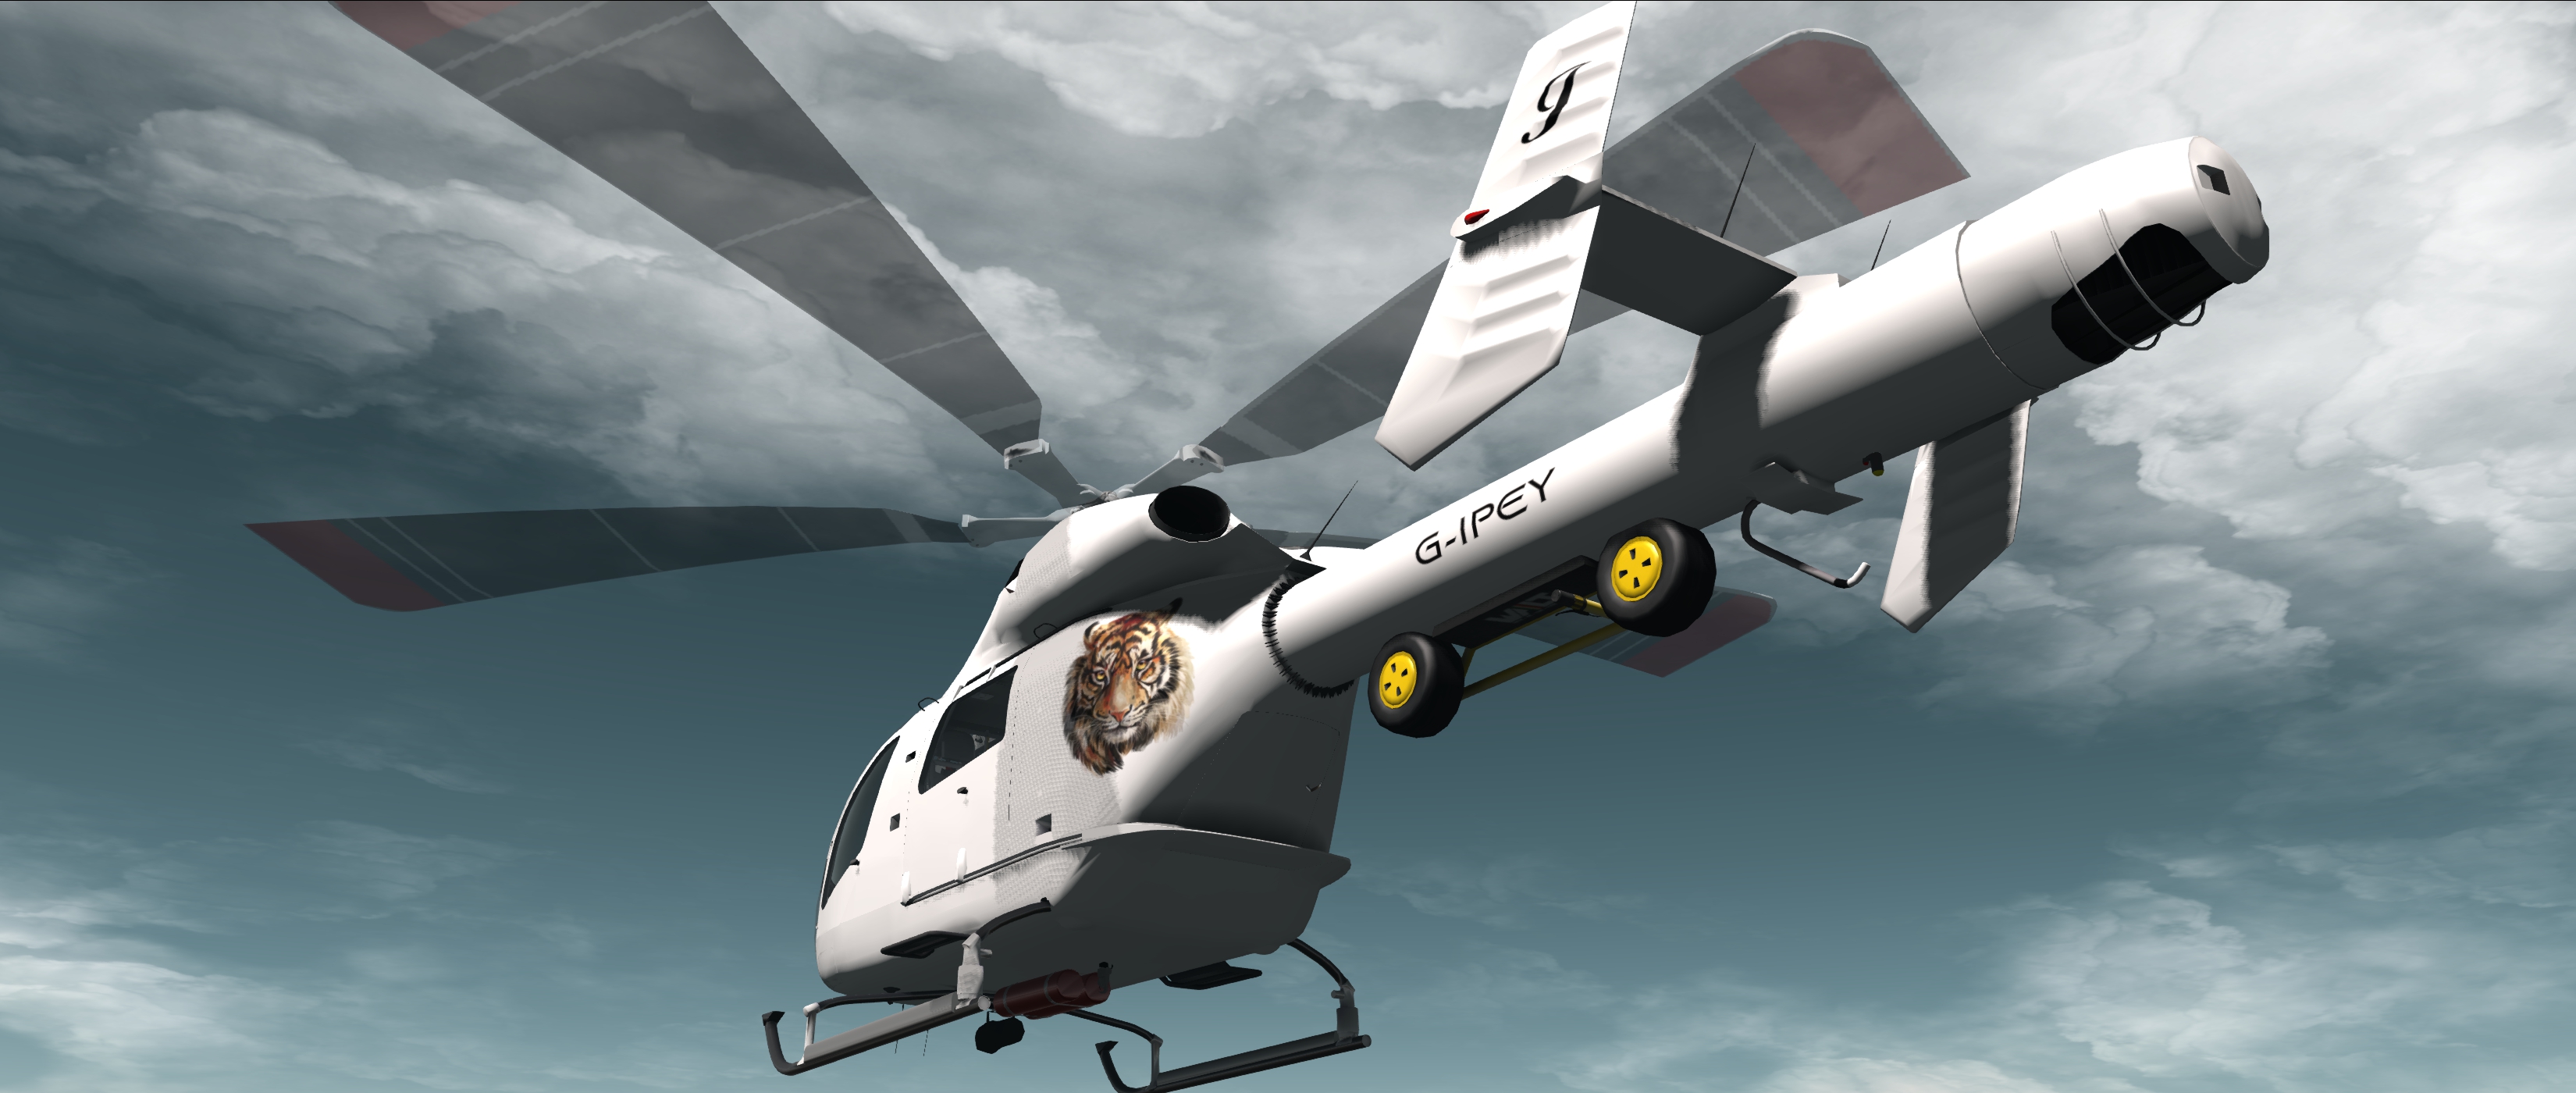
Note: for the purposes of this article, I’m using my Spijkers & Wingtips MD900 Explorer helicopter and Piaggio SG33E RoadRunner scooter as, respectively, my primary and secondary vehicles, ans they happen to be the two of my vehicles that offer a reasonably logical pairing. As noted above, the system can be used with any suitable pair of Copy / Modify vehicles.

Setting the system up comprises three steps:

  • Preparing a static version of the secondary to be carried by the primary.
  • Linking that version of the secondary to the primary.
  • Preparing a version of the secondary that can be rezzed from the primary when it is to be used.
The “static” version of the secondary vehicle ready to be linked to the primary – the idea here being my RoadRunner is “slung” under the helicopter’s tail boom

Preparing a Static Version of the Secondary Vehicle

  • Rez your primary vehicle.
  • Rez a copy of your secondary vehicle and place it on your primary where you wish it to be positioned when the primary is in use (e.g. put a helicopter on the helipad of a yacht, or a car in the cargo hold of a plane).
  • Edit the secondary and open the Contents tab.
  • From the Vehicle Transportation System folder in your inventory, drag and drop the script called CONVERT INTO STATIC OBJECT into the Contents tab of the secondary vehicle.

WARNING: this script will DELETE all contents from the secondary and render it unuseable, so again, you should only do this if the vehicle is COPY and you retain a working version in your inventory.

  • Wait for the local chat message –> CONVERSION FINISHED <–.
  • Leave the converted vehicle in place.

Linking the Static Version of Secondary to the Primary

Note, the following references using the Piaggio Relinker kit; if you are using another scripted means of unlinking / relinking an object, then please refer to the instructions available with that tool.

  • Edit the static version of the secondary vehicle and open the Contents tab.
  • From the Piaggio Systems Relinker System folder, drag and drop ONE of the ADD scripts into the Contents tab:
    • Use ADD (CONVEX) if the root of the secondary is mesh.
    • Use ADD (PRIM) if the root of the secondary is a prim.
    • If you are unsure of the root of your secondary vehicle, use ADD (NONE).
  • Close the Edit floater of the secondary vehicle.
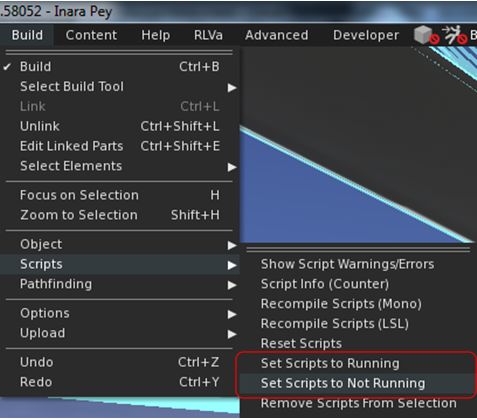
  • Edit the primary vehicle, and then from the Build menu, select Scripts → Set Scripts to Not Running.
When linking your secondary vehicle to your primary, you must ensure you set the primary’s scripts to Not Running before doing so, and then set them to Running afterwards
  • From the Piaggio Systems Relinker folder in your inventory, drag and drop the RELINKER – MAIN script into the primary.
    • A series of dialogues will be displayed, requesting permission to de-link and re-link he primary vehicle.
    • You must reply YES to each in turn.
  • When the process has finished, local chat will display the message: DONE: REMOVING SCRIPT.
  • Edit the primary vehicle again Scripts → Set Scripts to Running.

Preparing a Rezzable Version of the Secondary for use with the Primary

  • Rez a new copy of the secondary vehicle and edit it.
  • From the Vehicle Transportation System folder, drag and drop the script SECONDARY VEHICLE SYSTEM into the Contents tab of the secondary vehicle.
  • From the General tab of the Build / Edit floater, highlight and Copy (CTRL-C) the name of the secondary vehicle.
  • Take the updated copy of the secondary vehicle back to inventory.
  • Edit the primary and open the Contents tab, then:
    • From the Vehicle Transportation System kit folder, drag and drop the script PRIMARY VEHICLE SYSTEM.
    • Then drag and drop the updated secondary vehicle from inventory into the Contents of the primary.
  • In chat, type NAME, followed by the name of the secondary vehicle as in appears in the primary’s contents. For example:

name SG33E RoadRunner

Note: you can use Paste (CTRL-V) to paste the vehicle name accurately. Also, note this is only required if the primary has other objects in its contents.

Your vehicles should now be set-up and ready to go. Take a copy of the completed pairing back to inventory so you always have a “master” copy.

Using the Vehicle Transportation System

Notes:

  • As per the notes above, the system will only work in regions / parcels where rezzing is enabled.
  • The engine systems of both the primary and the secondary vehicle must be OFF in order for the system to work correctly.

Use the primary vehicle as you usually would. It should perform exactly as it did before you added the secondary vehicle.

Flying my MD-900 with the RoadRunner “slung” under the tail boom

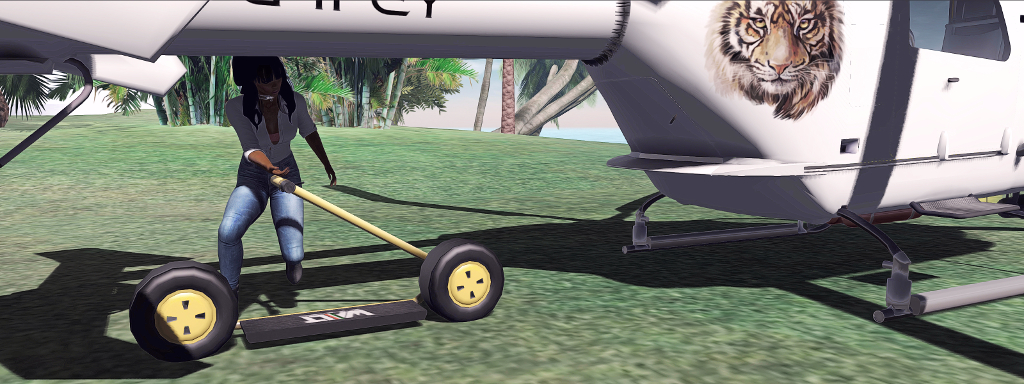
When you reach a point where you want to use the secondary vehicle, stop the primary and make sure the engine script is not running, then in local chat type RELEASE.:

The version of the secondary vehicle will be removed from the primary and a copy of the driveable version contained in the primary vehicles inventory will be rezzed in its place. You can then sit in the secondary and use it as normal.

Preparing the “driveable” version of my Roadrunner secondary after “detaching” it from my helicopter

When you have finished using the secondary, return to the primary and dismount from it. Make sure the engines of both are turned off, then in local chat type CONNECT.

The rezzed version of the secondary will be removed, and the “static” version will reappear connected to the primary.

Note: if the primary has been auto-returned  to your Lost and Found folder, you can re-rez it to complete the above operation  and continue travelling with the primary. Or you can delete the copy of the secondary and simply pull a fresh version of the primary from inventory the next time you want to use it.

This is an elegant solution for an issue many have found to be annoying. Those interested in trying it for themselves can obtain it as follows:

The Culprit Console Piano in Second Life

Culprit Console Piano

Pianos have been – if you’ll pardon the pun – something of a theme for me over the last couple of years; particularly those made by Eku Zhong and Yure4u Sosa for their Culprit brand. In September 2018, I wrote about the Culprit upright piano, and then in March of 2019 year, I reviewed the Culprit baby grand (links below).

As I noted in writing about the latter, I have a Yamaha N1 piano in the physical world, a hybrid piano that allows me to have the richness of playing a grand piano in the compact form of an upright piano. And with their latest release, Yure4u and Eku have given me the opportunity to have a similar style of hybrid in Second Life, with the Culprit Sonata Console Piano.

Like the Culprit upright and baby grand before it, this is  Bento-configured piano, meaning it utilises the Bento skeleton and suitable animations to give a more realistic look to an avatar’s fingers when playing. However, unlike its predecessors, the console piano has some nips and tucks to the Bento system.

The Culprit Console Piano’s keyboard

Style-wise, the Culprit model resembles the Yamaha N2, offering a deeper body than my N1 – said to help provide a richer tone – with an upright-like keyboard. It’s provided with a range of finishes, with a default of wood for a freshly rezzed model. Texture options can be used to change both piano and stool together, or mixed between piano and stool to offer a custom look between the two.

As with the upright and the baby grand, the texture options are accessed via the piano’s menu. This also provides access to the piano’s playing options. These are divided up as follows:

  • Songs: 34 solo pieces to play, all public domain, representing a good cross-reference of music.
  • Christmas: 16 seasonal songs, all again public domain.
  • Muted: a total of 16 different playing styles without any associated music so you can set a style in keeping with the music you’re listening to out-world, or on your parcel stream.

The menu also includes options to adjust the seated position on the stool.

The Culprit Console Piano (centre) with the baby grand (l) and upright (r) for comparison

Play-wise the Culprit composite starts in a similar manner as the other two pianos in the Culprit Sonata range: sit on the stool and your avatar will be placed in an “idle” pose, performing a number of arms and finger loosening exercises. Selecting a piece of music from the menu will cue up the loop – and introduces the difference between this and the other Culprit pianos.

Like the Sonata baby grand and upright pianos, the Culprit Sonata Console piano uses Bento hand animations for a more realistic playing style with Bento avatars (footage taken from tests with the Culprit Sonata Upright)

Not only will the system adopt a playing style in keeping with the tempo of the selected piece and with individual finger movements for Bento avatars, the animations will actually adjust to the tempo within the piece – so that in sections where there is an increase in tempo, or if stronger emphasis in playing is required, the animation will attempt to replicate it; this presents something of a more fluid playing “style” for an avatar.

Those who have not swapped to using Bento-enabled mesh avatars can still use the Culprit Console Piano, just as they can the others in the Sonata range – the only difference is the finger movement will not be present in the animations.

In keeping with the Culprit upright and baby grand, there is no autoplay with this model. But as I note in my reviews of both of those models, the point about the Culprit Sonata range is the Bento capability – so having autoplay (allowing the piano to play tunes while not seated) misses that a bit.

One small point of note is that the piano is supplied both physical when rezzed and has a root prim base. The former means you can be catapulted ceiling-wards when standing from it, so setting it to phantom might be required. The latter means a little vertical adjustment when placing it in-world might be required to avoid the appearance of having it hovering above the floor. Neither of these points detract in any way from the piano’s attractiveness or playability.

If you have limited space in which an grand piano can be a little over-powering (inset), and an upright a little too “traditional”; the Culprit Console Piano might offer a stylish alternative to the one offer a more modest footprint than the other

Those who have a grand piano – and room for it – might not be tempted by the Culprit Console Piano. However, if you are pressed for space and miss having a grand in the house / aren’t too enamoured with a “traditional” upright, then this model could be right for you. Small and attractive, it fits into confined spaces admirably, and at 7 LI, isn’t a capacity hog. I’ve already added it to my Evening Star Linden Houseboat rezzer, where it sits nicely within the small lounge space I’ve created with that particular houseboat design, without overpowering the room and making things feel cramped.

The Culprit Console Piano is currently exclusively available at the Tannenbaum shopping event through until December 23rd, after which it will be available directly from the Culprit main store.. The price is L$995.

SLurls and Links

More on a Sky Tower home in Second Life

The Oblivion inspired Sky Tower house in situ at the home island, and with the landing pad in use, with moorings below

When I wrote about my fiddling with a personal interpretation of the Sky Tower house from the 2013 Tom Cruise vehicle Oblivion (see Of Sky Towers and SL homes) just a few days ago, I didn’t actually expect to be writing about it again quite so soon. But here we are.

Admittedly, when I wrote that first piece, the basic design was complete, and it was already semi-furnished as I tried to work out how things would fit. At the time, I was actually unsure if it house would find its way into personal use for a number of reasons (mainly the fact we both rather like the “Fallingwater” style house and home parcel layout in place).

Looking at the house from the north island’s gardens

But as is often the way, everything came together quickly, and with the help of one of my preferred rezzing systems, it became very easy to complete a suitable home parcel layout with the new house (+ island designs) and drop it into a rezzer and also drop the “Fallingwater” layout (again, house, furnishings and islands) into another rezzer to make both pretty much “hot swappable”. So here’s a look at the results.

The house slots in between the “north” and “south” island, offering us a nice look to the west towards sunsets. This position means the house sits over the water, held aloft on a slightly off-centre pylon so that I could install moorings for boats and planes beneath it (and of course, the vehicle rezzer has been retained, to make swapping between what is moored there nice and easy). In doing this, I particularly wanted to ensure there was good clearance under the house, but the house itself would still sit below the height of the trees on the south island, so it’s not sticking out like a sore thumb.

The living space

The interior of the house offers compact living space: an open-plan lounge, dining area and kitchen, with what was in the film’s Sky Tower the medical bay / hygiene bay turned into a bedroom, while the section given over to the sleeping area in the film becoming a bathroom.

One of the things I like doing in SL is kitbashing – pulling items together from different builds to achieve a result. In this case, Alex Bader’s Skye Beach House, which I’ve had for some time, came into play. Specifically, I was able to pull apart the swimming pool and use a part of it, together with its animation system, to give some life to one of the major features of the Sky Tower – the swimming pool. Elements of the Skye Beach house and the Maven Homes Eco IV also help provide fixtures in the house: the fireplace, doors, and external furnishings.

A Side view with the darkened windows of the bathroom.

As I mentioned first time around, I skipped on including the upper level control deck from the original, and the low workshop area. This, to me, makes this design less distinctive than the original, but makes it nicely streamlined and more in keeping with the broad styles of houses found across the islands around us.

So that’s the new house for Isla Pey, and we can now happily swap between that and the “Fallingwater” derived house as the mood / season / year goes. Now if you’ll excuse me, I’m off to list to the Oblivion sound track. Again 🙂 .

Of Sky Towers and SL homes

In the sandbox: building a Sky Tower inspired home

As I’ve noted in assorted posts in these pages, I’m a bit of a science fiction fan – books, television and film. In particular in this case, I have a fascination with the 2013 Tom Cruise vehicle, Oblivion, a film that seems to fit in the “Marmite zone” – you either love it or hate it.

For me, the film has a pretty good storyline (if a bit overblown in places), an outstanding soundtrack by M83, Anthony Gonzales, Joseph Trapanese (that I’m listening to right now), and one of the most intriguing house designs seen in a film: the Sky Tower.

“Sky Tower” interior – trying to make it more of a contemporary home than “hard” sci-fi environment

Given my cursory interest in architecture and house design, I’ve always found the Sky Tower fascinating – particularly given the lengths the film crew went to make it. While there are a couple of commercial builds available in SL based on it, I’ve long wanted to see if I can take some of the core elements in the design and create a contemporary home that contains those elements, but moves the house out of hard-edged sci-fi and into something that could provide a comfortable living space.

I first entertained the idea well over a year ago and started on a design, but shelved it in a rezzer. However, it kept nagging at me, so over the last 10 days, I’ve been fiddling with it as time allows to see if I could build it out as a house that might sit within our current Balboa Estate home parcel.

The kitchen area with bedroom behind (beyond the smoked glass windows

The work isn’t finished yet, but the photos here give some idea of what I’ve been doing. The house intentionally doesn’t include the distinctive upper “Control” deck of the Sky Tower in the film, and while I’ve tried to retain some of the interior and exterior elements – the “back room” area (now converted to a bedroom space) and the iconic landing pad and “sky pool”, I’ve also done away with the workshop space sitting under the main house.

Unlike the film’s Sky Tower, this one isn’t intended to sit atop a 1,000ft tall tower. Rather, it is designed to sit between the “north” and “south” islands of our current home space, elevated above the water by a pylon structure I’ve yet to complete, and with moorings for boats and planes at water level below it. All of this is still to be finalised, as have the interior / exterior furnishings, fixtures and texturing, but these photos should give an idea of the overall look.

The design isn’t intended to replicate the full Sky Tower design – no upper deck Control unit, for example) and so has a “side entrance” and steps (foreground) that will connect it to one of the home islands

This isn’t intended to be a commercial build, but purely for personal use as an alternative to our current Fallingwater-inspired house. If all goes according to plan, the two houses will be “hot swappable” via rezzing systems and depending on which we fancy having in place at any given time of year.

I’ll probably bore you with more on this once the house is more in situ in our home parcel 🙂 . In the meantime, a nice little video of the original Sky Tower from the film.

Having a “well, duh!” moment with a Linden Houseboat

More changes for the Windlass version of my Linden Homes houseboat

As regulars here know, I’ve been playing around with the various versions of the Linden Homes houseboat designs on-and-off, creating and saving various interior layouts utilising rezzing systems, some of which I’ve bored people with in these pages – see: Saving your Bellisseria house designs for re-use with a rezzing system, More houseboat decorating in Second Life, and Still messing about in (house)boats in Second Life.

In particular with the last article, I wrote about converting the raised section of the Windlass design in a bedroom. This involved putting in a false floor and an additional stairway. While it worked to a point, having two staircases inside the houseboat was a bit weird, and while other things took me away from the houseboat (truth be told I barely set foot in it between that June 2019 article and the end of October), the issue nagged at me.

The problem, in short, was the “hard” stair railing that blocked any access to an upper floor put into the Windlass from the existing stairway – the stairs being intended purely to access the houseboat’s upper deck. However, in hopping back recently and swapping from my use of the Barnacle houseboat to the Windlass, I had one of those embarrassing “well, duh!” moments: Why even keep the existing stairway leading up to the upper deck?

Top: the June 2019 build, showing the added spiral stairs while the “fix” stairs remain usable behind the kitchen walls. Bottom: as revised – just the one spiral staircase, the “fixed” stairs now boxed in to created a “bathroom”, while the cubbyhole under the stairs has been opened to create space for a galley-style kitchen

In the June design, I had already partially walled-in the fixed stairway, boxing-in the cubbyhole under the stairs in the process, to provide a “back wall” for a kitchen area and a false space to suggest a bathroom. By opening this out again, but keeping the stairway hidden behind a curved “ceiling”, and then completely blocking out the bottom end of the stairs allowed me to:

  • Hide the existing stairway and create the impression of a bathroom tucked into a corner of the houseboat.
  • Extend the “bedroom” space the full width of the upper section of the houseboat, while keeping the stairway door as a mean to access the upper deck.
  • Relocate the spiral stairs serving the bedroom so they don’t dominate the floor space of the houseboat so much.
  • Use the re-exposed cubby hole under the “fixed” stairway as the home for a galley kitchen.
  • Open out the rest of the available space for a roomier dining space (so much pace, I’ve yet to work out what I want to do with bits of it!
Extending the new bedroom floor both provides more space while allowing the upper part of the “fix” stairway to serve as an access way to the roof deck k(seen on the left)

The exterior view of the houseboat, vis window placement, doesn’t quite align with the interior layout (the stairway is marked by two large windows) – but dropping the blinds on these tends to help hide this, although I did toy with blocking the windows out complete. On the flip side, general access to the upper deck isn’t lost this way – it’s still possible to reach it via the simple expedient of an external stairway, as seen in the top photo, one easily accessed from the lower floor of the houseboat and the docks I dropped in for mooring my boats.

All of this isn’t a genius move; doubtless others arrived at the same solution well ahead of me – hence referring to it as a “well, duh!” moment. But it at least makes me happier 🙂 .


A little Culprit Moonwalking in Second Life

The Culprit Bento Moonwalker

Culprit owners Eku Zhong and Yure4u Sosa are known for producing quirky and fun products in Second Life, from vehicles to pets – like their Animesh followers, Sphynxie and Mousie, both of whom have been reviewed in these pages – as well as producing more “serious” items such as their Sonata Upright and Sonata Baby Grand pianos, which I’ve also reviewed in these pages.

For the start of November 2019, they’ve released another, more light-hearted product, currently available at the (I believe introductory) price of L$100: the Culprit Bento Moonwalker.

Exploring the new Bellisseria regions using the Moonwalker

Intended purely for fun (whilst allowing Eku and Yure4u to poke around at Bento), the Moonwalker is  – well I guess the best way to describe it is a wearable “vehicle” that looks like half a sphere setting on ED-209’s legs. Supplied No Modify (due to the risk of messing up the rigging), it is designed to be added to your avatar rather than rezzed and driven. This means using it is a three-step process:

  • ADD the Moonwalker to your avatar – note that as it is Bento it should reasonably resize to “fit” most humanoid avatars.
  • Disable your own animation override (the Moonwalker has its own).
  • Start walking!
While the Moonwalker isn’t intended to be rezzed in-world for use, this gives an idea of its size – although it will automatically resize to “fit” most humanoid avatars as it is Bento

Once you get going you can walk, run and fly in the Moonwalker exactly as you would your avatar on its own, using your preferred keyboard options (e.g. WASD or the arrow keys, etc). When you’re done with it, just detach it once more.

However, when using the Moonwalker, there are some points to note with the Moonwalker:

  • As a Bento rigged object, the Moonwalker uses the Hind Leg bones – so if you are already wearing an avatar / avatar accessory that uses those bones, it will clash with the Moonwalker.
  • You should ADD the Moonwalker to your avatar using the set attachment point – if you reposition it to any other attachment point it may not work correctly / you may have unintended outcomes (or as the user guide notes, “you might end up with fire coming out of strange places”!).
  • Bento can occasionally result in an avatar looking deformed when the Bento element is detached. Should this happen to your avatar in your view, or should you be told by someone else you look odd, just right-click on your avatar and select Reset Skeleton.

As noted, Moonwalker is intended for fun – although there is potential for an assortment of vehicles coming off the back of it. Given it is supplied No Modify (and No Transfer), it is supplied in four colour options and is available in-world at the Culprit store – link below.

Exploring Bellisseria’s new regions in the Moonwalker

SLurl and Links

With thanks to Eku for the gift!