
Update, Thursday, January 29th: following the publication of this review, VetronUK started work updating the ribbing on the elevator textures in her Debonair kits. With some 74 kits to update, this might take a while, but if you do have one of them, you may well be receiving an update soon. Commenting on the update, VetronUK said, “I fly these paints myself and they are some of my favourite works, so if there is something not perfect about them I do get that nagging feeling to fix them :D.” All I can say is – kudos to her for move so swiftly on what is a pretty small thing I only noticed as I fixate on things like that!
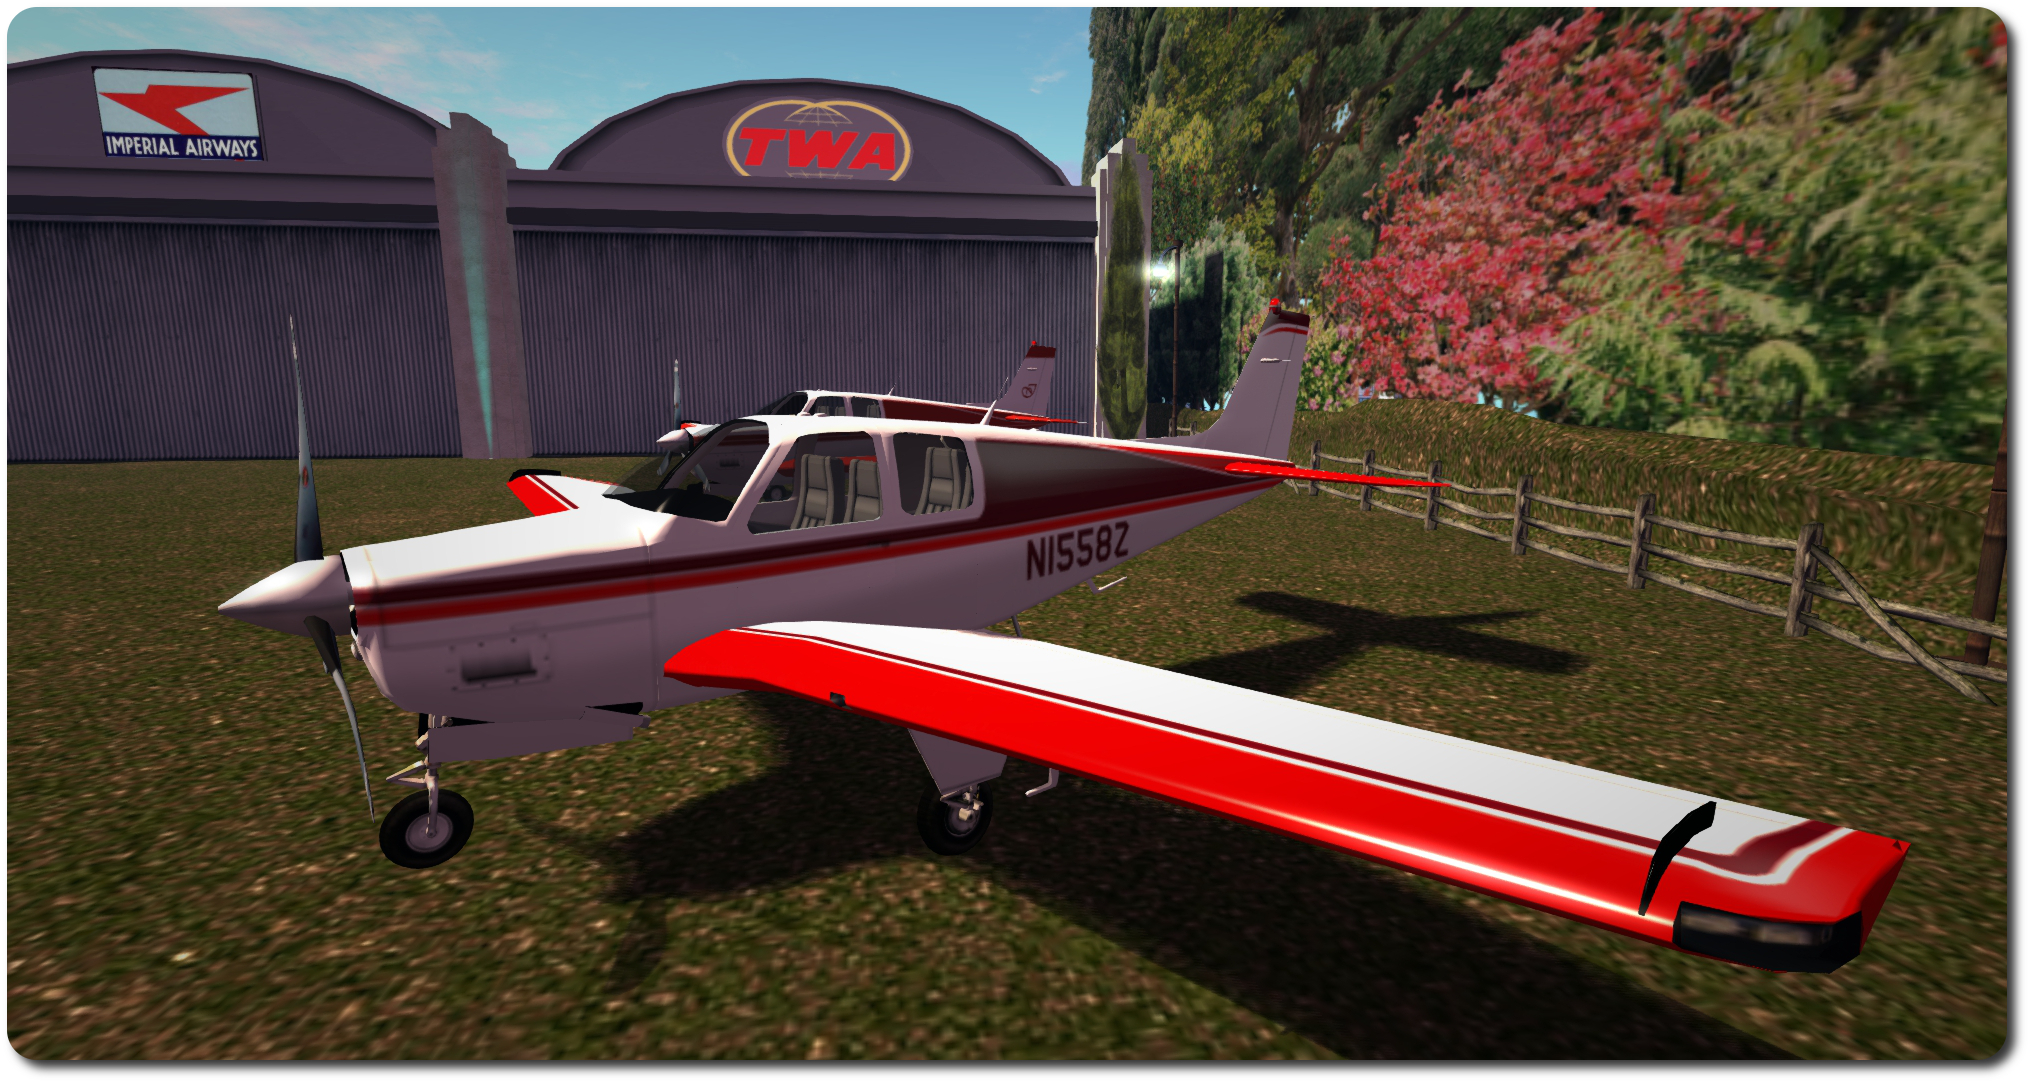
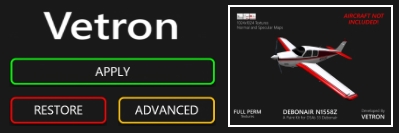
Fellow aviator Terag Eshtan, knowing how I like to sort-of customise my boats and aircraft, pointed me towards VetronUK’s Vetron brand of painting kits, and particularly the fat pack of 60+ colour schemes / variations offered for L$1,195 for the DSA C33 Debonair which I recently acquired. As well as the fat pack, Vetron also supply individual colour schemes foe the C33 at L$195 each. The paint kits are provided full perm (subject to an EULA), with the allowance for them to be modified.
While 60+ paint options is a tad excessive for me, I was intrigued to note that Vetron paint kits can include materials options as well. Not only that, but in looking through the catalogue, I found a Red / white colour scheme that I rather liked, so I decided to give it a go. and I’m rather glad I did.
Each kit is supplied with a set of textures corresponding to the aircraft with which the kit is to be used (both with and without aircraft registrations in the case of C33 kits), a control script to be dropped into the ‘plane itself, and a HUD for applying the supplied paint kit / additional options (which may vary from aircraft to aircraft).
If you want to get an idea about how a specific colour scheme might look close-up prior to purchase, try visiting the Vetron store in-world, where you can rez demo models of DSA aircraft with the various paint schemes applied.
Using one of the kits is simplicity itself – instructions are given on the Marketplace listing for each kit, in a note card included with the kits and via a very clear PDF instruction manual. However, in summary:
- Rez your ‘plane and drop the Vetron script into its contents
- Wear the Vetron HUD
- Click the Apply button on the HUD
- Use the Advanced button to select any additional options which may be available, such as adding materials (normal and specular maps) to the ‘plane’s finish.
And that’s it; simples. The HUD even includes a Restore button, which will roll changes back to the original supplied default colour scheme for the aircraft.
Customising the textures is achieve by saving the 1024×1024 files locally and then editing to them make your changes. Testing can be carried out by using the Local Textures option within the viewer, and applying your revised textures to the appropriate faces of the aircraft.
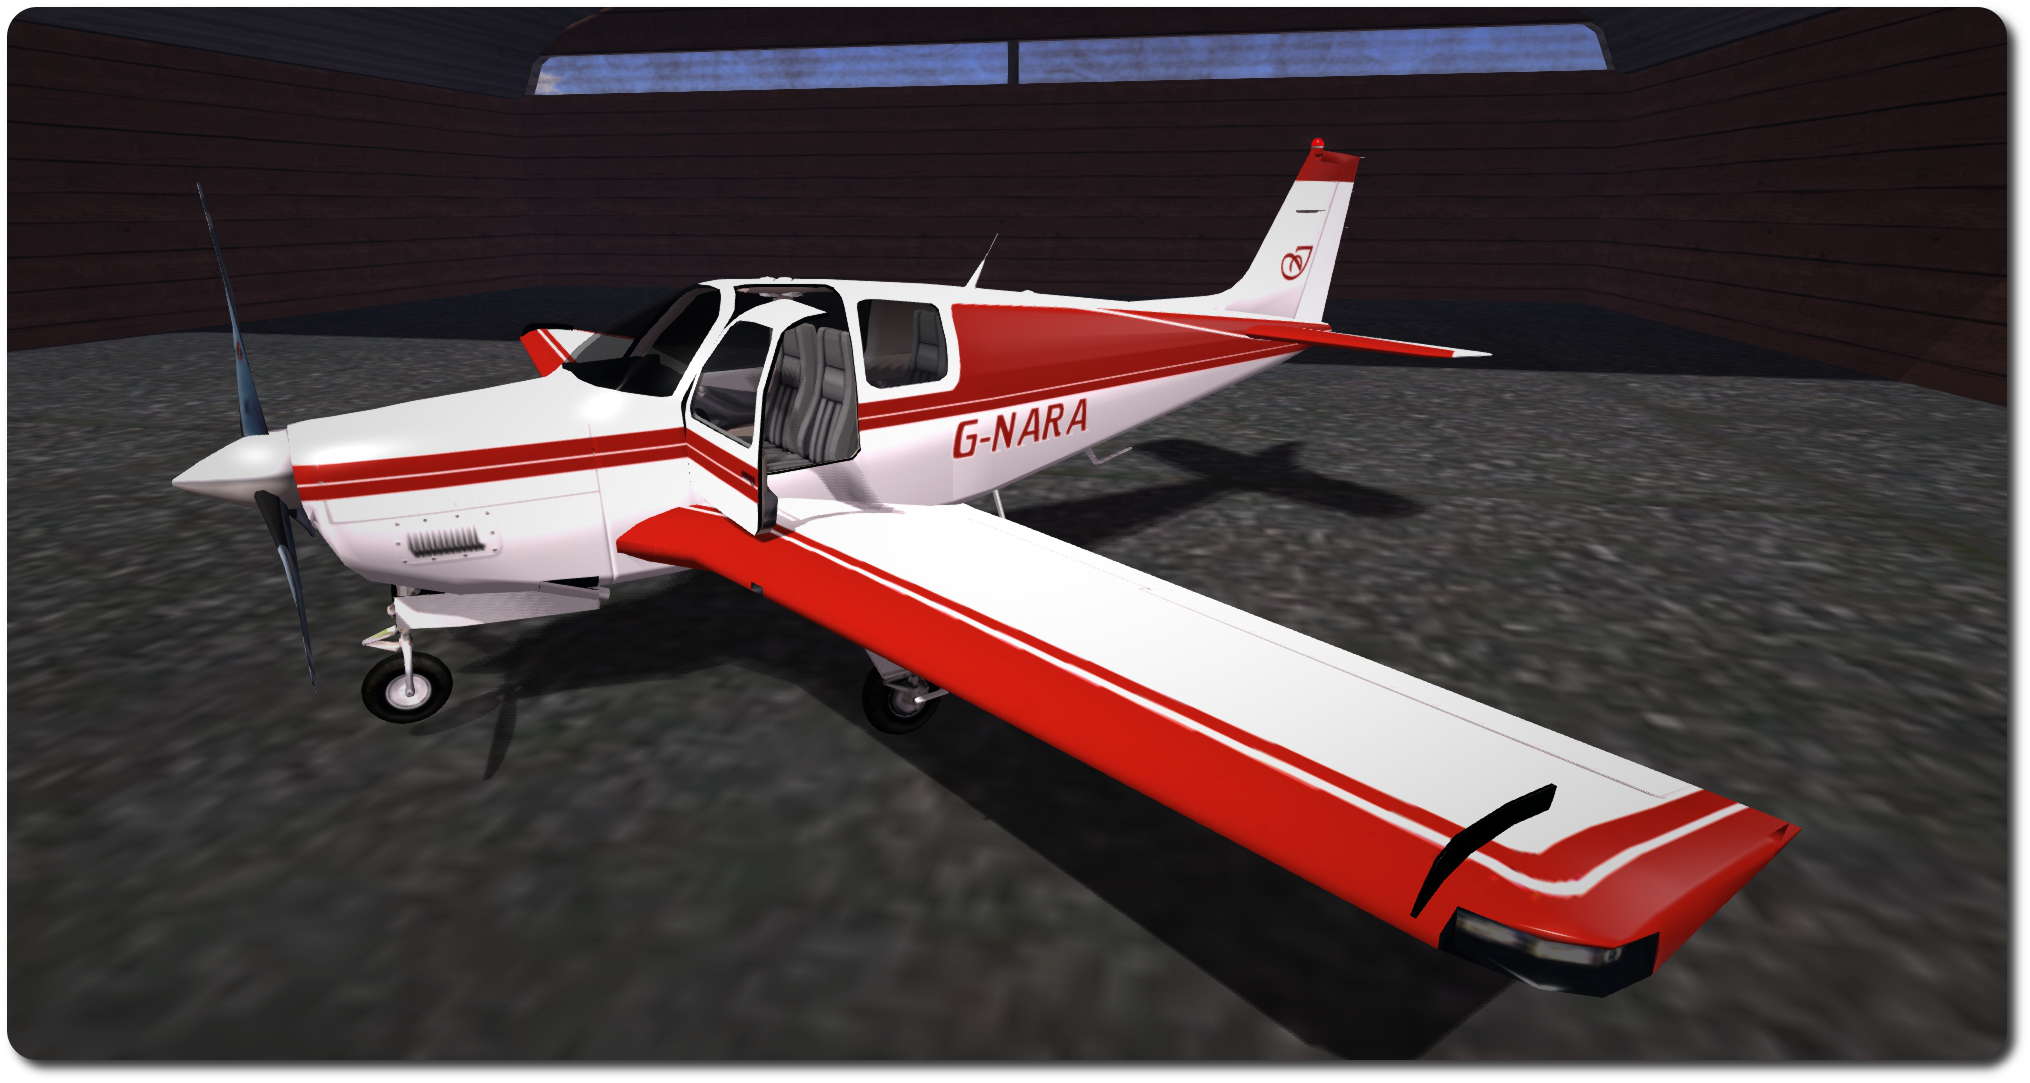
As the kit I purchased gave me a good baseline for how I wanted my C33 to appear, the work I did was pretty basic: altering the rest tints to a single colour, altering the tail and tailplane colour schemes, adding my usual registration & monogram.
The C33 kit does suffer the same issue as the original textures supplied by DSA, in that the ribbing lines on the tailplane’s elevators are significantly out-of-alignment when comparing the upper surface texture with the lower, but tbh, unless someone is looking really closely, this is unlikely to be noticed. Unfortunately for me, it’s also one of those things that, once noticed, can start nagging to be fixed. Fortunately, I wanted a two-tone tail with white elevators, so fixing this wasn’t a major problem, as I had to re-colour things anyway [Addendum: as noted at the top of this piece, VetronUK has / is correcting this.]
Once you’re satisfied with your custom textures, upload them as per usual, and if you’re working with a MOD plane like those in the DSA range, again apply them directly from inventory to the required faces of the plane – you don’t need to use the Vetron HUD. However, you can still use the HUD to apply things like materials or glossiness to the plane if you want.
For those who would like a truly unique design, or who have a specific deign in mind that they’re not confident in producing themselves, VetronUK will consider custom work. Information and pricing guidelines are available via note card from her in-world store.
As well as the C33, Vetron produce individual packs (and fat packs) for other DSA aircraft (prices vary) and also kits for other makes of aircraft as well – making a visit to the in-world store worth the effort if you have various makes of ‘plane sitting in your inventory.
All told, the Vetron paint kits are extremely easy to use, and the use of materials really add a nice added finish to an aeroplane, the normal maps somewhat enhancing surface detailing and the specular maps giving a very natural level of light reflection on metallic / glass surfaces. Certainly, I have no hesitation in recommending the kits – in fact, I’m now eyeing-up one of red / white kits for DSA’s C90 GTX King Air! I may even let you know how I get on :).

1024×1024 size textures?
IS not that a il bit to much, i try always to use at max 512×512 inworld (of course if they are templates to download and work on your hd, then it is understandable).
LikeLike
Depends. An excessive use of 1024×1024 textures isn’t really a good thing, as large textures do add to the rendering load. But used in moderation and on suitable surfaces, they can be acceptable. With things like aircraft, boat hulls, etc., fine texture detailing at 1024×1024 tends to present itself a lot better than 512×512.
LikeLike
I can agree with that, when i used to play, just to give you an example, morrowind, the 1st mod one would install was the high res ones, back on 2002 we already used 2048×2048.
On Open sim where there is no limitation of size, i did upload quite a few 4096×4096 textures to test and it is logic, the higer the better.
Still in SL i prefer to trade high detail for rezzing time, on boats and planes, and i can tell you, a 1024×1024 sail texture that my soul mate uses, takes much more time to rezz then the time i can watch her sailing next to me, before crossing a sim.
So it is always a trade, if one just wishes to stay on a sim all day, probably it can use 1024×1024 texures in all its builds, but if one do wish to be seen by others when travelling, then 512×512 works much better, even with the risk of a bit of lost detail.
So i do upload at max 512×512 textures in sl and i know that to many boats cant rezz in time to be seen or taking a shot of them when sailing properly, due to the 1024×1024 textures they are using.
But it is the same trade as with mesh, the higher the lod on mesh, the better she will be seen in world at far distances but also its land impact cost will rise and the time to see it full rezzed as well.
LikeLike
You need only look at the memory footprint required by various texture sizes to understand why larger texture sizes should be used within reason, particularly in region-wide builds, and in accordance with the size of the item on which they’re being used. As with everything else in SL, it is a matter of balance and common sense. Does a complex hull paint scheme involving plenty of colour and with a lot of feathering between layers / edges benefit from being a 1024×1024 texture? Possibly. Do the individual pulleys on the rigging or the rigging ropes themselves, the pennants, and other small detailing also benefit? Very probably not, so scale down and ease the memory load.
LikeLike